Chatwork APIとFileMakerの連携(「URLから挿入」の使い方)
こんにちんは。
株式会社フルーデンスの小巻です。
今回はタイトルの通り、ChatworkとFileMakerの連携をする過程で、「URLから挿入」の使い方を少しでも理解して頂ければと思います。
Chatworkは、GoogleやMicrosoftなどと違い、非常にかんたんにAPIを使うことができますので、初めてAPIに取り組む方には良いサービスだと思います。
ChatworkとFileMakerを連携したい方や、「URLから挿入」ステップを勉強したい方に参考になれば幸いです。
サンプルファイルをダウンロードする
サンプルファイルをGitHubに公開しましたので、cloneするか、ダウンロードをしてください。
リポジトリ
https://github.com/frudens/filemaker-chatwork
ダウンロード
https://github.com/frudens/filemaker-chatwork/archive/master.zip
Chatworkにログインし、APIトークンを取得する
Chatworkにログインし、画面右上の「API設定」をクリックします。
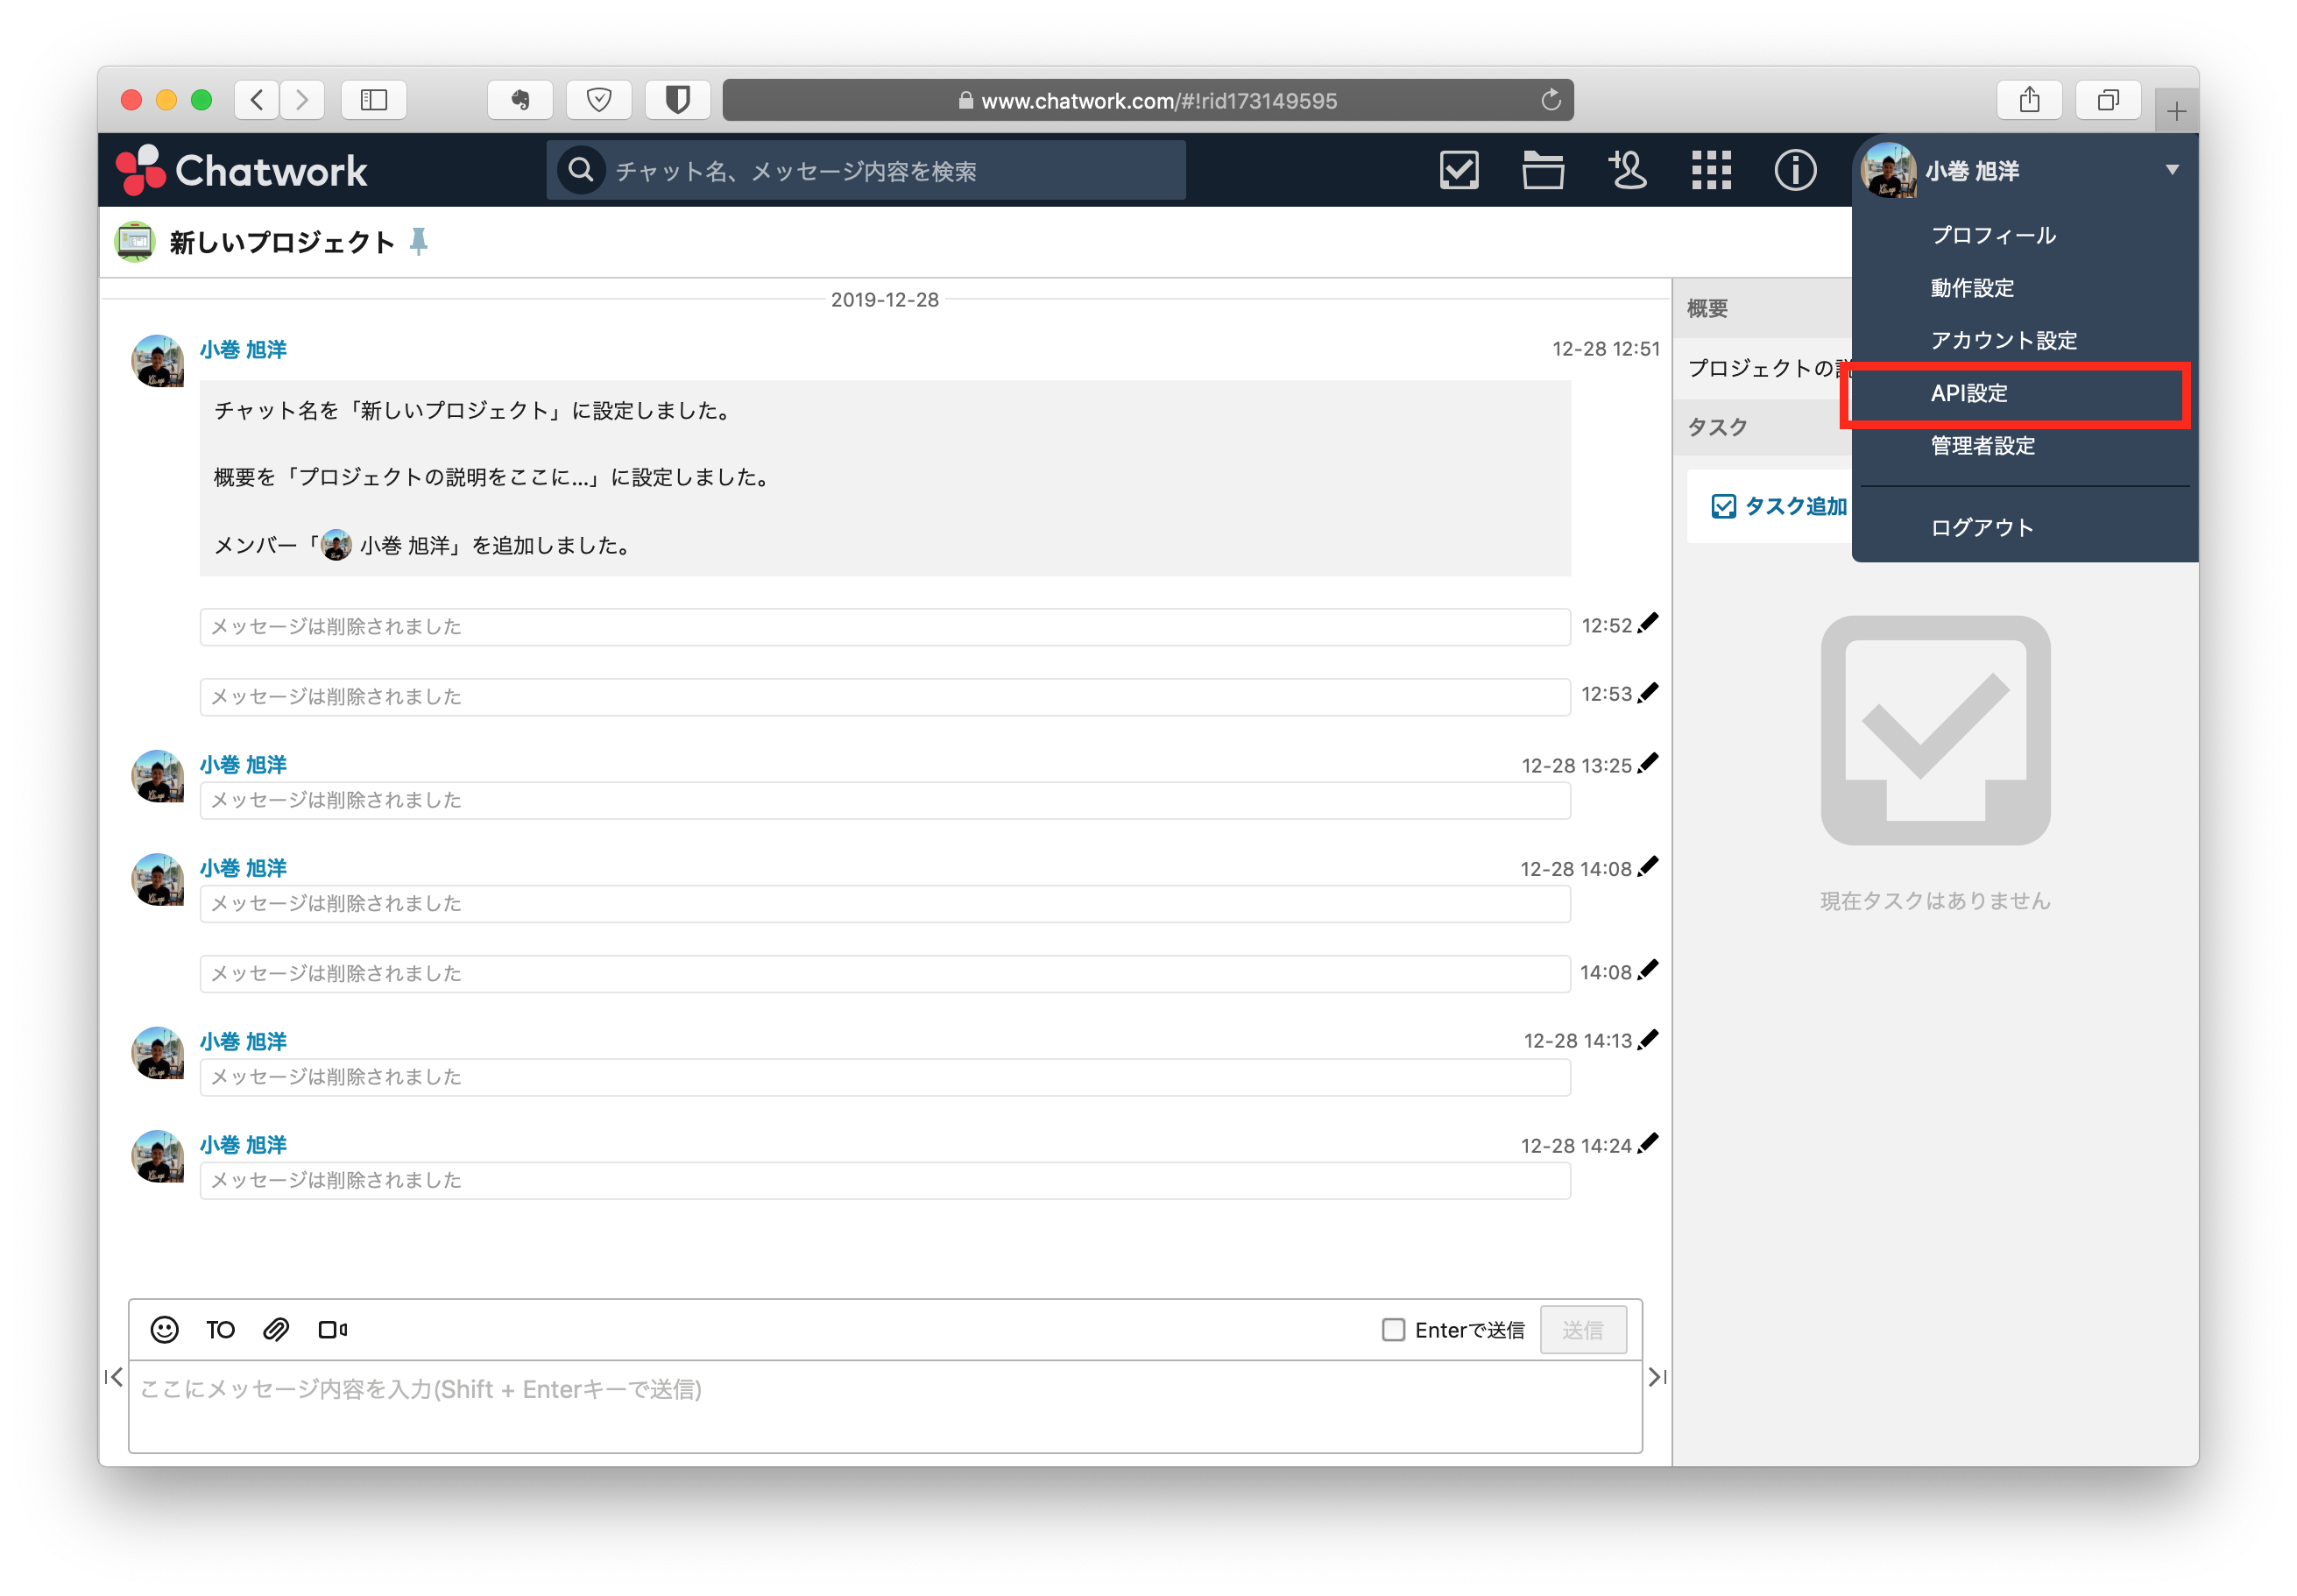
パスワードを入力すれば、APIトークンが取得できます。
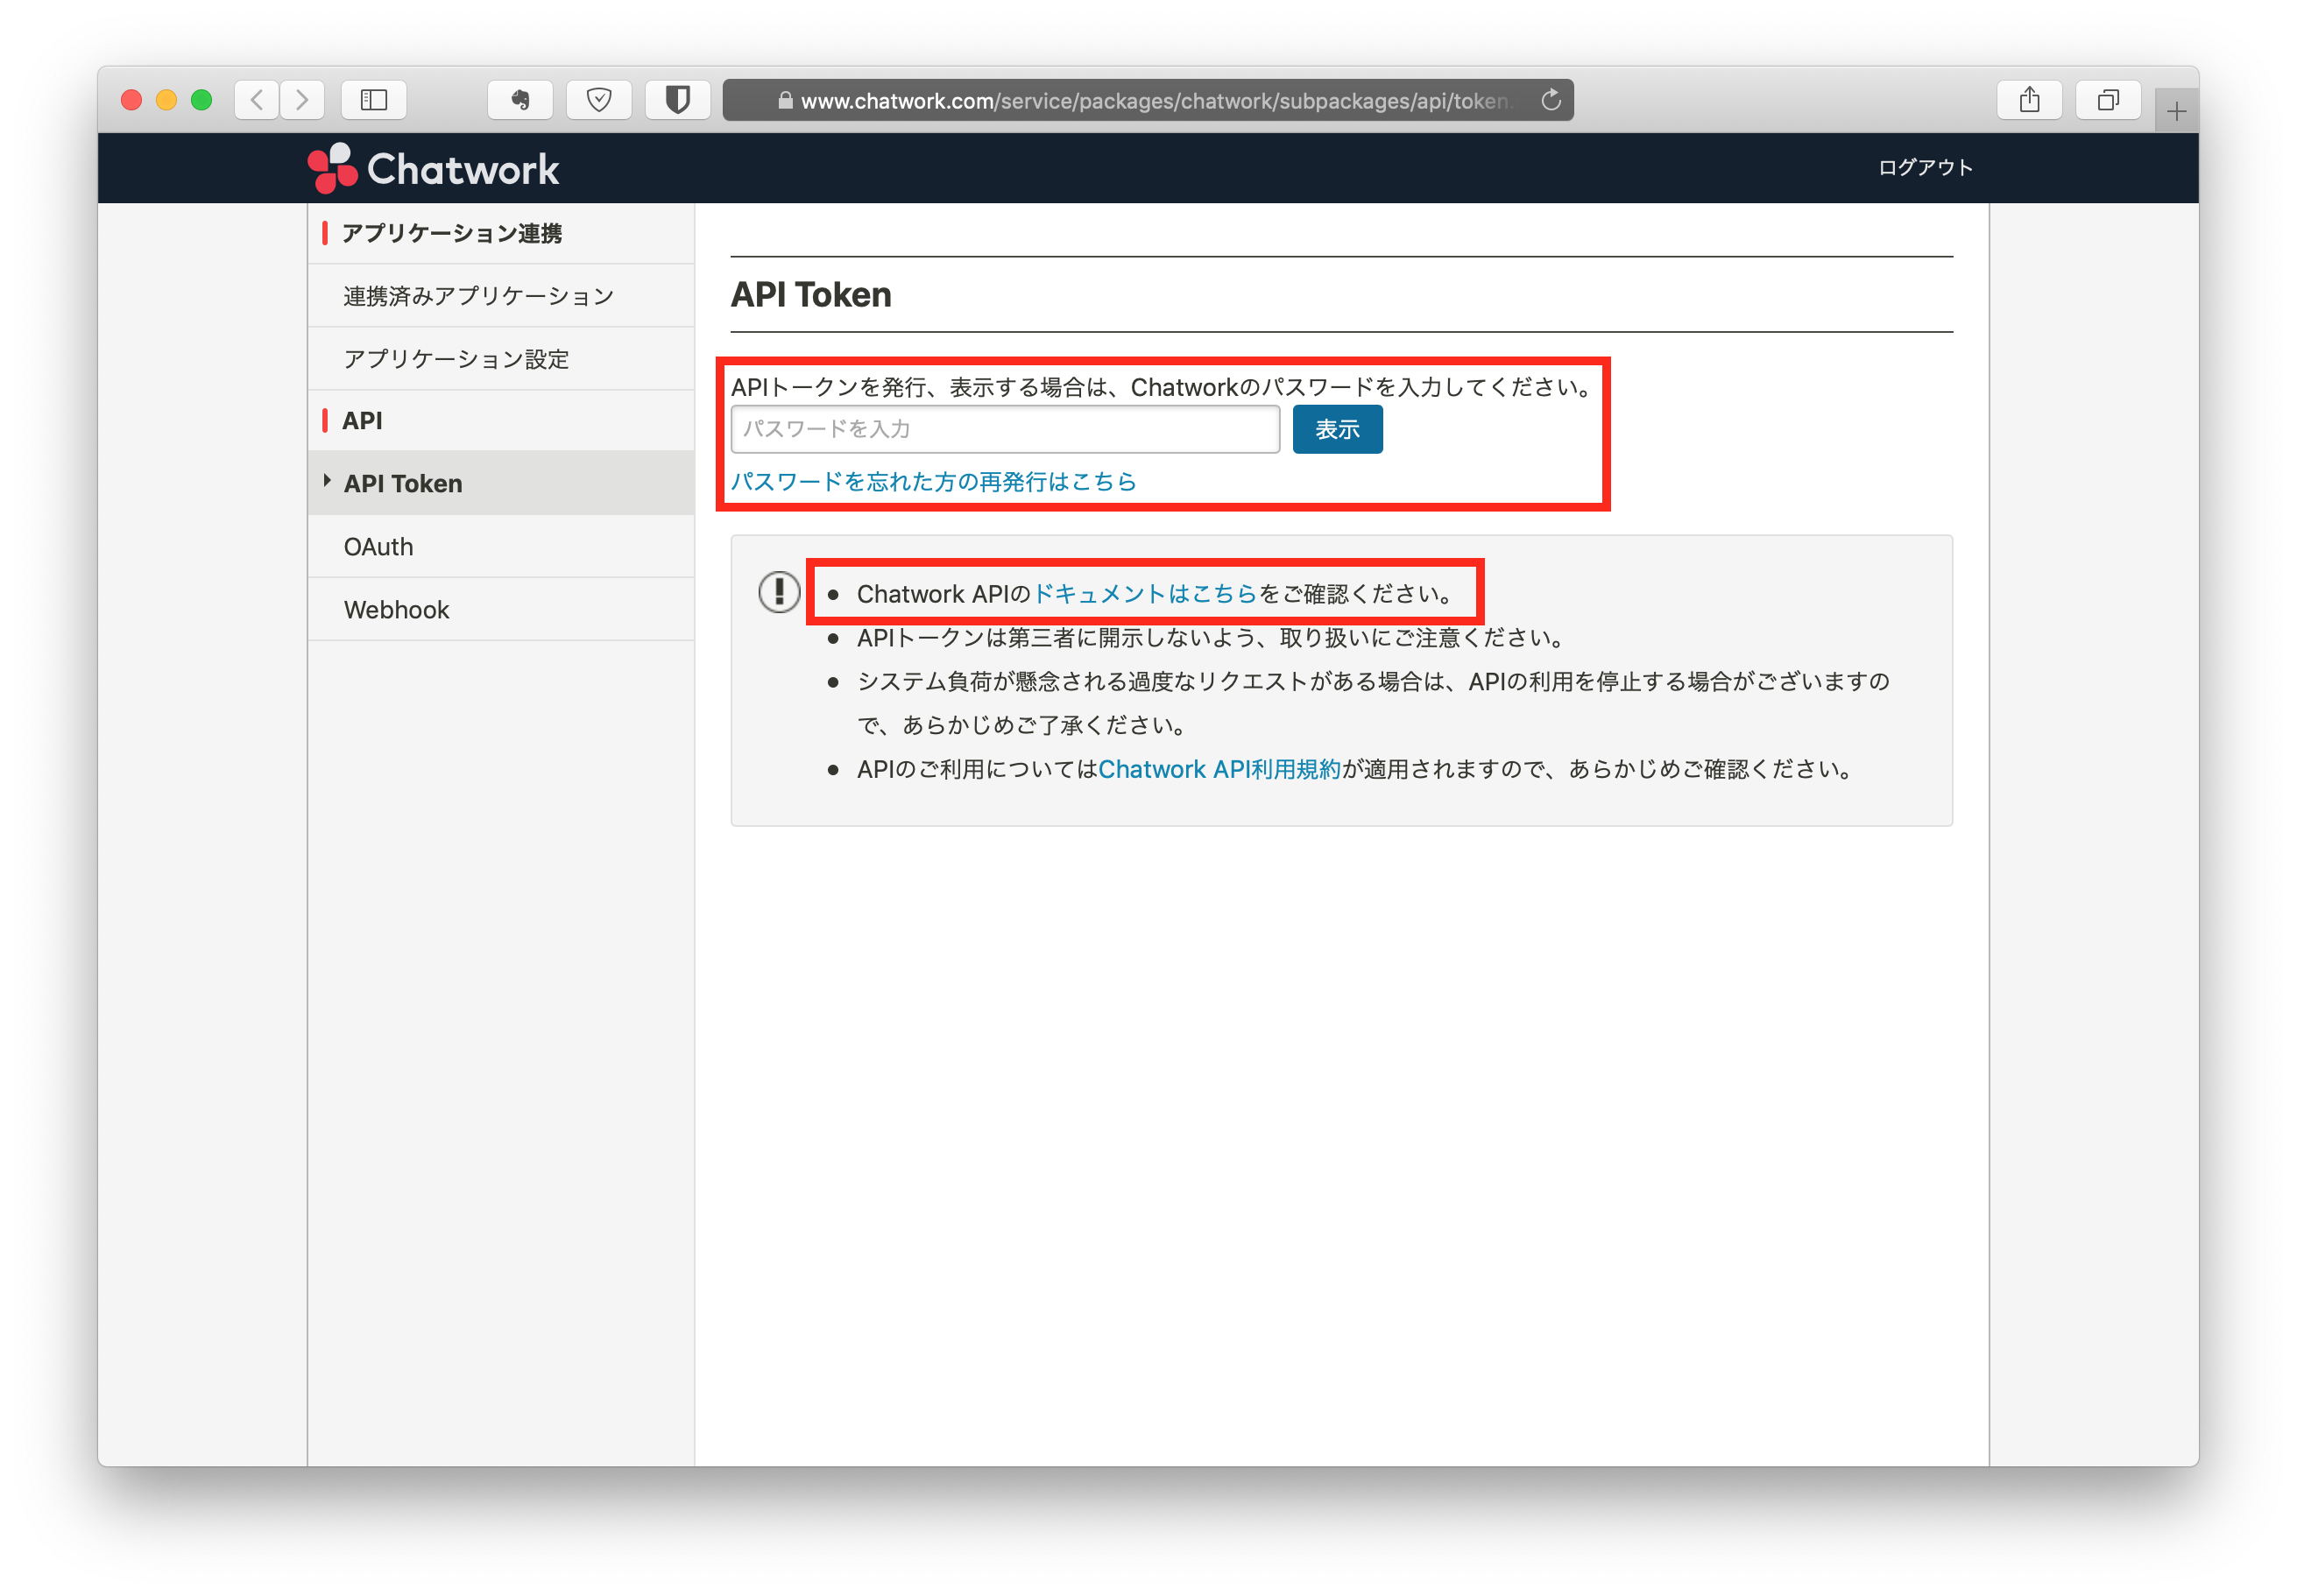
ドキュメントを確認する
先程のAPIトークン取得画面にある、「ドキュメントはこちら」をクリックします。
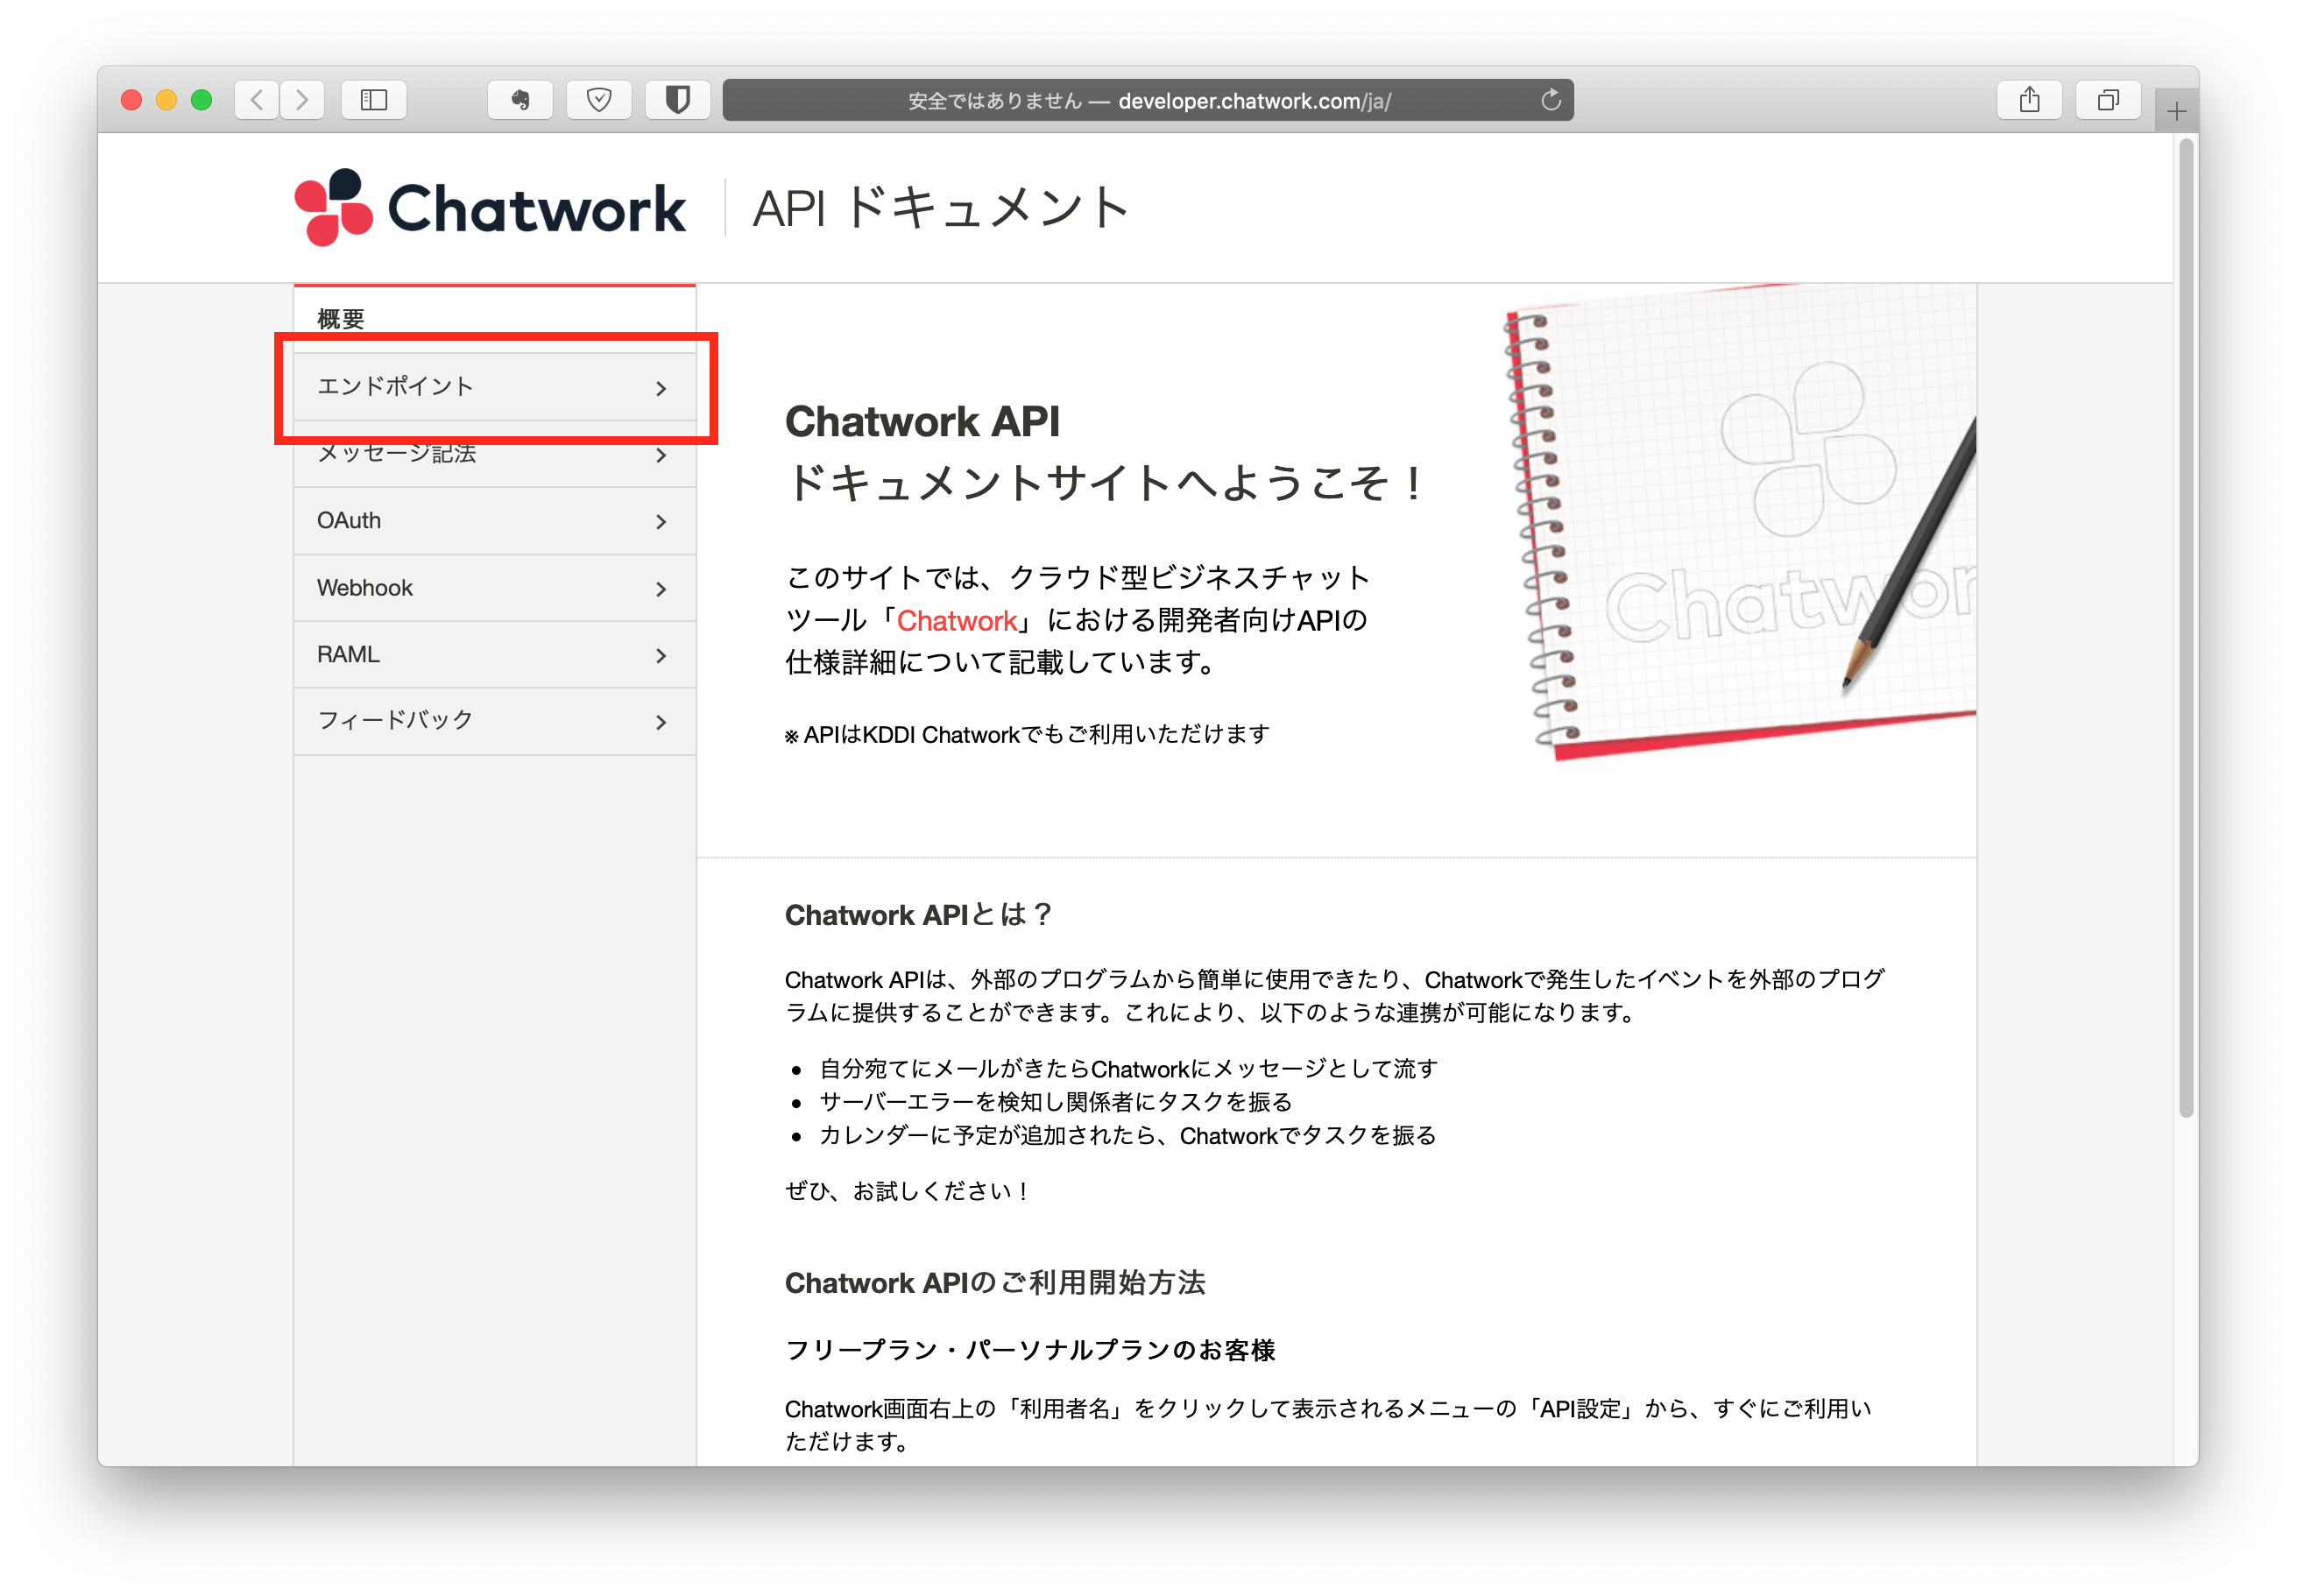
まず、初めてに一番基本となる自分自身の情報を取得するAPIをリクエストしてみましょう。
サイドバーから「エンドポイント」をクリックし「/me」をクリックします。
http://developer.chatwork.com/ja/endpoint_me.html
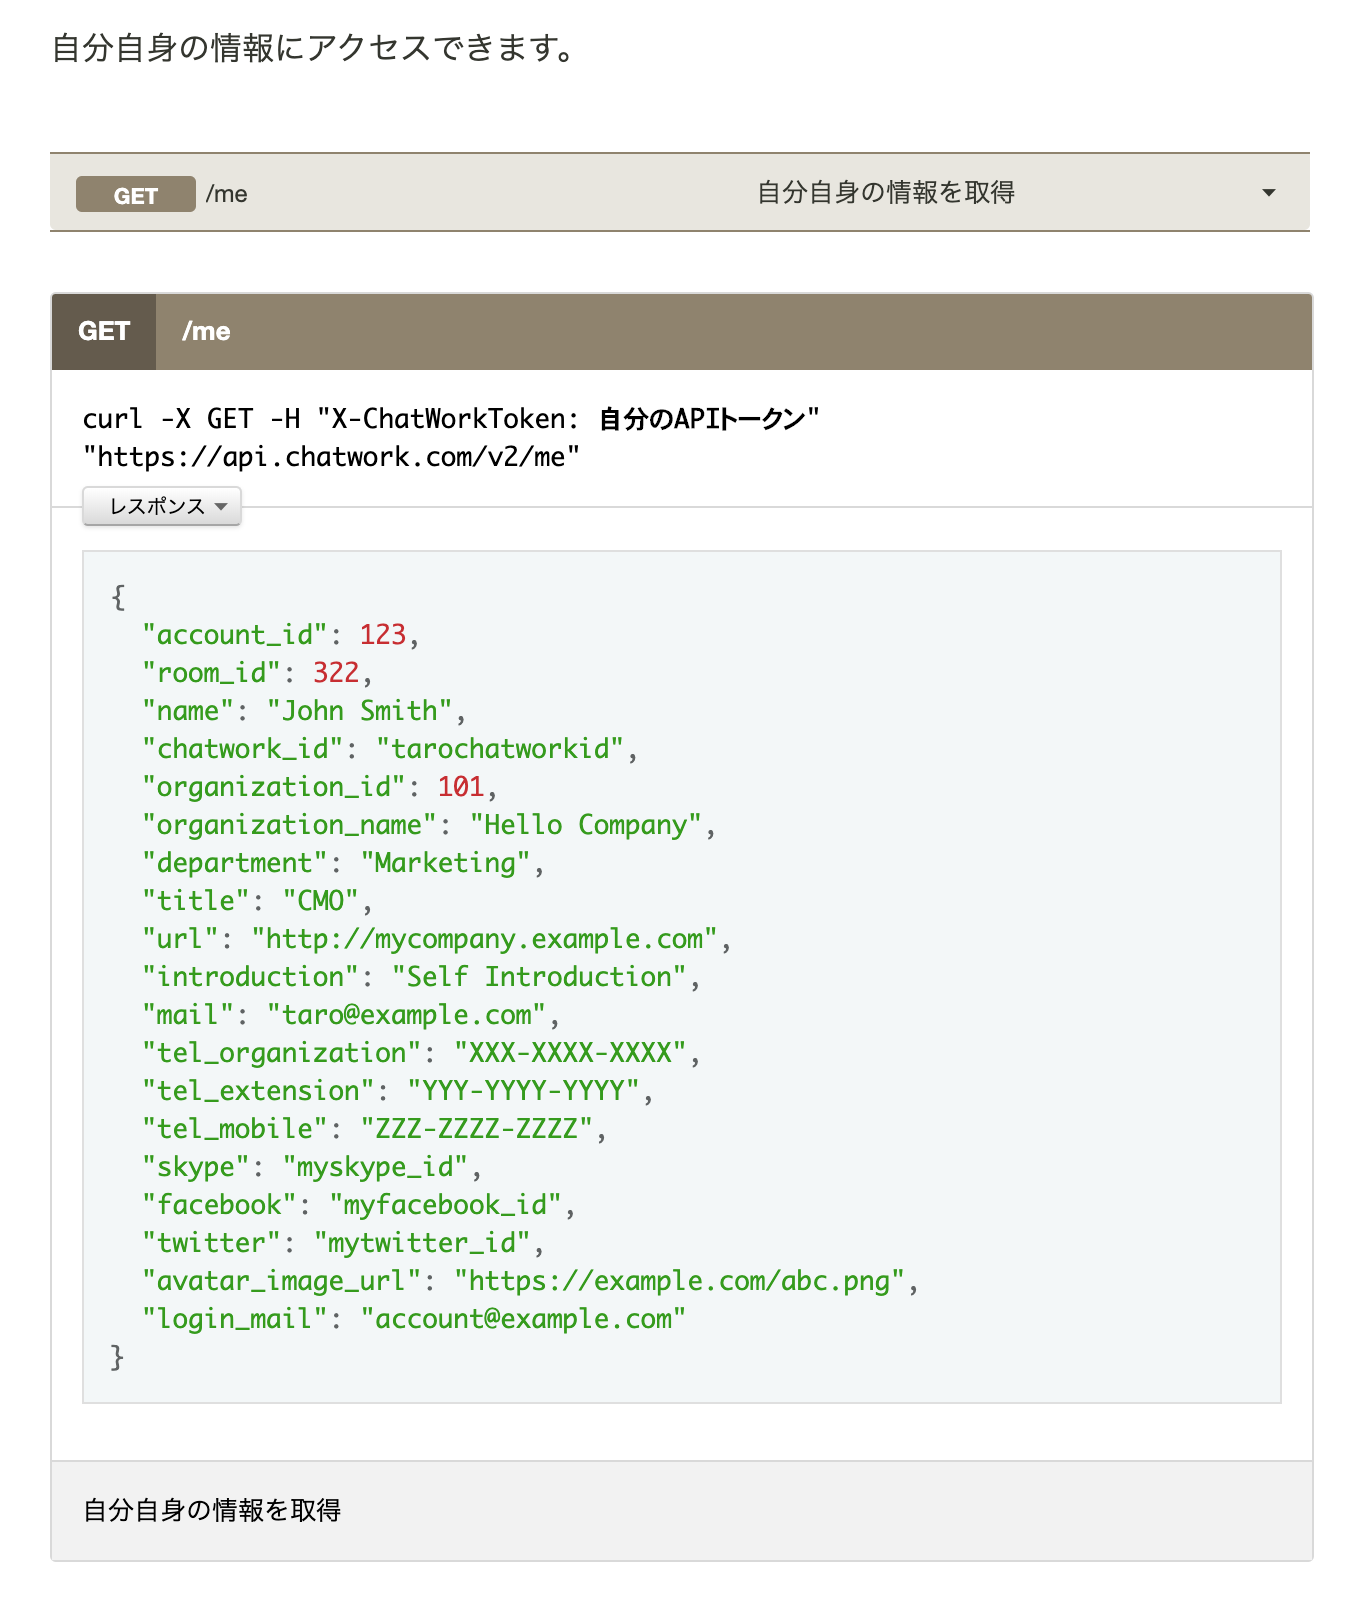
ターミナルから「自分自身の情報を取得する」APIをリクエストする
※curlコマンドを説明するために、あえてFileMakerではなく、ターミナルを使っています。
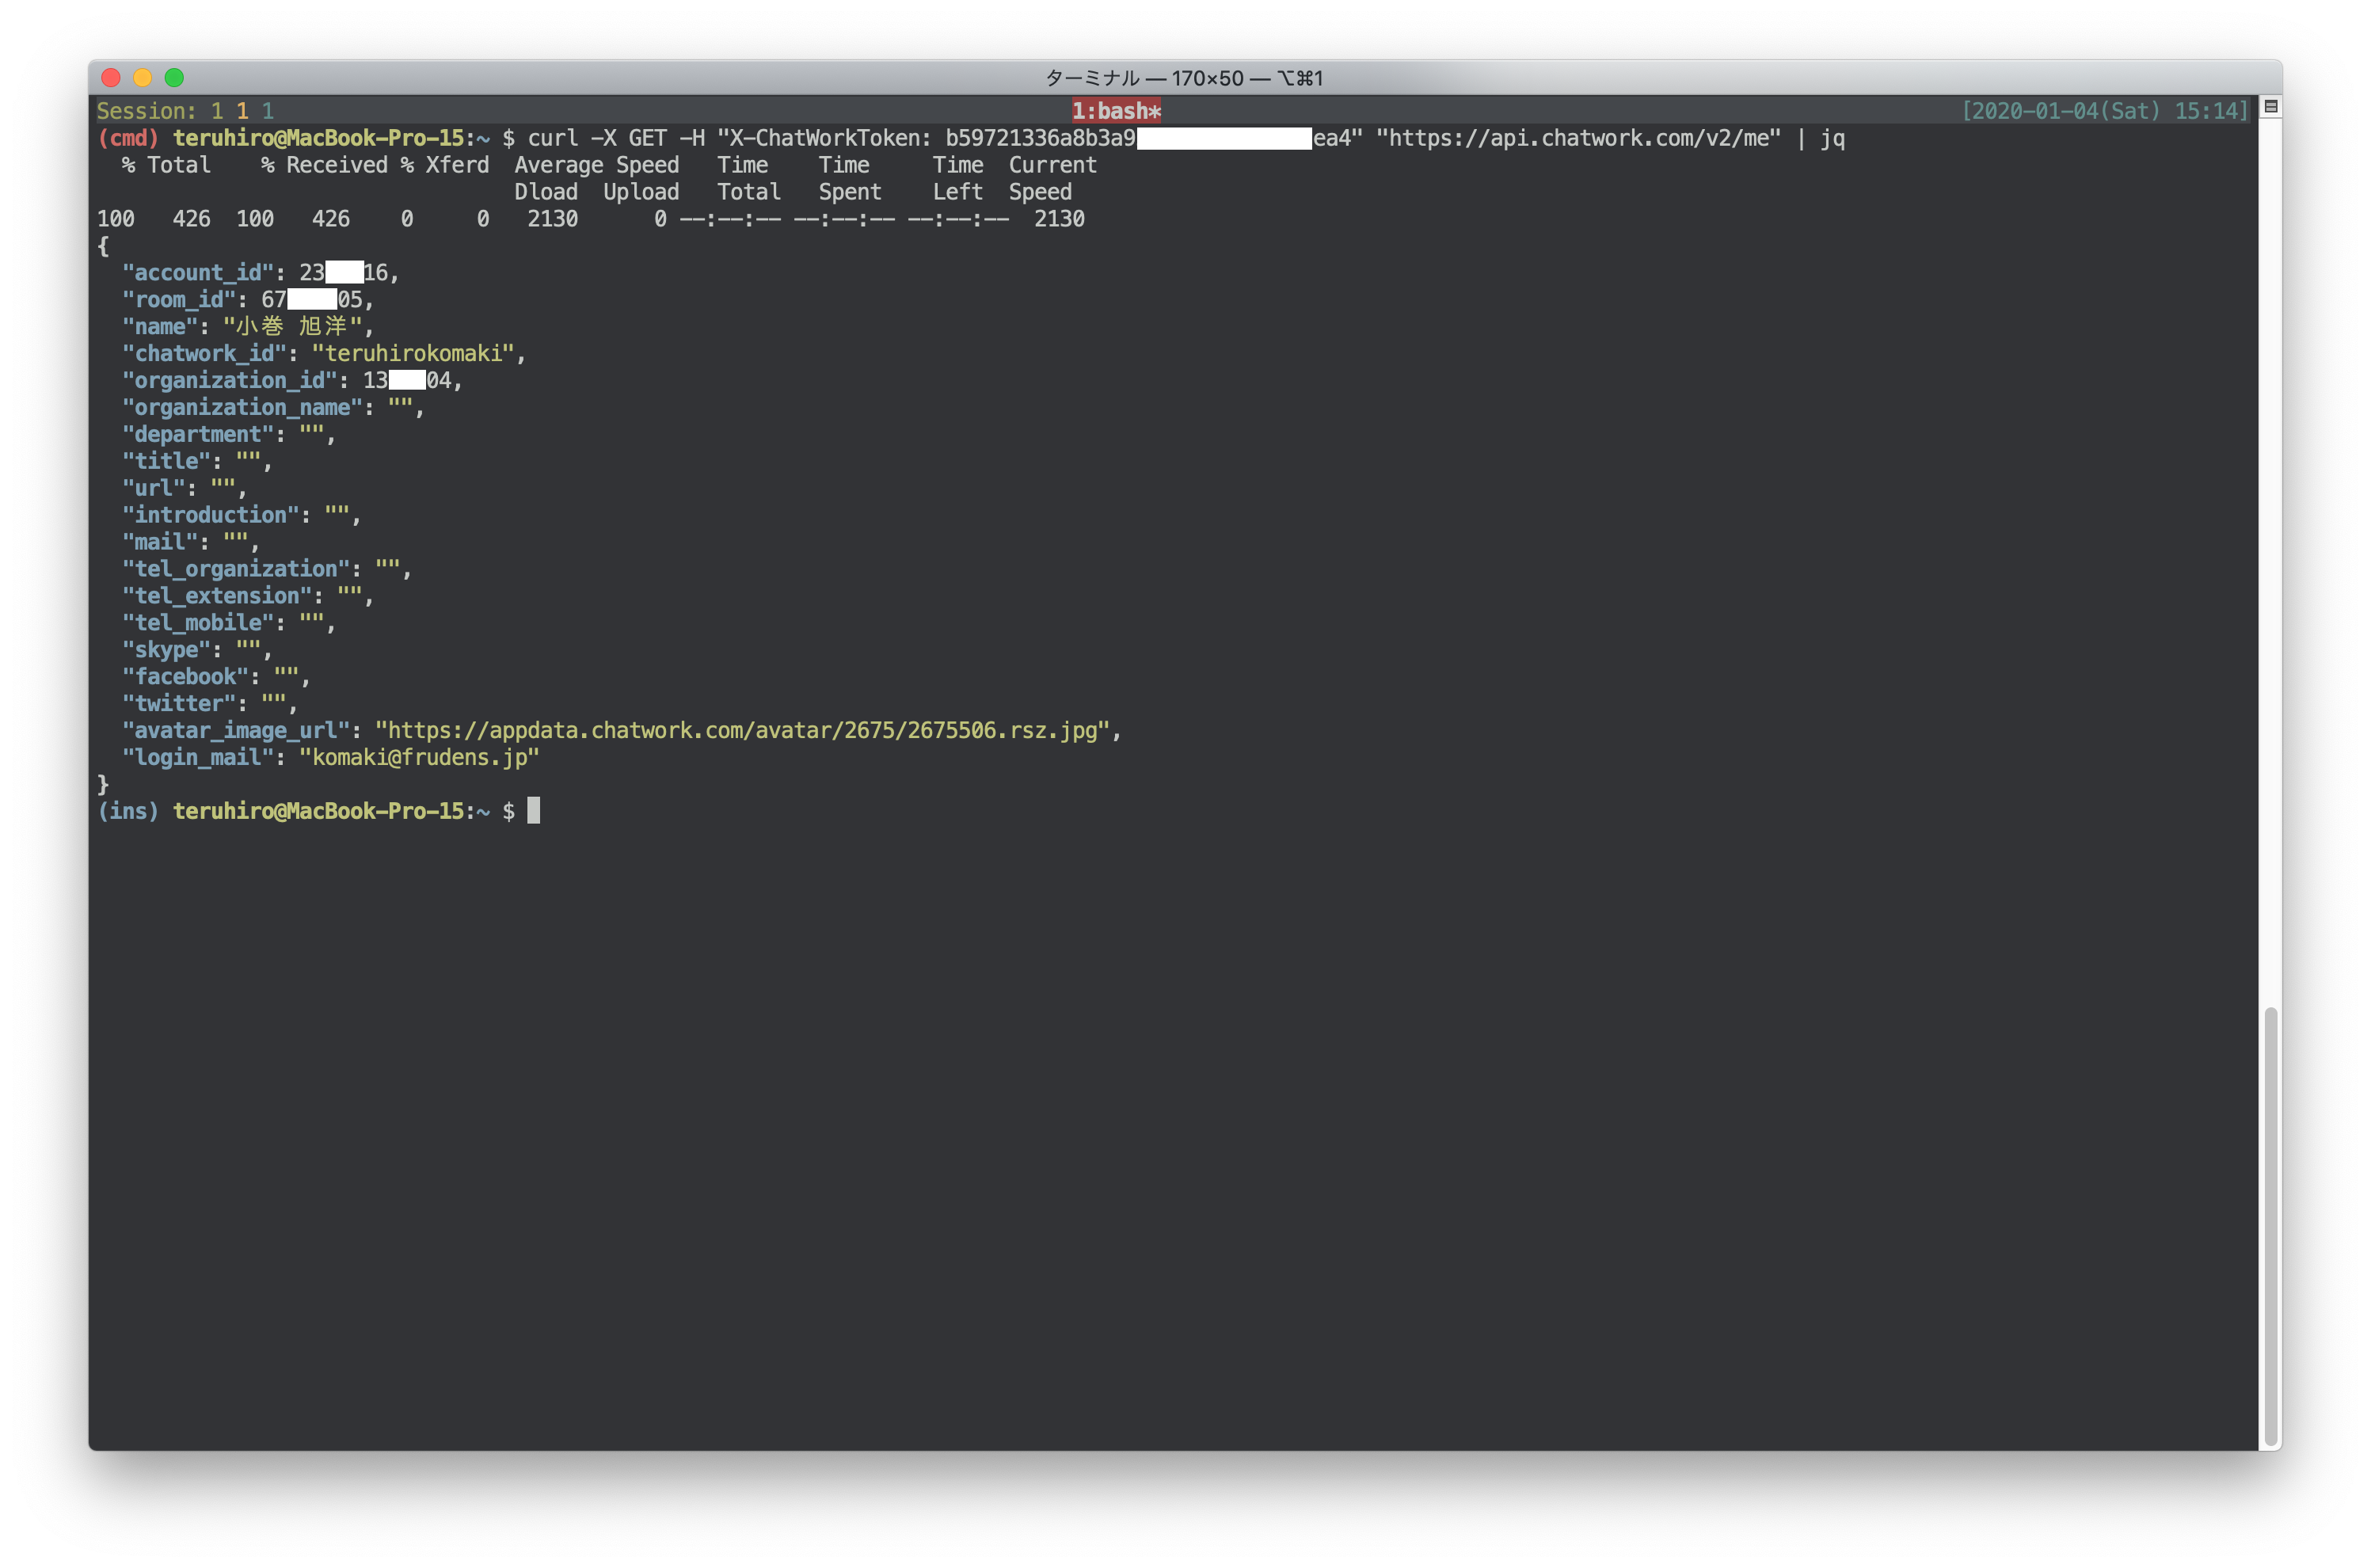
ドキュメントのサンプルコードは、以下のようになっています。
サンプルコード
curl -X GET -H "X-ChatWorkToken: 自分のAPIトークン"
"https://api.chatwork.com/v2/me"
curlコマンドは、ターミナルやPowerShellなどで利用するコマンドラインツールです。
ですので、こちらのサンプルコードを実行する場合は、macOSであれば「ターミナル」を開いて、コードをコピペすれば実行できます。
以下の画像のように、ドキュメントのレスポンス部分にあるJSONと同じ結果を取得することができました。
FileMakerから「自分自身の情報を取得する」APIをリクエストする
それでは、FileMakerからAPIをリクエストしましょう。
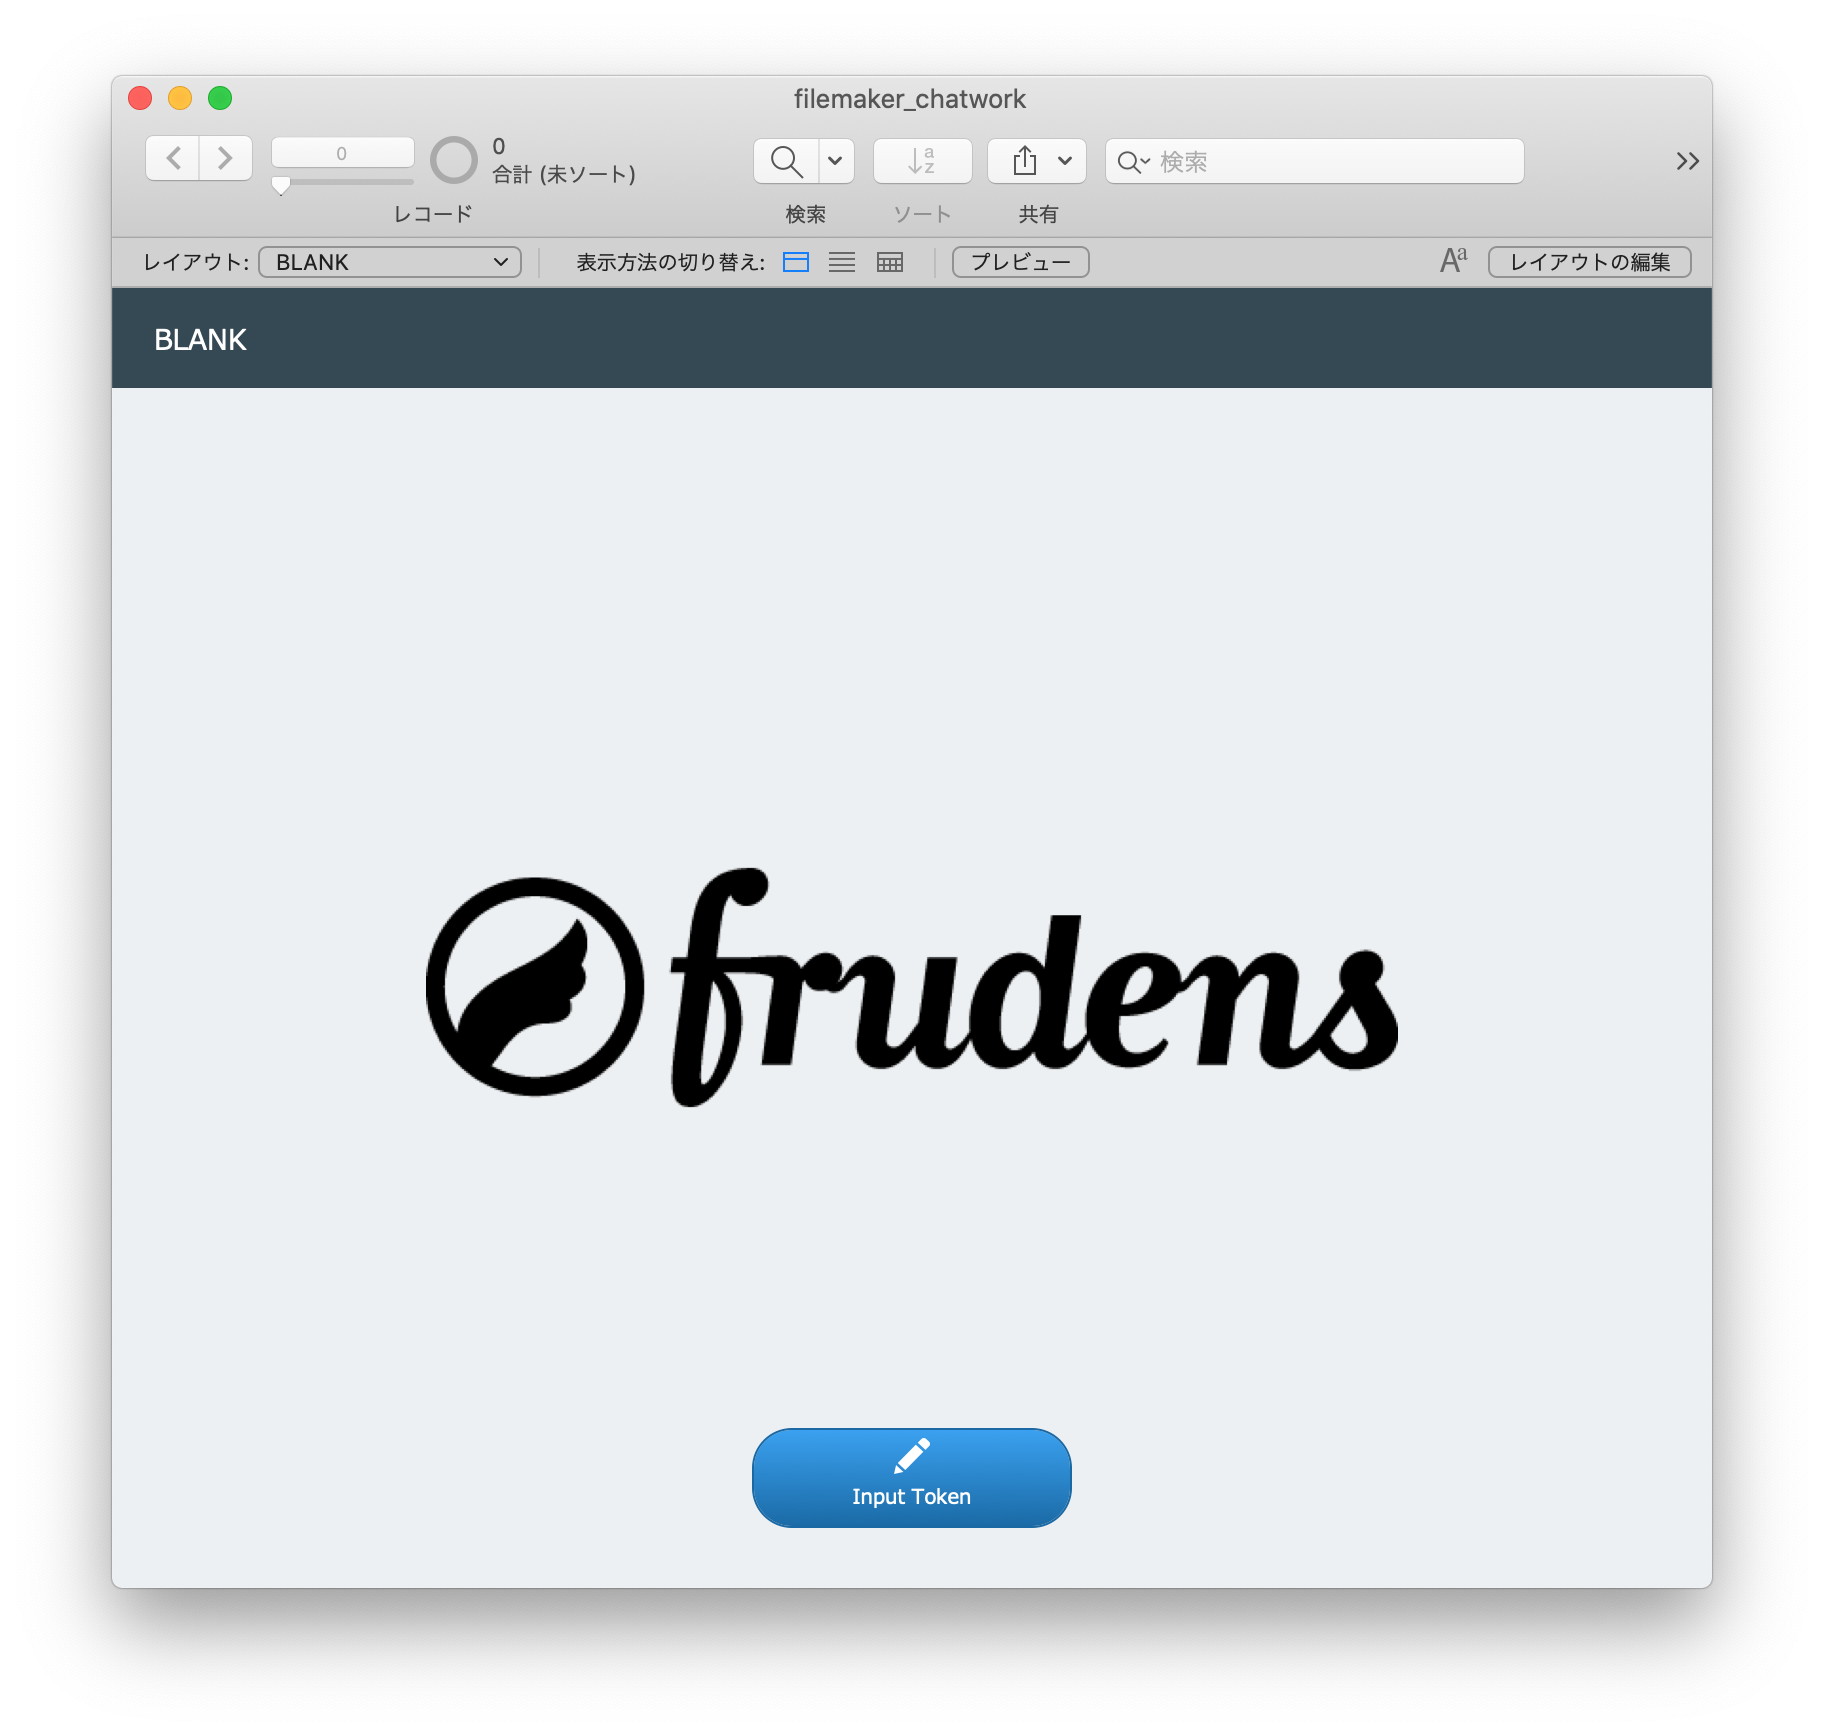
まずは、ダウンロードした「filemaker_chatwork.fmp12」を開きます。
「Input Token」をクリックし、SETTINGSレイアウトを開きます。
tokenフィールドに、先程取得したAPIトークンを貼り付けます。
「API Test」をクリックし、LOGレイアウトを開きます。

logテーブルのresponseフィールドに、以下のテキストが貼り付けてあります。
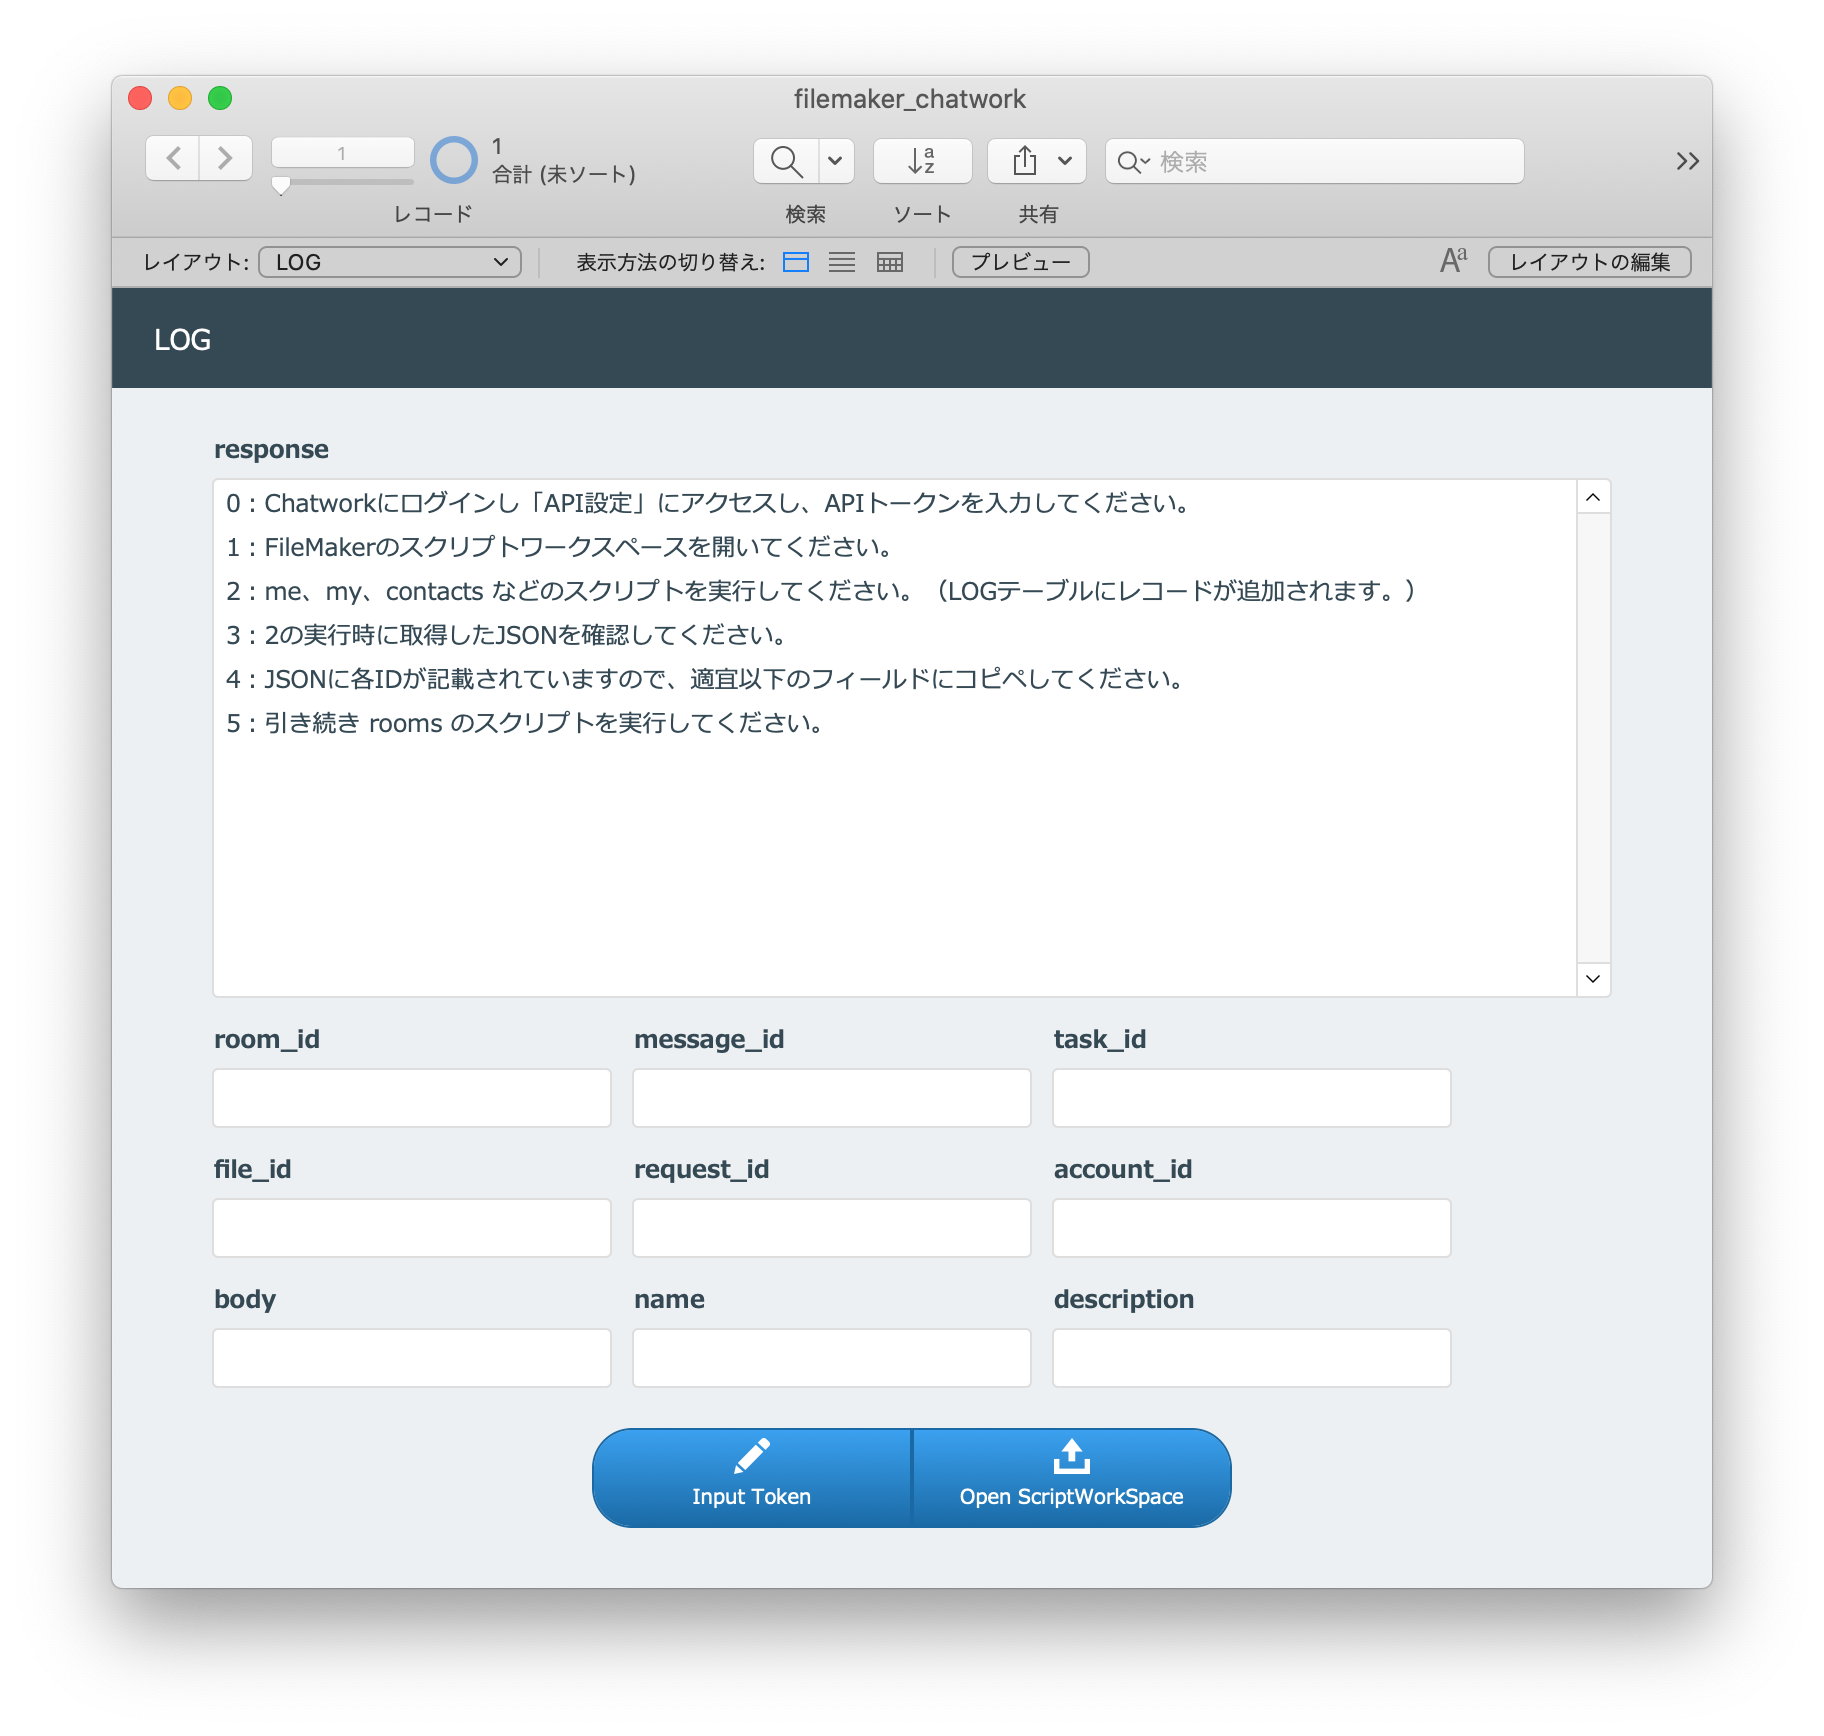
0:Chatworkにログインし「API設定」にアクセスし、APIトークンを入力してください。
1:FileMakerのスクリプトワークスペースを開いてください。
2:me、my、contacts などのスクリプトを実行してください。(LOGテーブルにレコードが追加されます。)
3:2の実行時に取得したJSONを確認してください。
4:JSONに各IDが記載されていますので、適宜以下のフィールドにコピペしてください。
5:引き続き rooms のスクリプトを実行してください。
手順通りに、進みましょう。
「Open ScriptWorkSpace」をクリックし、スクリプトワークスペースを開きます。
「GET /me」スクリプトを選択し、実行します。
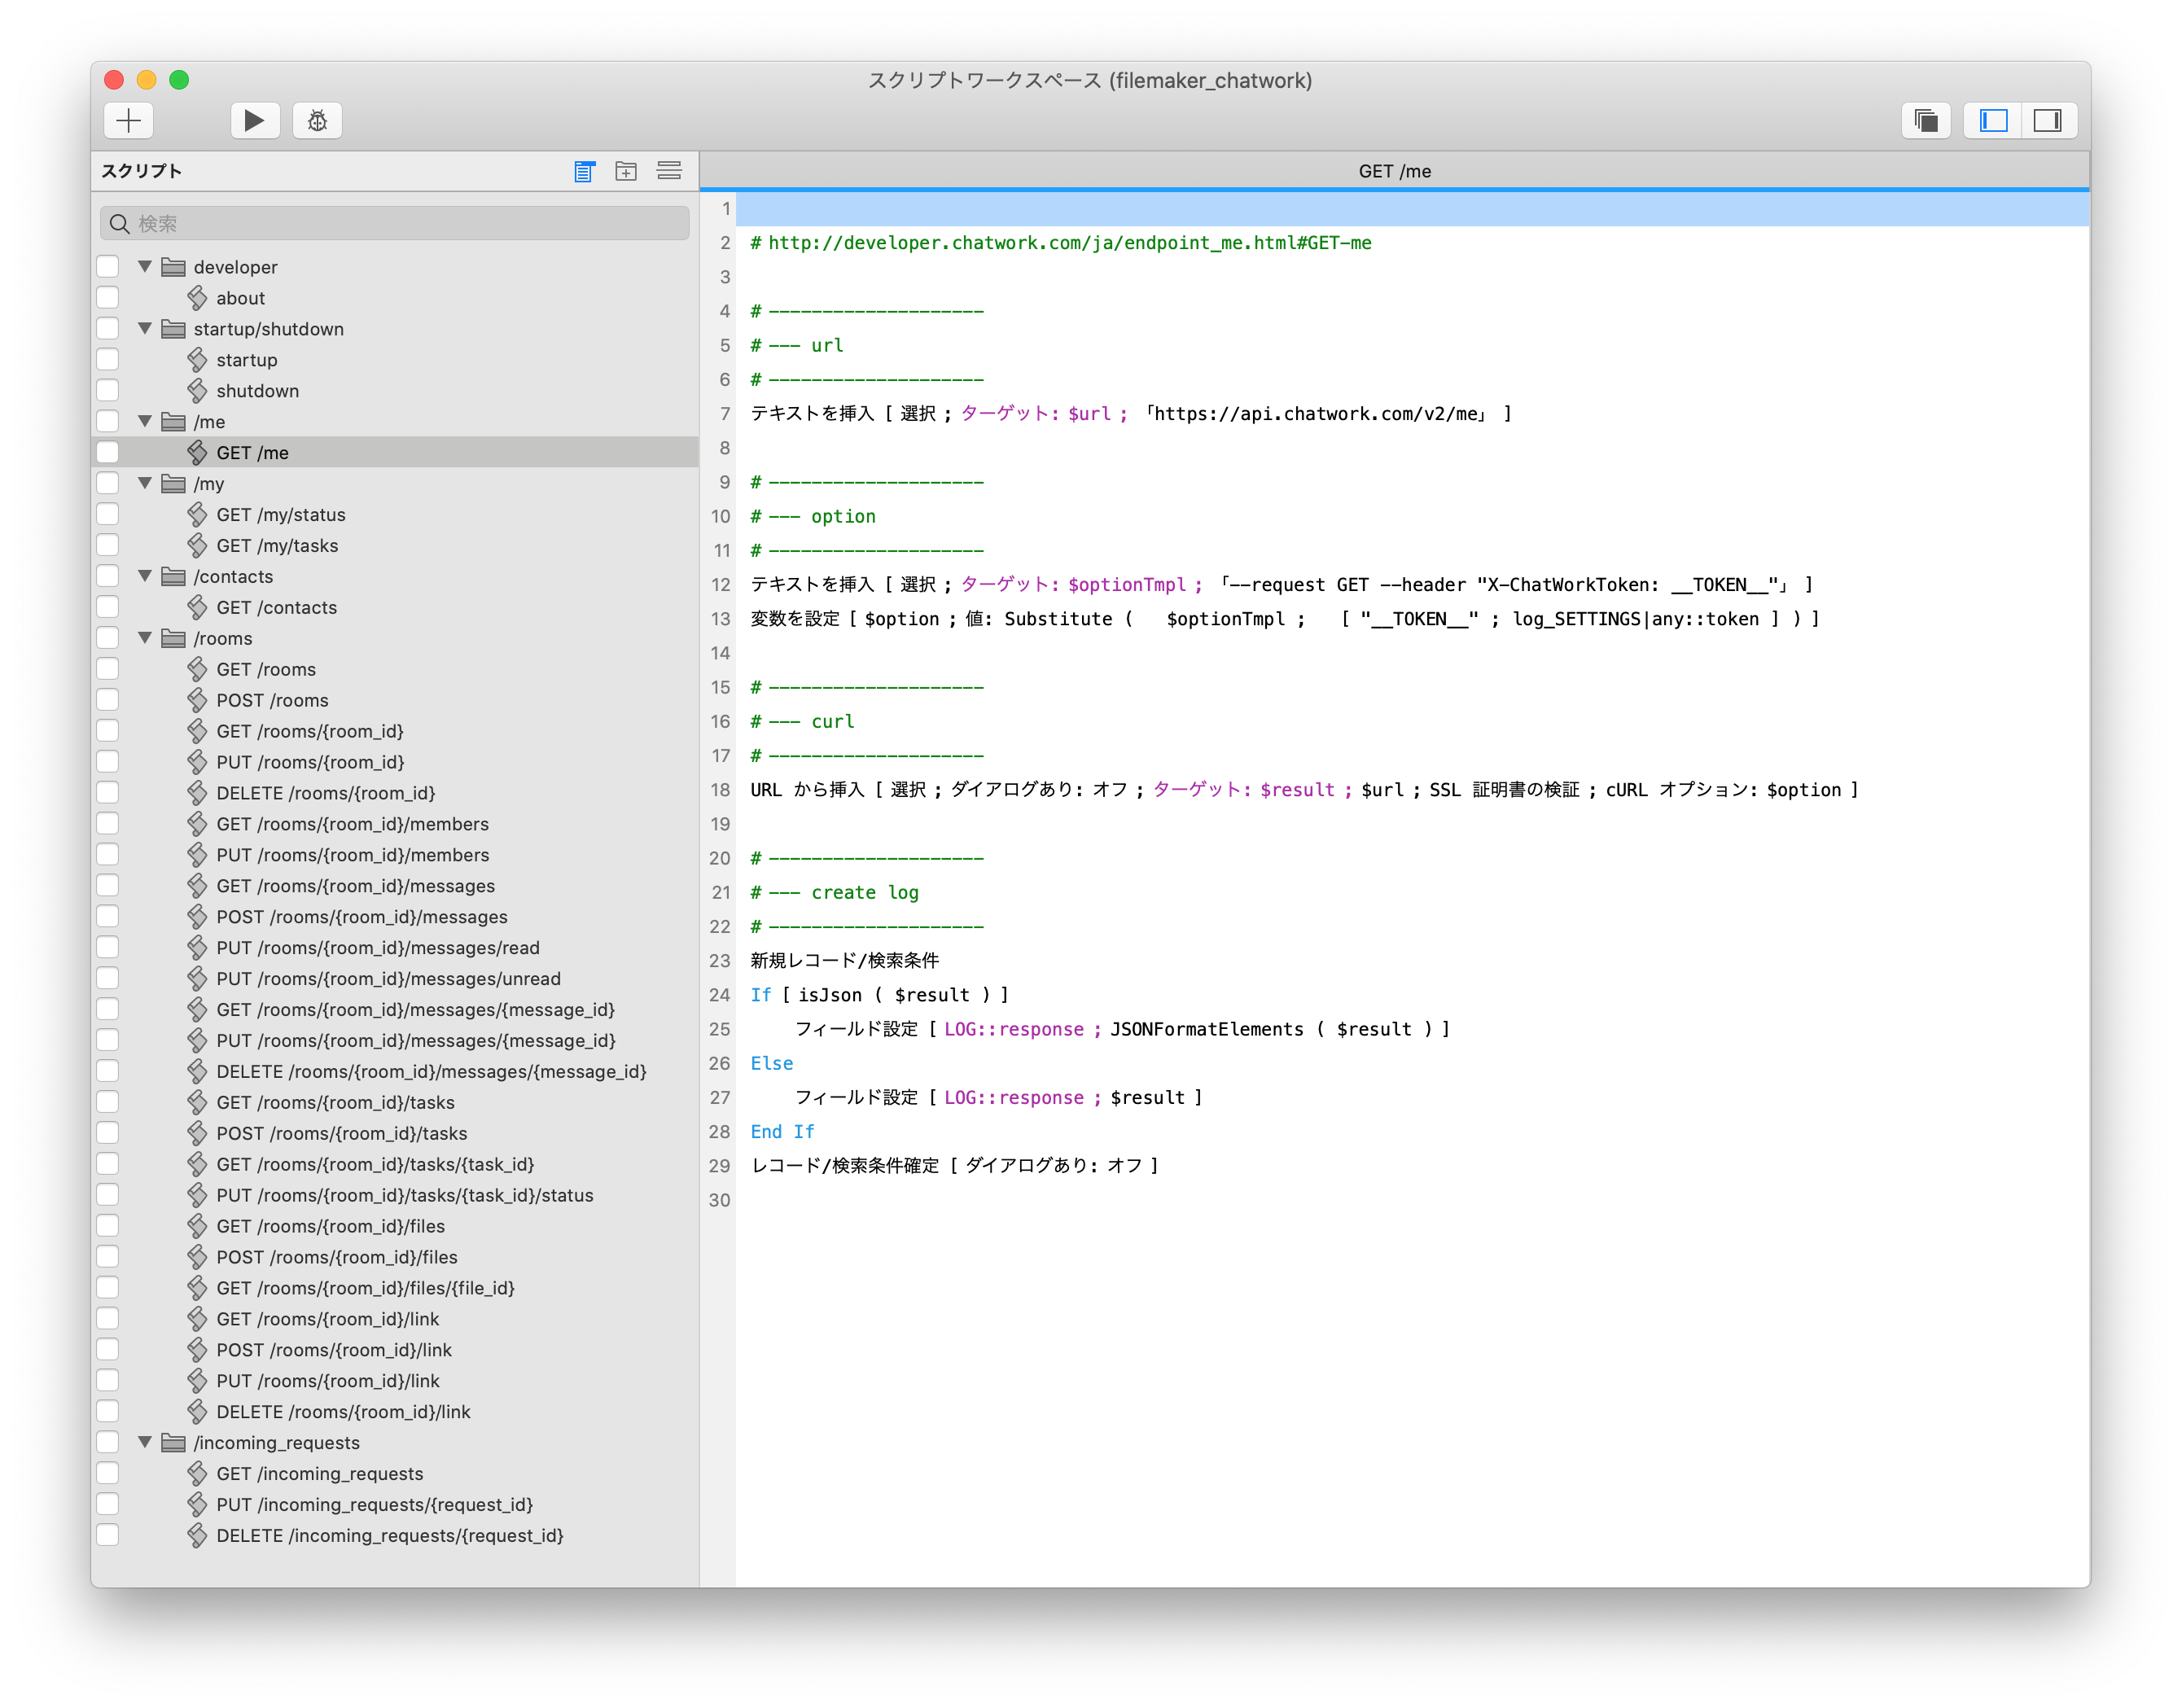
スクリプト
# http://developer.chatwork.com/ja/endpoint_me.html#GET-me

# --------------------
# --- url
# --------------------
テキストを挿入 [ 選択 ; ターゲット: $url ; 「https://api.chatwork.com/v2/me」 ]

# --------------------
# --- option
# --------------------
テキストを挿入 [ 選択 ; ターゲット: $optionTmpl ; 「--request GET --header "X-ChatWorkToken: __TOKEN__"」 ]
変数を設定 [ $option ; 値: Substitute (   $optionTmpl ;   [ "__TOKEN__" ; log_SETTINGS|any::token ] ) ]

# --------------------
# --- curl
# --------------------
URL から挿入 [ 選択 ; ダイアログあり: オフ ; ターゲット: $result ; $url ; SSL 証明書の検証 ; cURL オプション: $option ]

# --------------------
# --- create log
# --------------------
新規レコード/検索条件
If [ isJson ( $result ) ]
	フィールド設定 [ LOG::response ; JSONFormatElements ( $result ) ]
Else
	フィールド設定 [ LOG::response ; $result ]
End If
レコード/検索条件確定 [ ダイアログあり: オフ ]
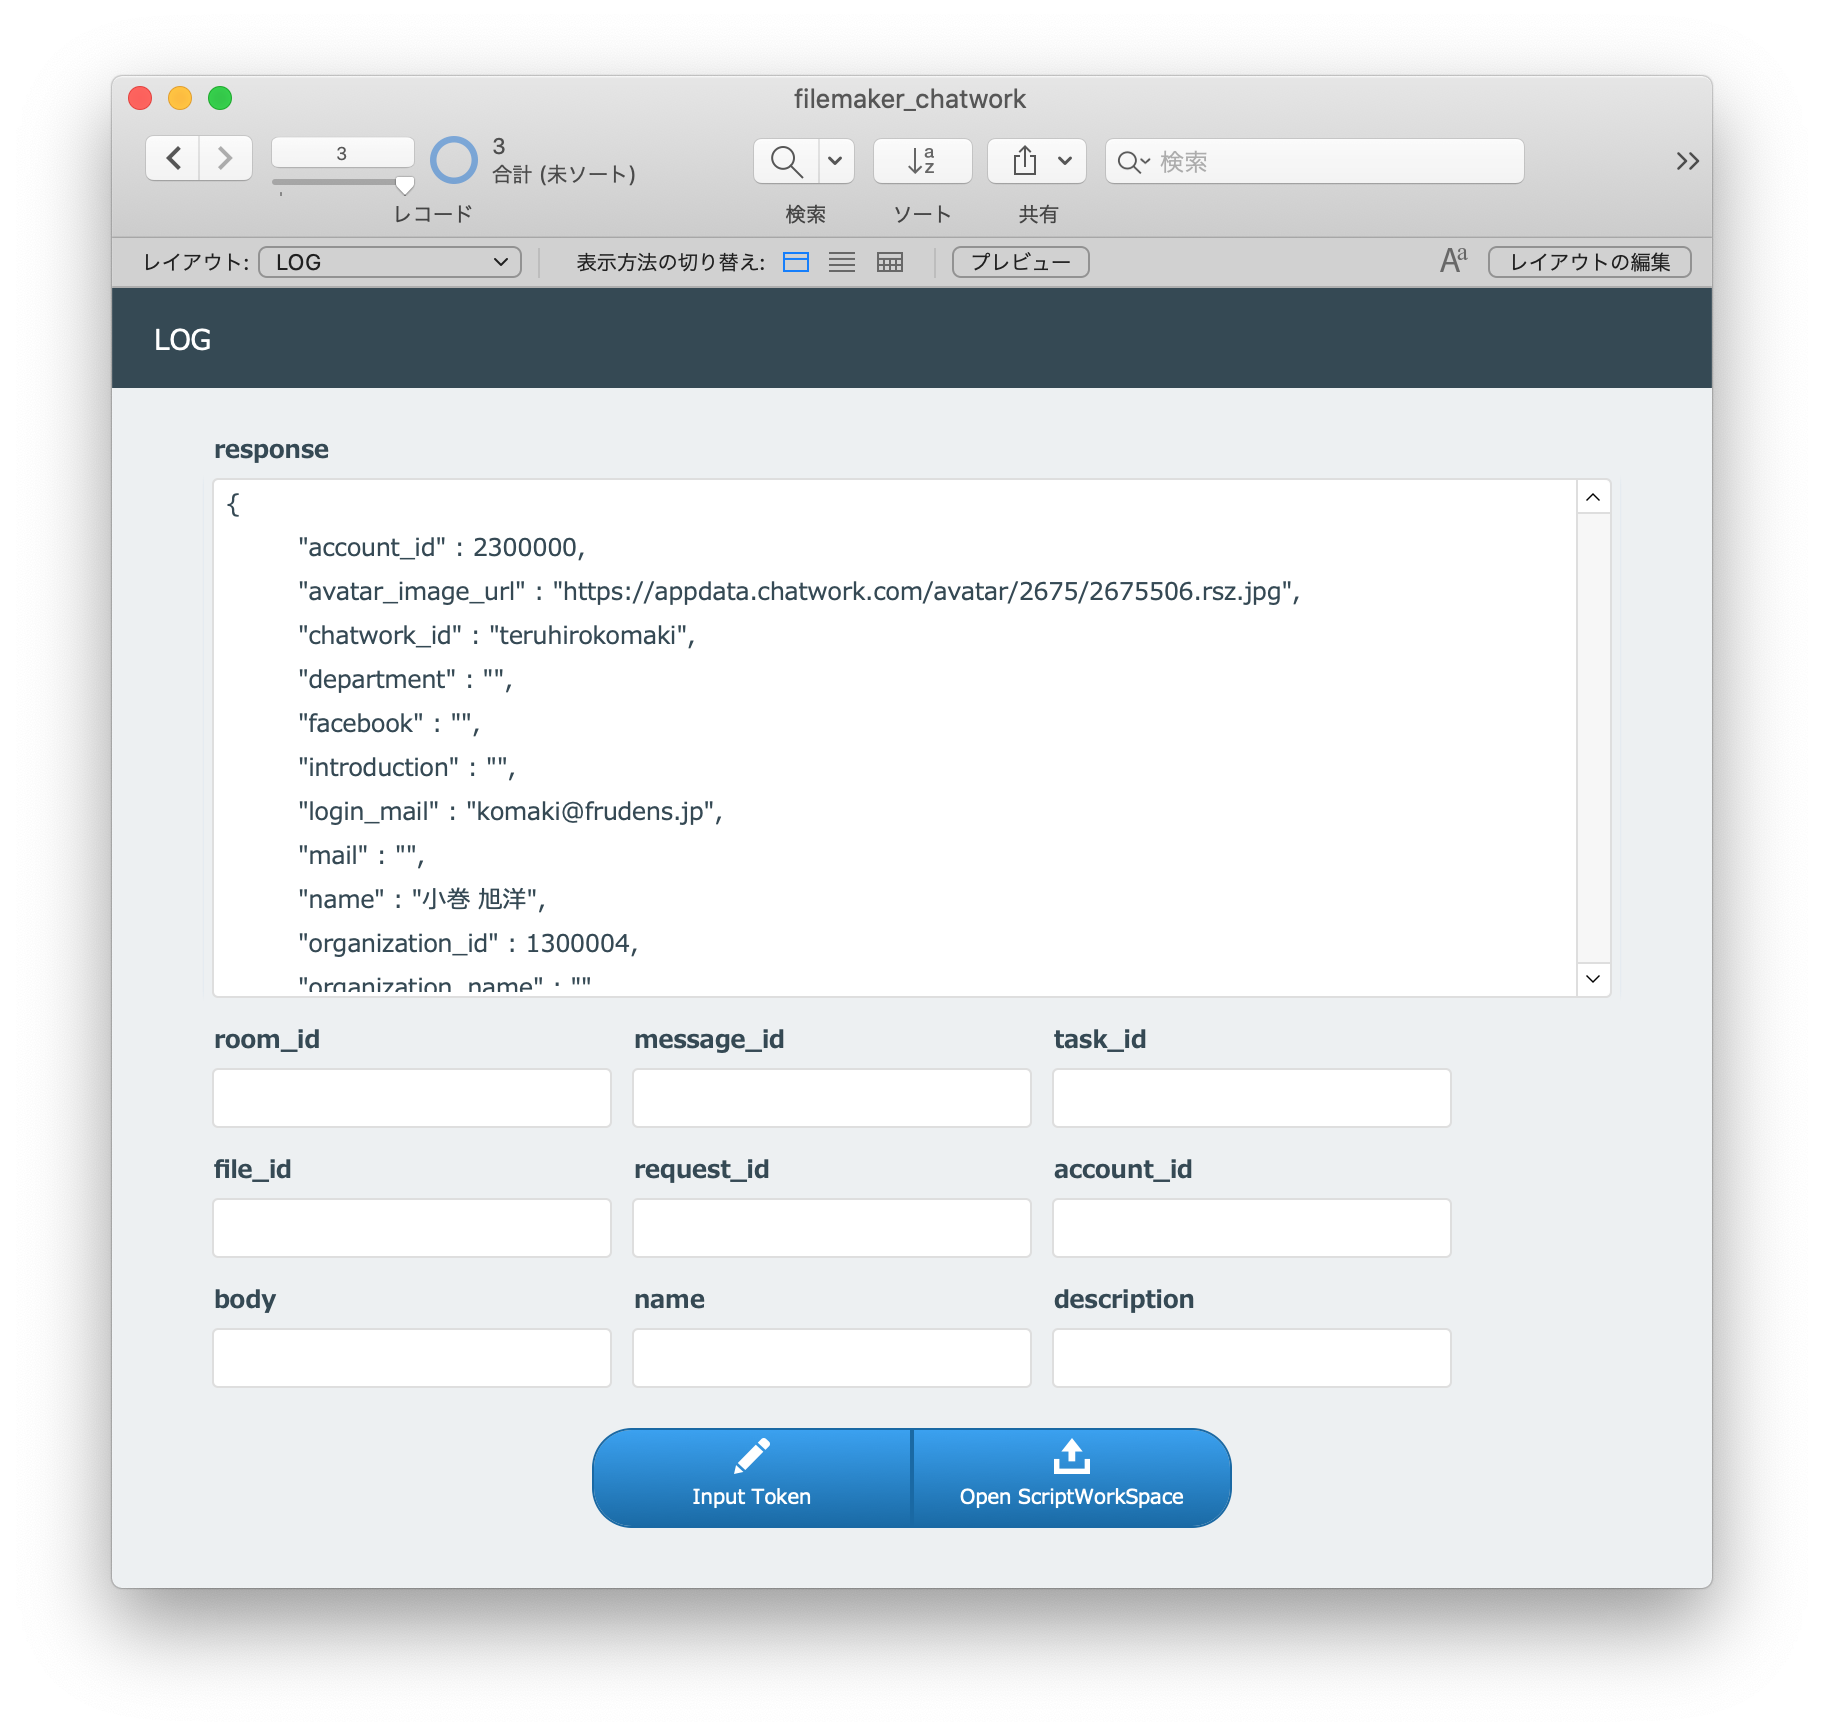
新規レコードが作成され、APIのレスポンスがlog::responseフィールドに設定されます。
ターミナルの時と同様に、ドキュメントのレスポンス部分にあるJSONと同じ結果を取得することができました。
変数について
デバッグしてみるとわかりますが、変数は以下の値になります。
$url

$url

https://api.chatwork.com/v2/me
$optionTmpl
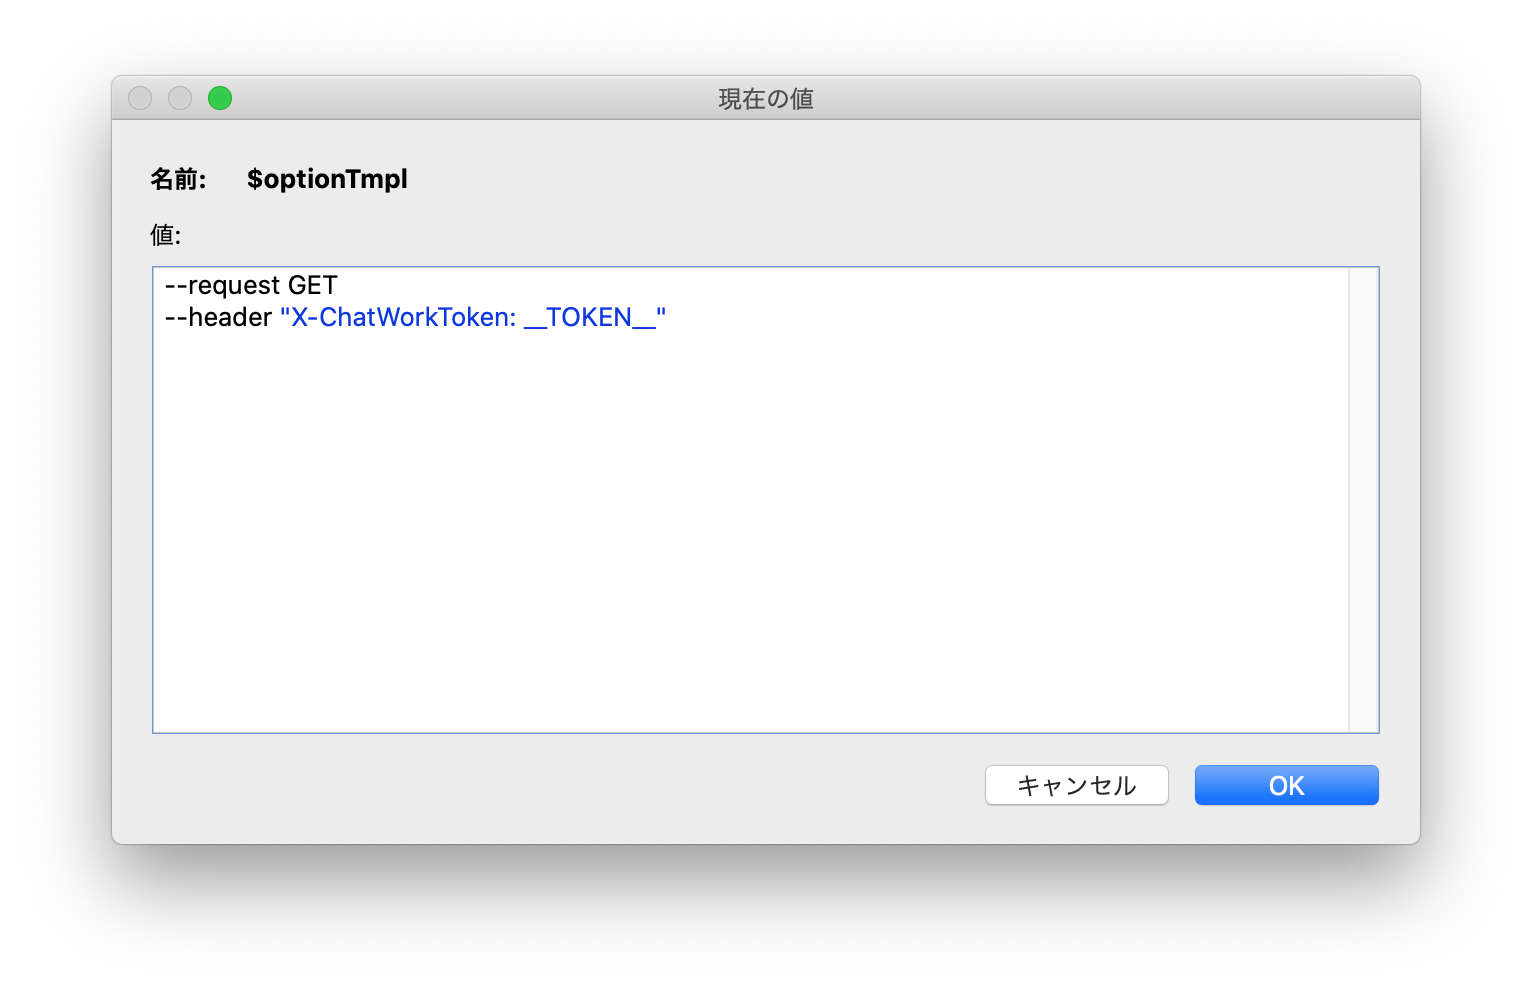
$optionTmpl

--request GET
--header "X-ChatWorkToken: __TOKEN__"
$option
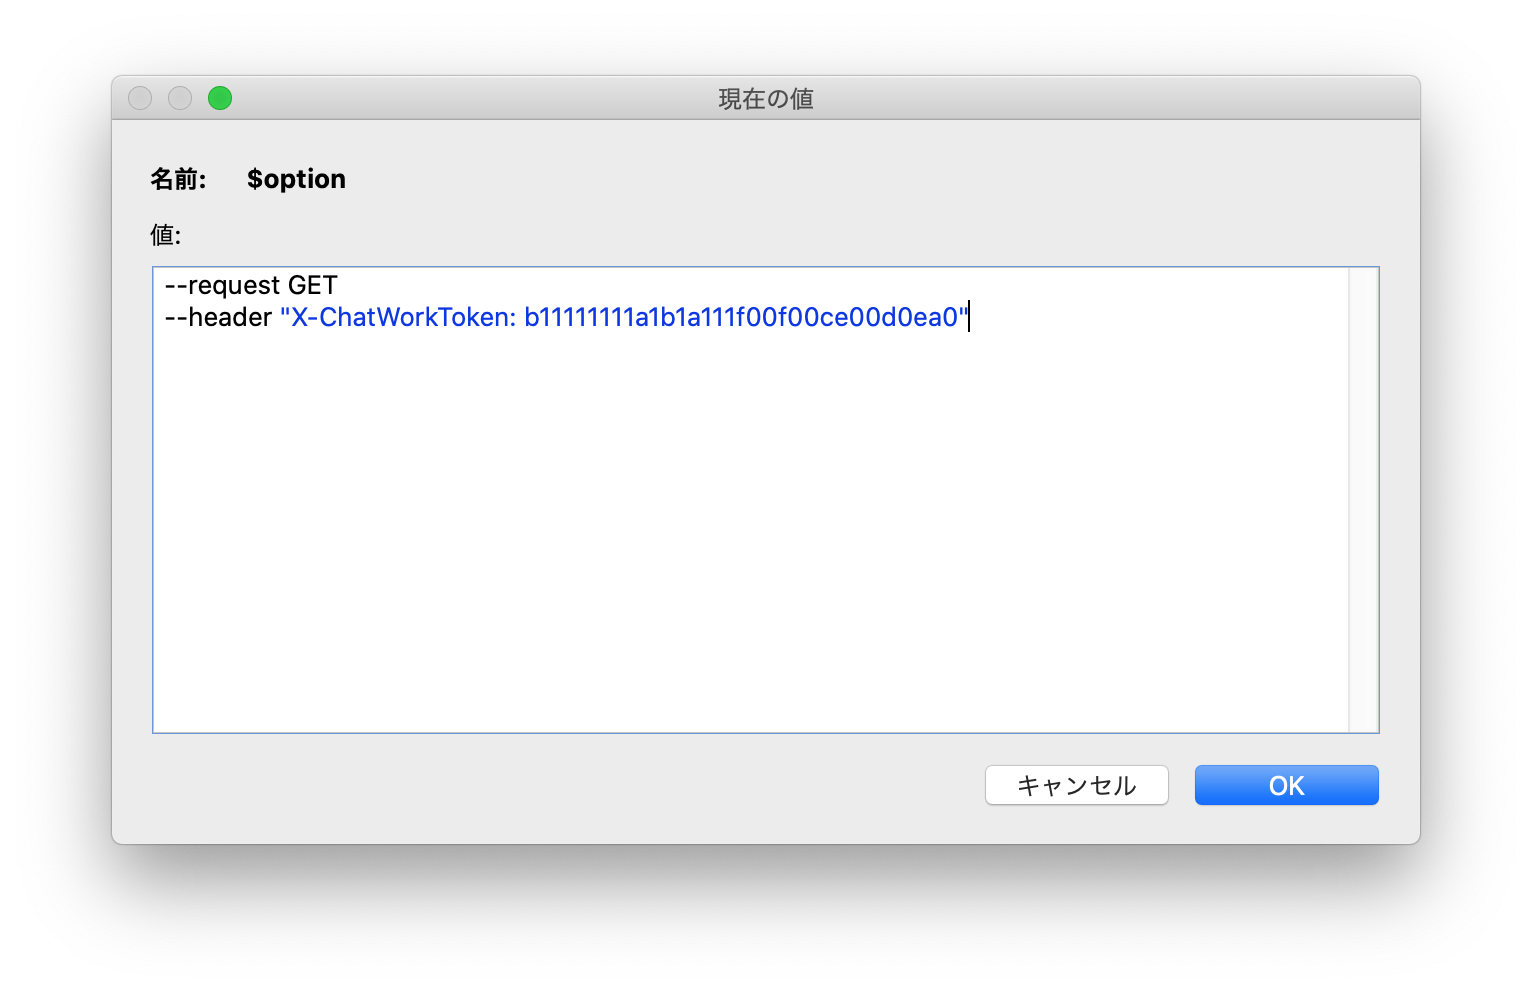
$option

--request GET
--header "X-ChatWorkToken: b11111111a1b1a111f00f00ce00d0ea0"
$result
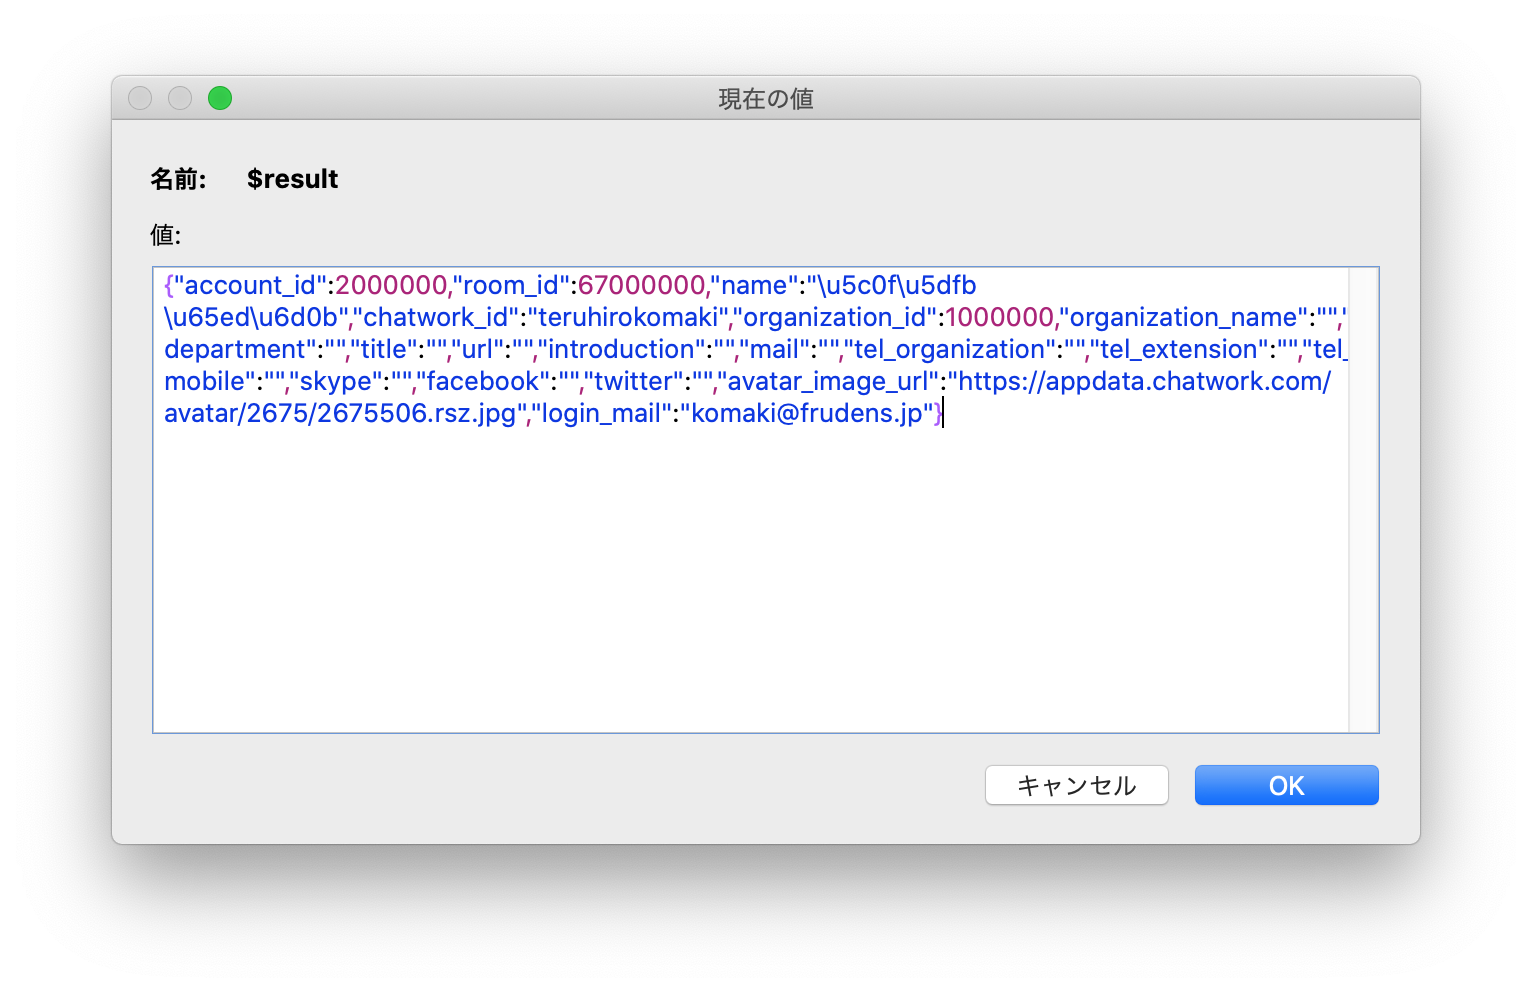
$result

{"account_id":2000000,"room_id":67000000,"name":"\u5c0f\u5dfb \u65ed\u6d0b","chatwork_id":"teruhirokomaki","organization_id":1000000,"organization_name":"","department":"","title":"","url":"","introduction":"","mail":"","tel_organization":"","tel_extension":"","tel_mobile":"","skype":"","facebook":"","twitter":"","avatar_image_url":"https://appdata.chatwork.com/avatar/2675/2675506.rsz.jpg","login_mail":"komaki@frudens.jp"}
$result をフォーマット
$result をフォーマットすると、以下の図のようになります。
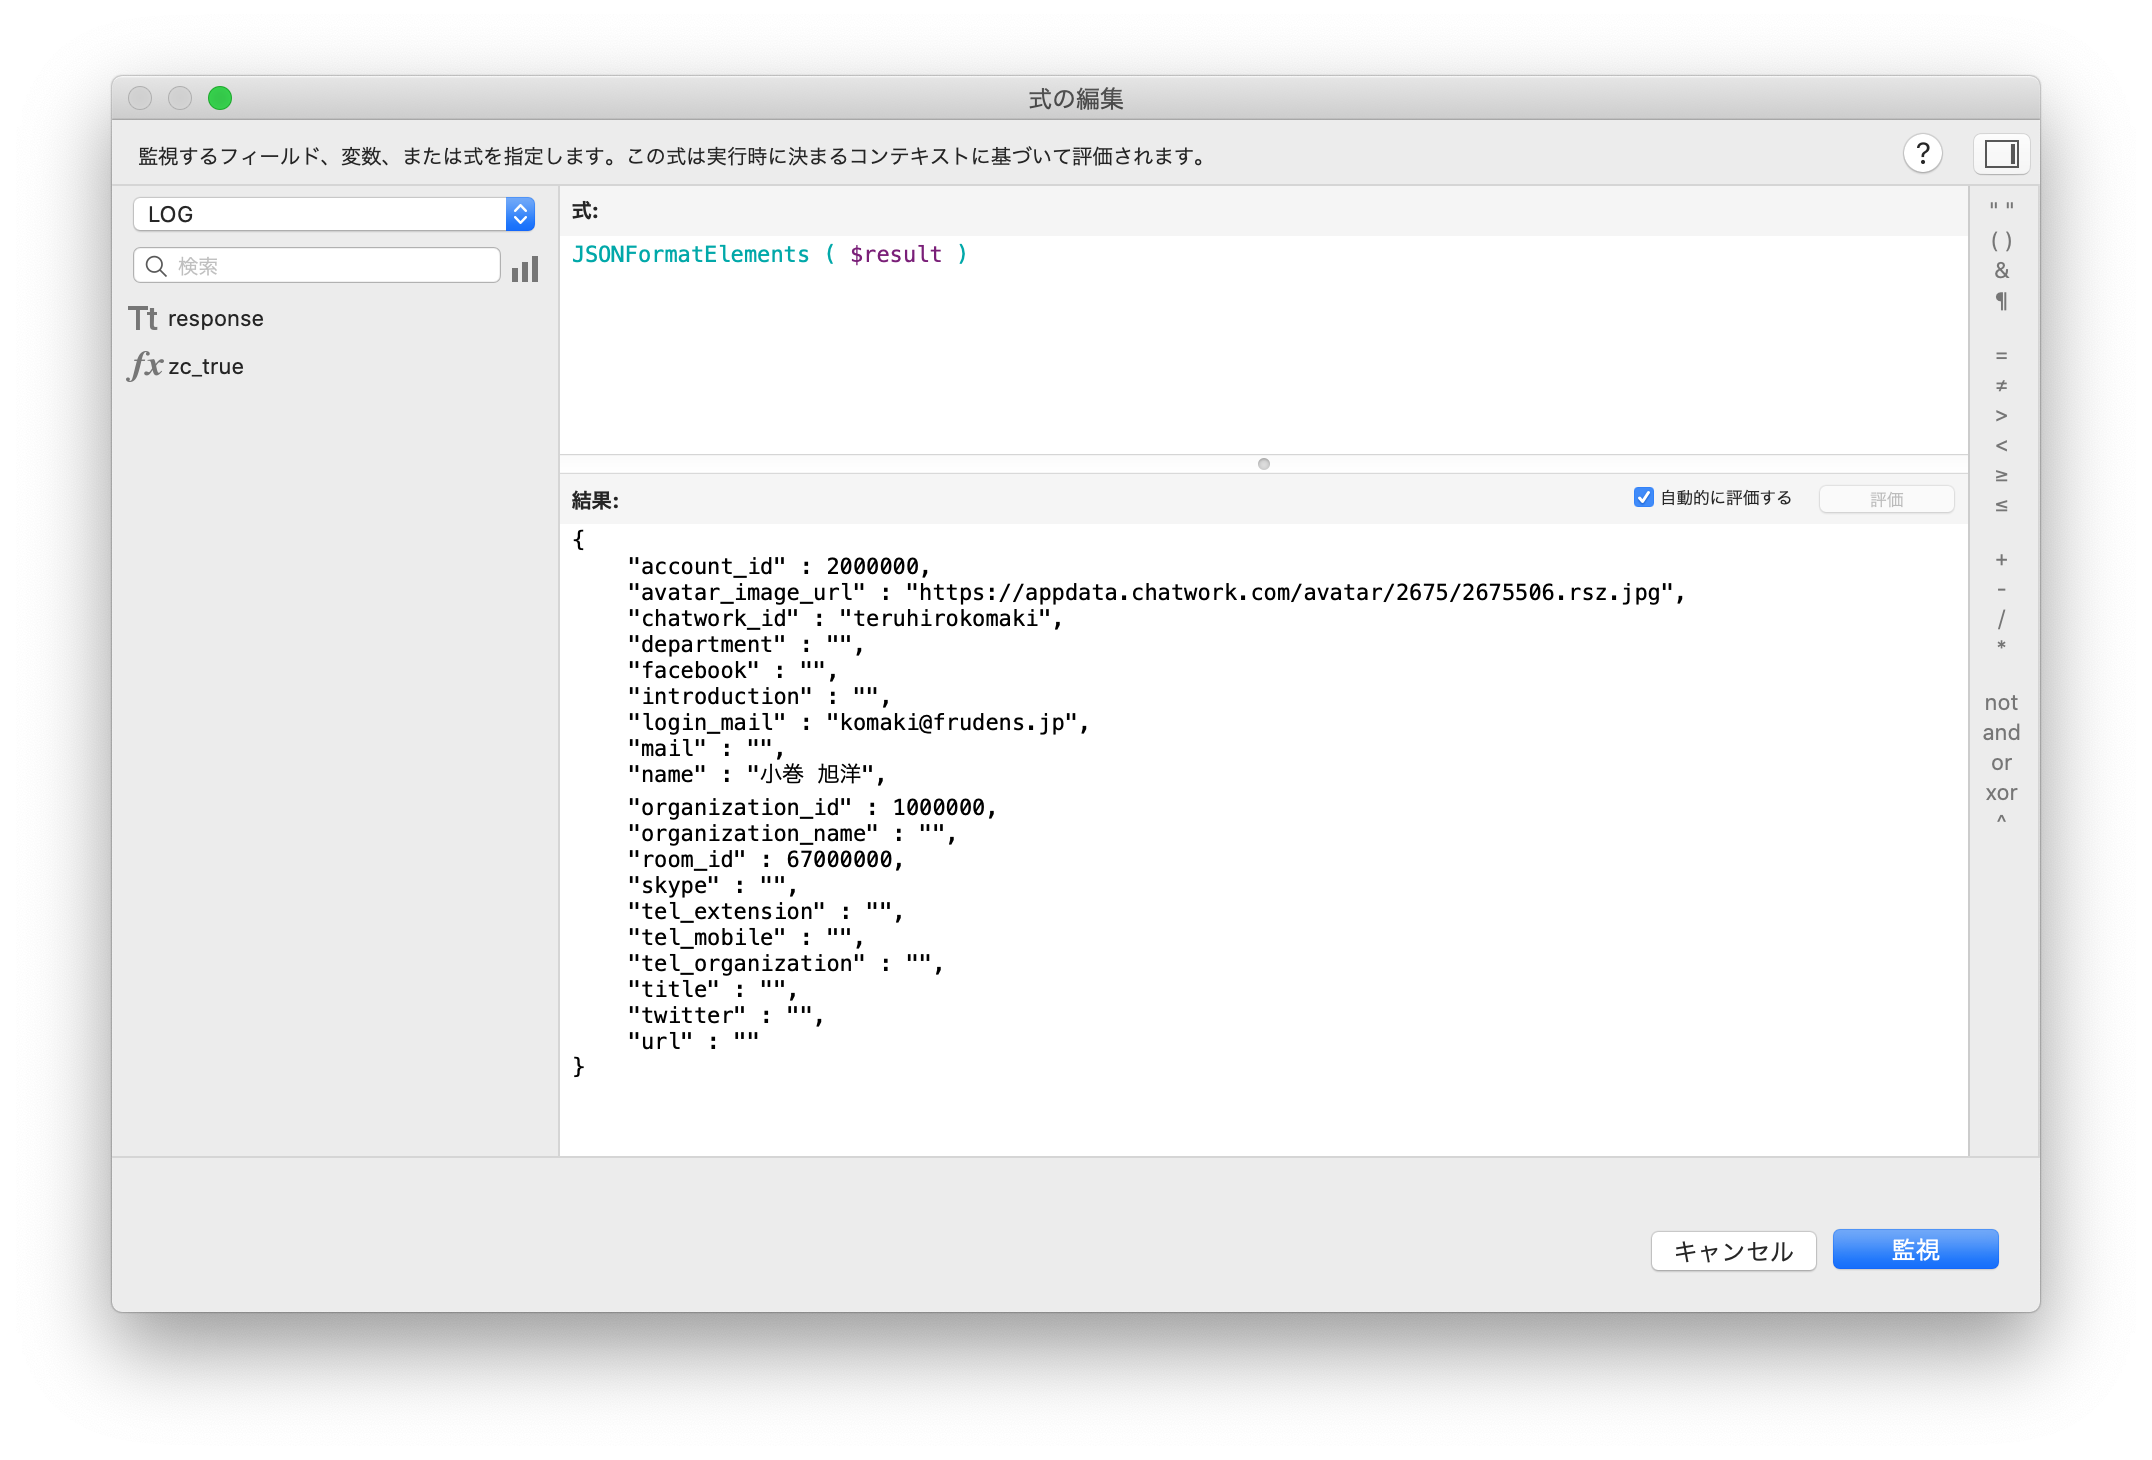
{
	"account_id" : 2300000,
	"avatar_image_url" : "https://appdata.chatwork.com/avatar/2675/2675506.rsz.jpg",
	"chatwork_id" : "teruhirokomaki",
	"department" : "",
	"facebook" : "",
	"introduction" : "",
	"login_mail" : "komaki@frudens.jp",
	"mail" : "",
	"name" : "小巻 旭洋",
	"organization_id" : 1300004,
	"organization_name" : "",
	"room_id" : 67800000,
	"skype" : "",
	"tel_extension" : "",
	"tel_mobile" : "",
	"tel_organization" : "",
	"title" : "",
	"twitter" : "",
	"url" : ""
}
$optionTmpl について
$optionTmpl を「テキストを挿入」で設定し、トークンを Substitute することで $option を設定しています。
簡単な curl option であれば、困ることはありませんが、
今後、様々なAPIを実行するときに curl option が複雑になる可能性があるため、私はテンプレートを作成し Substitute することにしています。
また、「変数を設定」を使うと、ダブルクオーテーションをエスケープする必要があり、可読性が下がるため、私はあまり使いません。
以下の記事に記載しています。
API連携のテストには “テキストを挿入” がおすすめ
https://frudens.jp/api-coordination-recommended-insert-text/
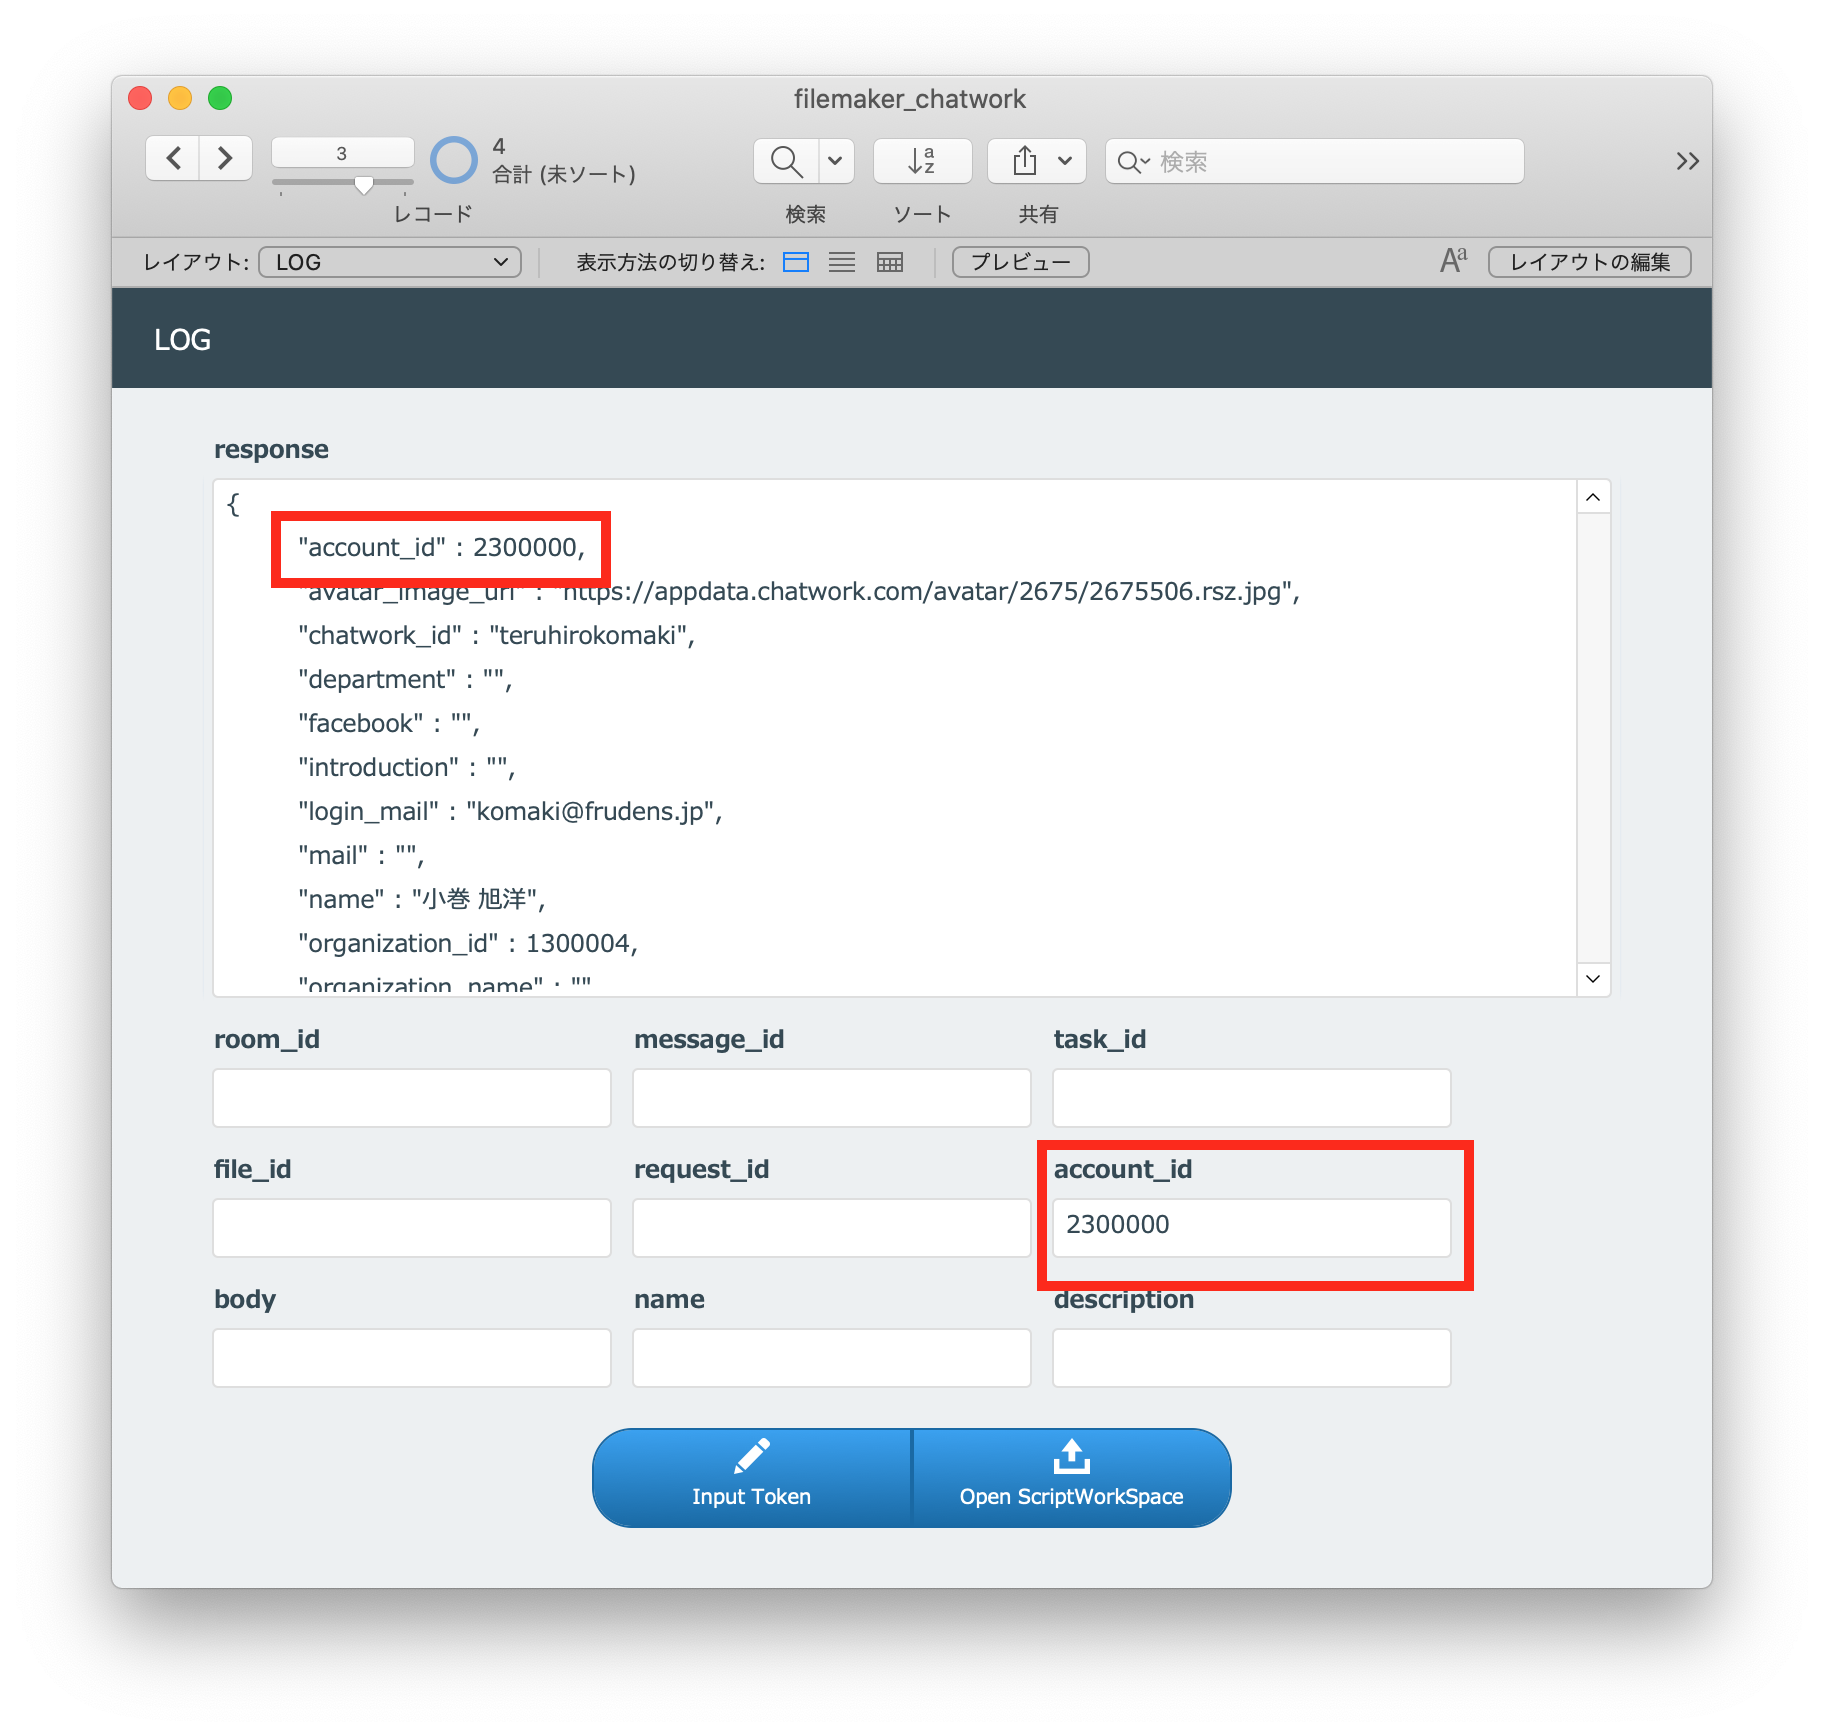
レスポンスの account_id をフィールドにコピペする
以下の図のように、レスポンスの account_id をフィールドにコピペします。
FileMakerから「グループチャットを新規作成」APIをリクエストする
つづいて「グループチャットを新規作成」APIをリクエストします。
http://developer.chatwork.com/ja/endpoint_rooms.html#POST-rooms
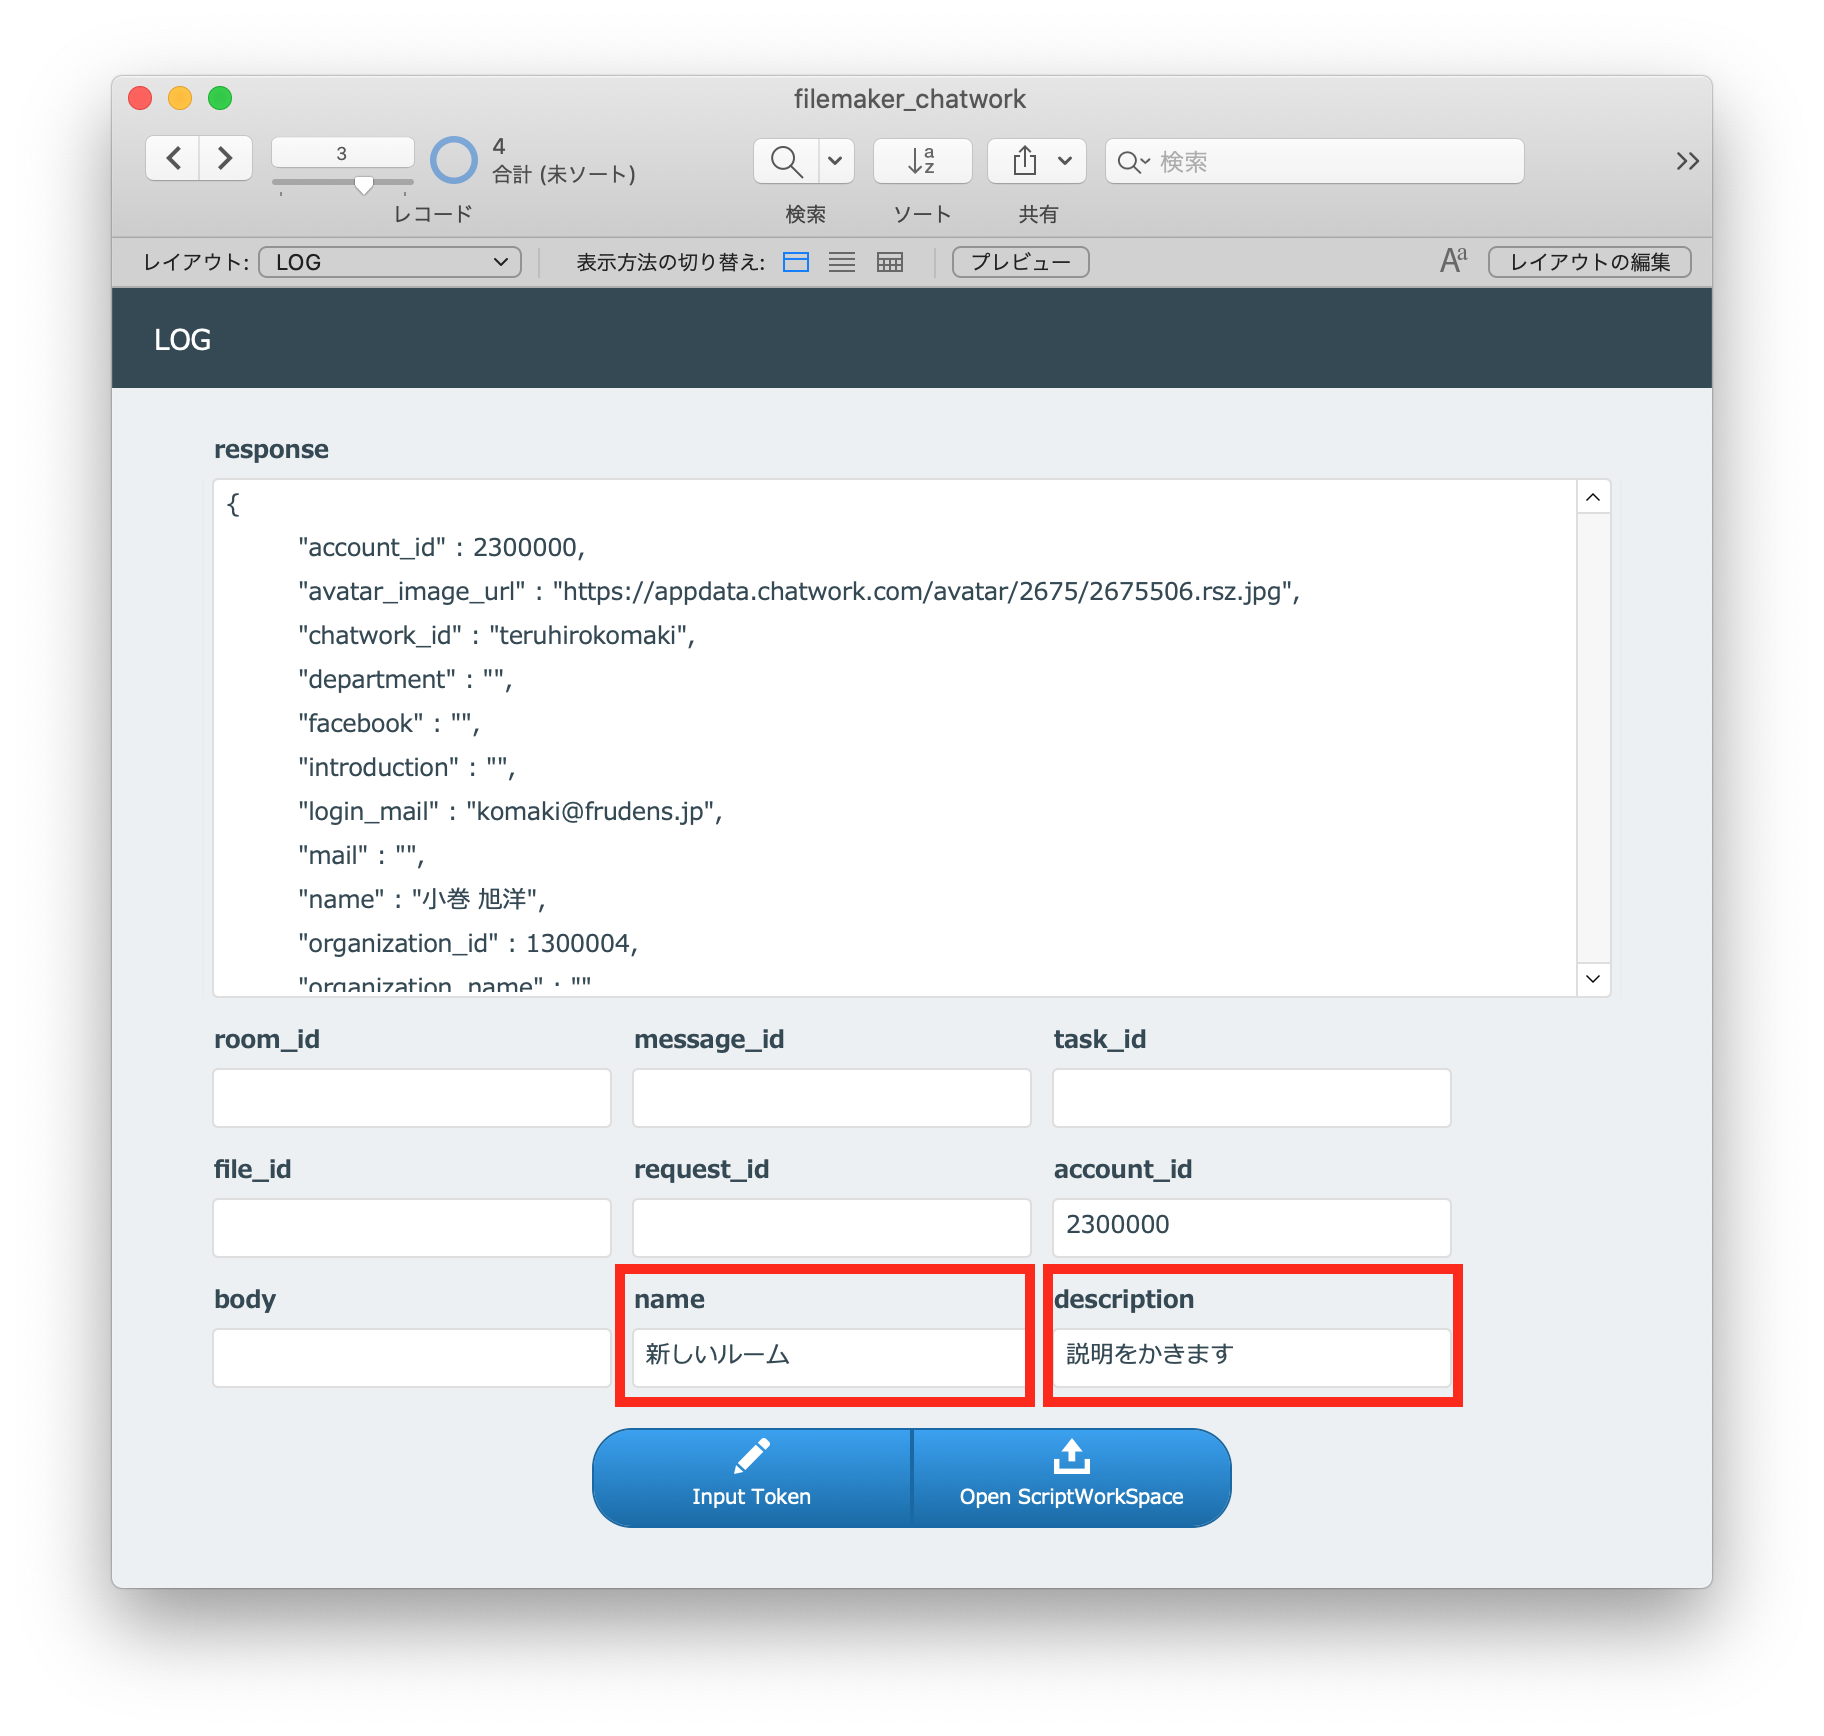
ドキュメントを見ると name と members_admin_ids が必須となっていますので、以下の図のように、スクリプトを実行する前に、予めフィールドを入力しておきます。
サンプルコードは以下のようになっています。
サンプルコード
curl -X POST -H "X-ChatWorkToken: 自分のAPIトークン" -d "description=group+chat+description&icon_preset=meeting&members_admin_ids=123%2C542%2C1001&members_member_ids=21%2C344&members_readonly_ids=15%2C103&name=Website+renewal+project" "https://api.chatwork.com/v2/rooms"
「POST /rooms」スクリプトを選択し、実行します。
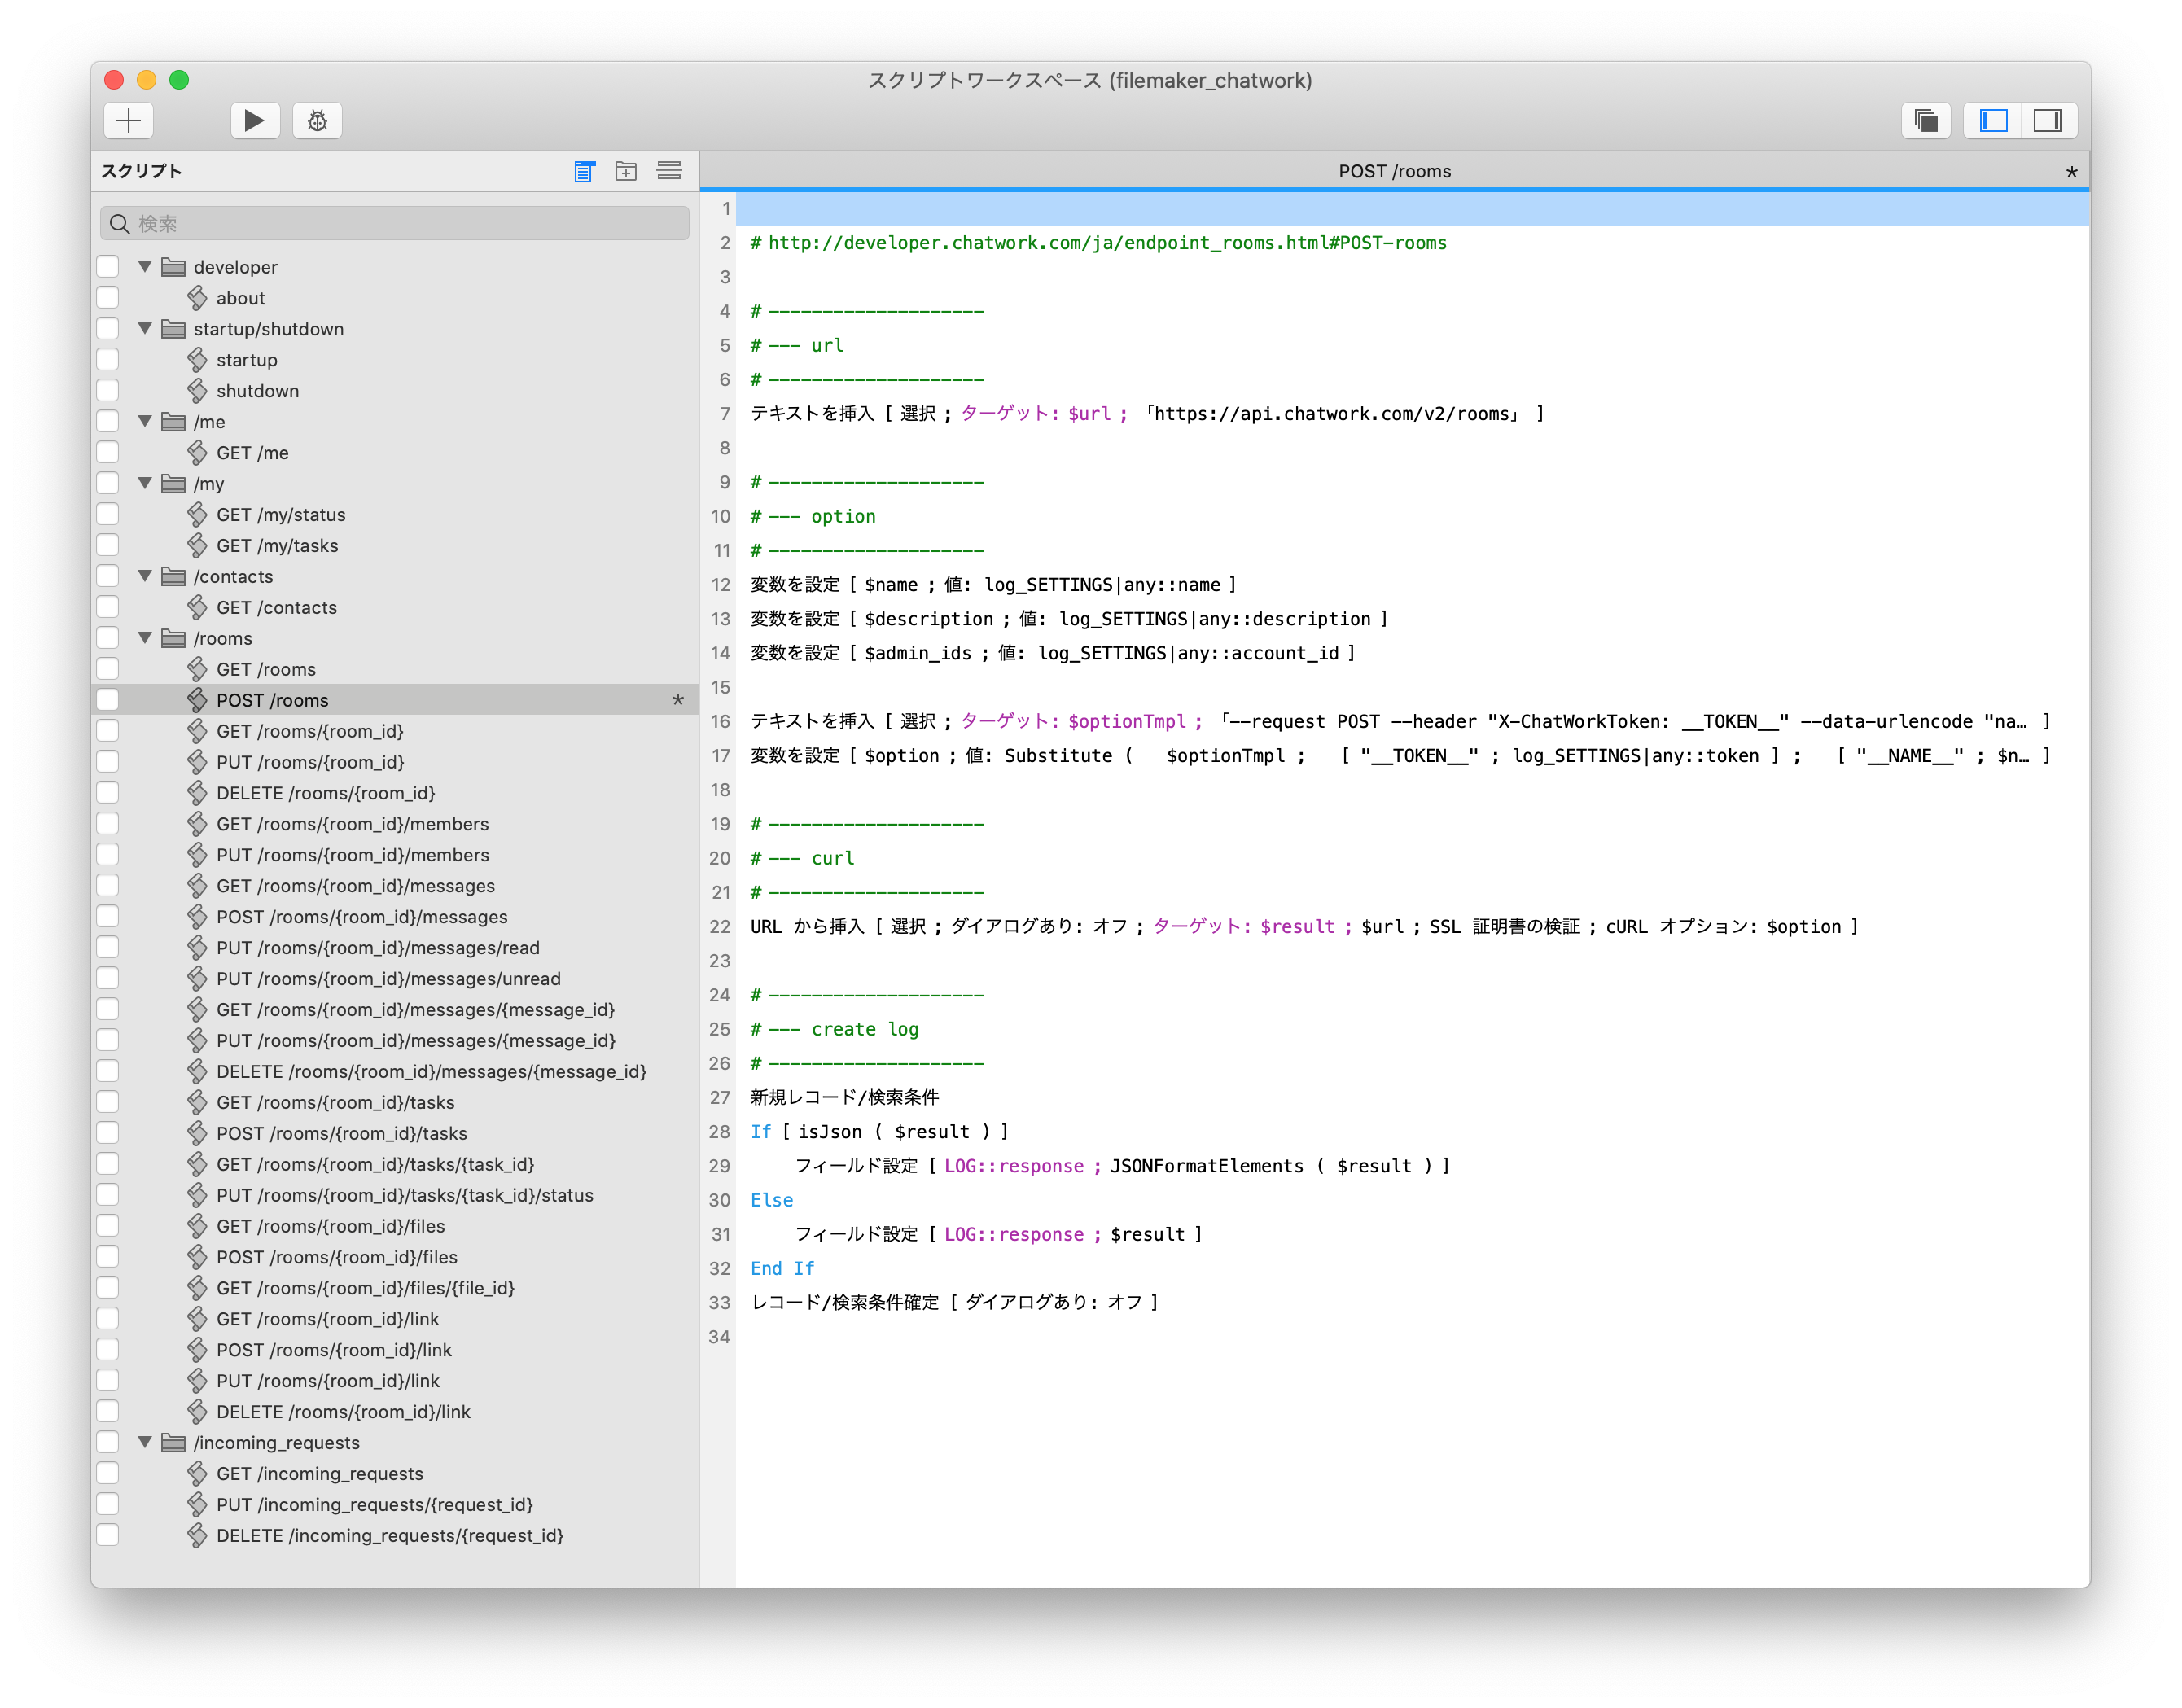
スクリプト
# http://developer.chatwork.com/ja/endpoint_rooms.html#POST-rooms

# --------------------
# --- url
# --------------------
テキストを挿入 [ 選択 ; ターゲット: $url ; 「https://api.chatwork.com/v2/rooms」 ]

# --------------------
# --- option
# --------------------
変数を設定 [ $name ; 値: log_SETTINGS|any::name ]
変数を設定 [ $description ; 値: log_SETTINGS|any::description ]
変数を設定 [ $admin_ids ; 値: log_SETTINGS|any::account_id ]

テキストを挿入 [ 選択 ; ターゲット: $optionTmpl ; 「--request POST --header "X-ChatWorkToken: __TOKEN__" --data-urlencode "name=__NAME__" --data-urlencode "description=__DESCRIPTION__" --data-urlencode "members_admin_ids=__ADMINIDS__" --data-urlencode "icon_preset=meeting"」 ]
変数を設定 [ $option ; 値: Substitute (   $optionTmpl ;   [ "__TOKEN__" ; log_SETTINGS|any::token ] ;   [ "__NAME__" ; $name ] ;   [ "__DESCRIPTION__" ; $description ] ;   [ "__ADMINIDS__" ; $admin_ids ] ) ]

# --------------------
# --- curl
# --------------------
URL から挿入 [ 選択 ; ダイアログあり: オフ ; ターゲット: $result ; $url ; SSL 証明書の検証 ; cURL オプション: $option ]

# --------------------
# --- create log
# --------------------
新規レコード/検索条件
If [ isJson ( $result ) ]
	フィールド設定 [ LOG::response ; JSONFormatElements ( $result ) ]
Else
	フィールド設定 [ LOG::response ; $result ]
End If
レコード/検索条件確定 [ ダイアログあり: オフ ]
変数について
前回と同様に、変数を確認します。
$url
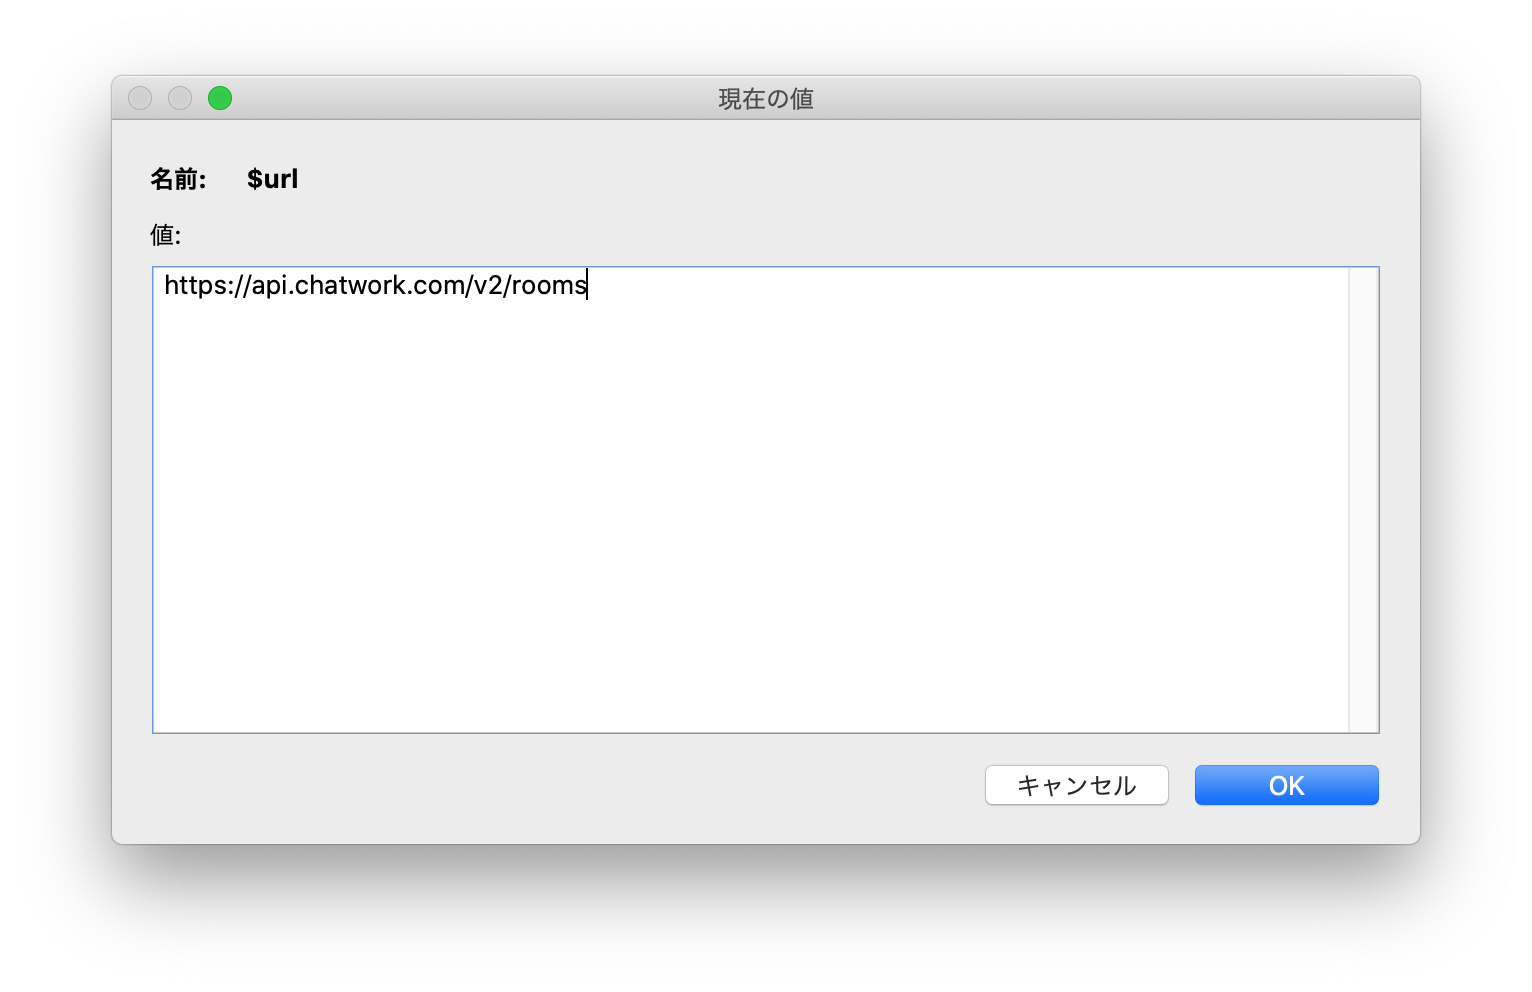
$url

https://api.chatwork.com/v2/rooms
$optionTmpl
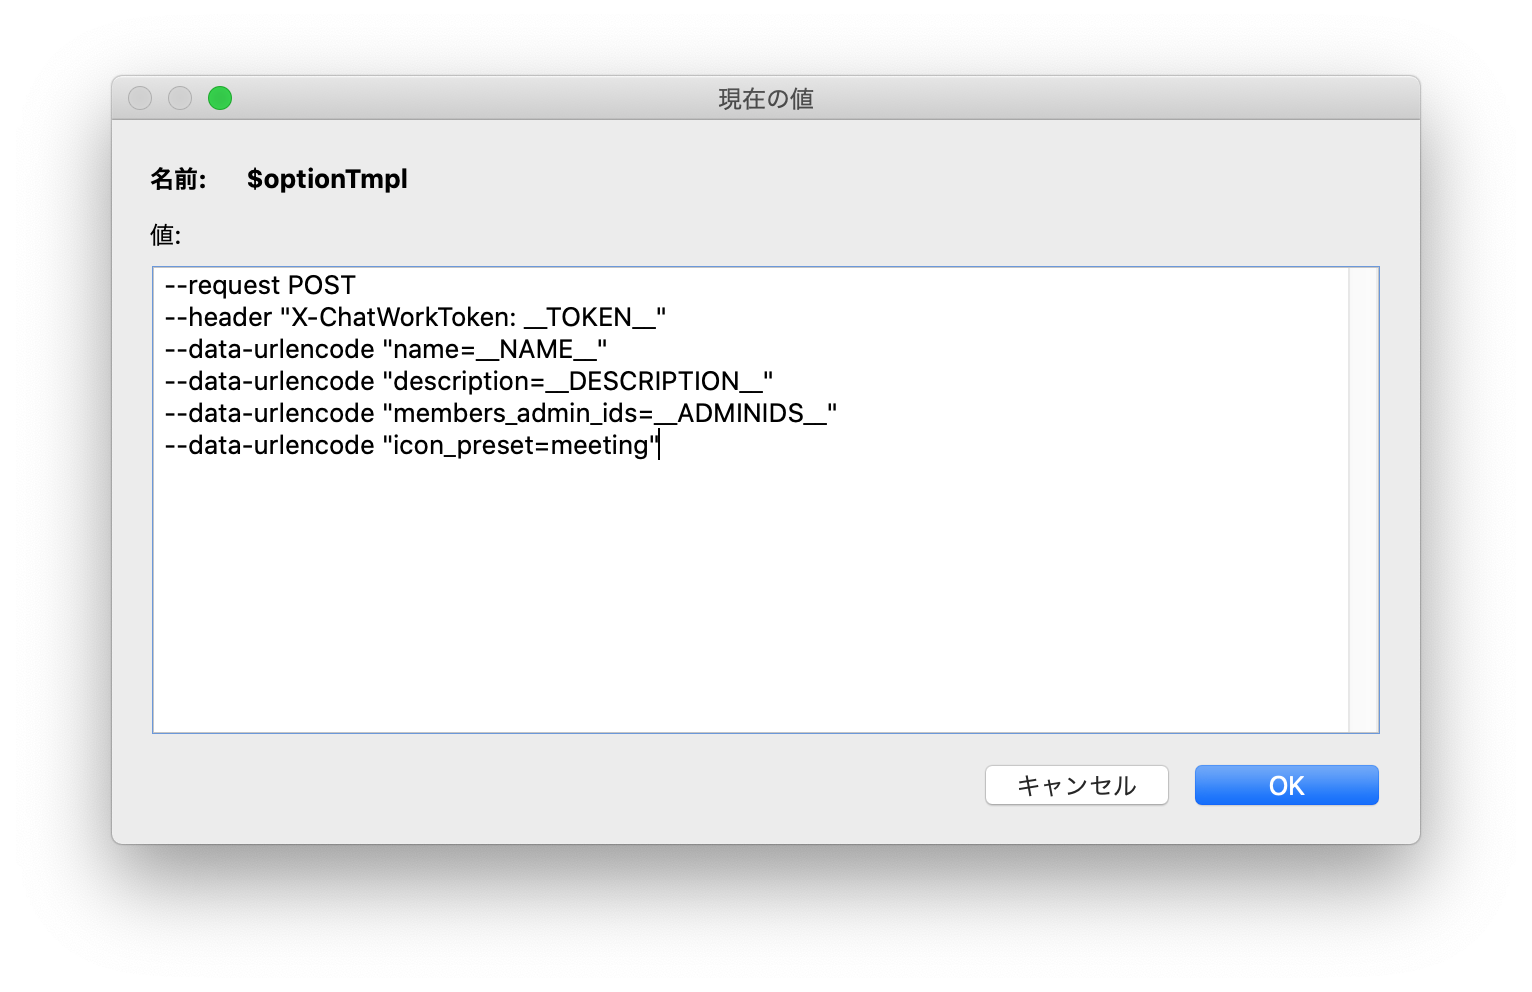
$optionTmpl

--request POST
--header "X-ChatWorkToken: __TOKEN__"
--data-urlencode "name=__NAME__"
--data-urlencode "description=__DESCRIPTION__"
--data-urlencode "members_admin_ids=__ADMINIDS__"
--data-urlencode "icon_preset=meeting"
$option
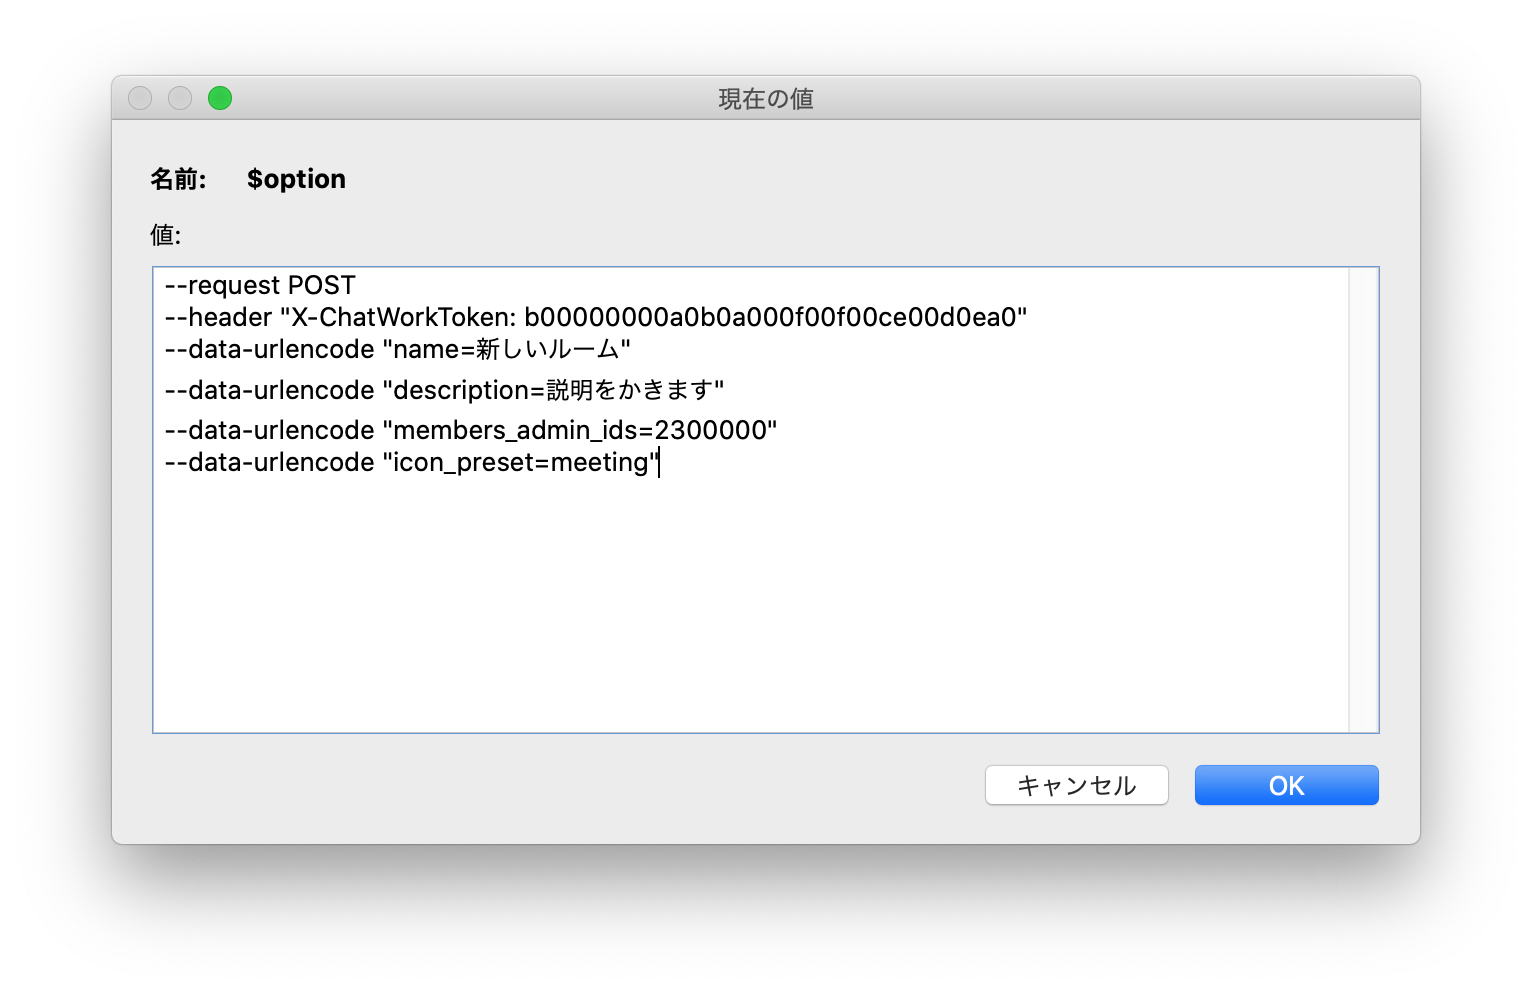
$option

--request POST
--header "X-ChatWorkToken: b00000000a0b0a000f00f00ce00d0ea0"
--data-urlencode "name=新しいルーム"
--data-urlencode "description=説明をかきます"
--data-urlencode "members_admin_ids=2300000"
--data-urlencode "icon_preset=meeting"
$result
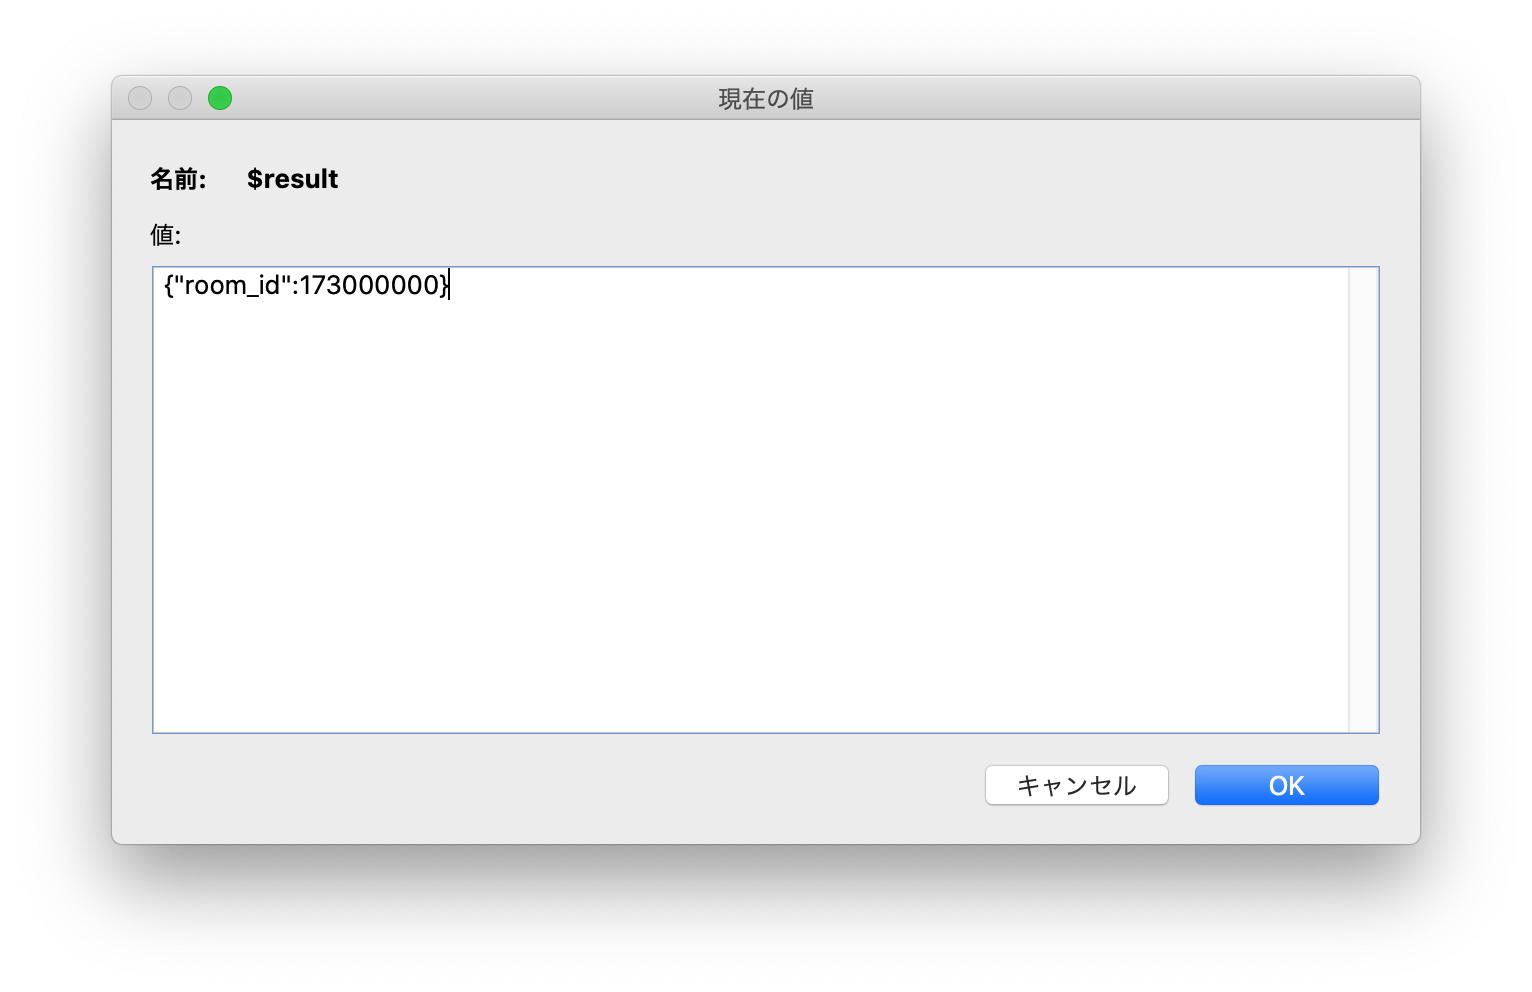
$result

{"room_id":173000000}
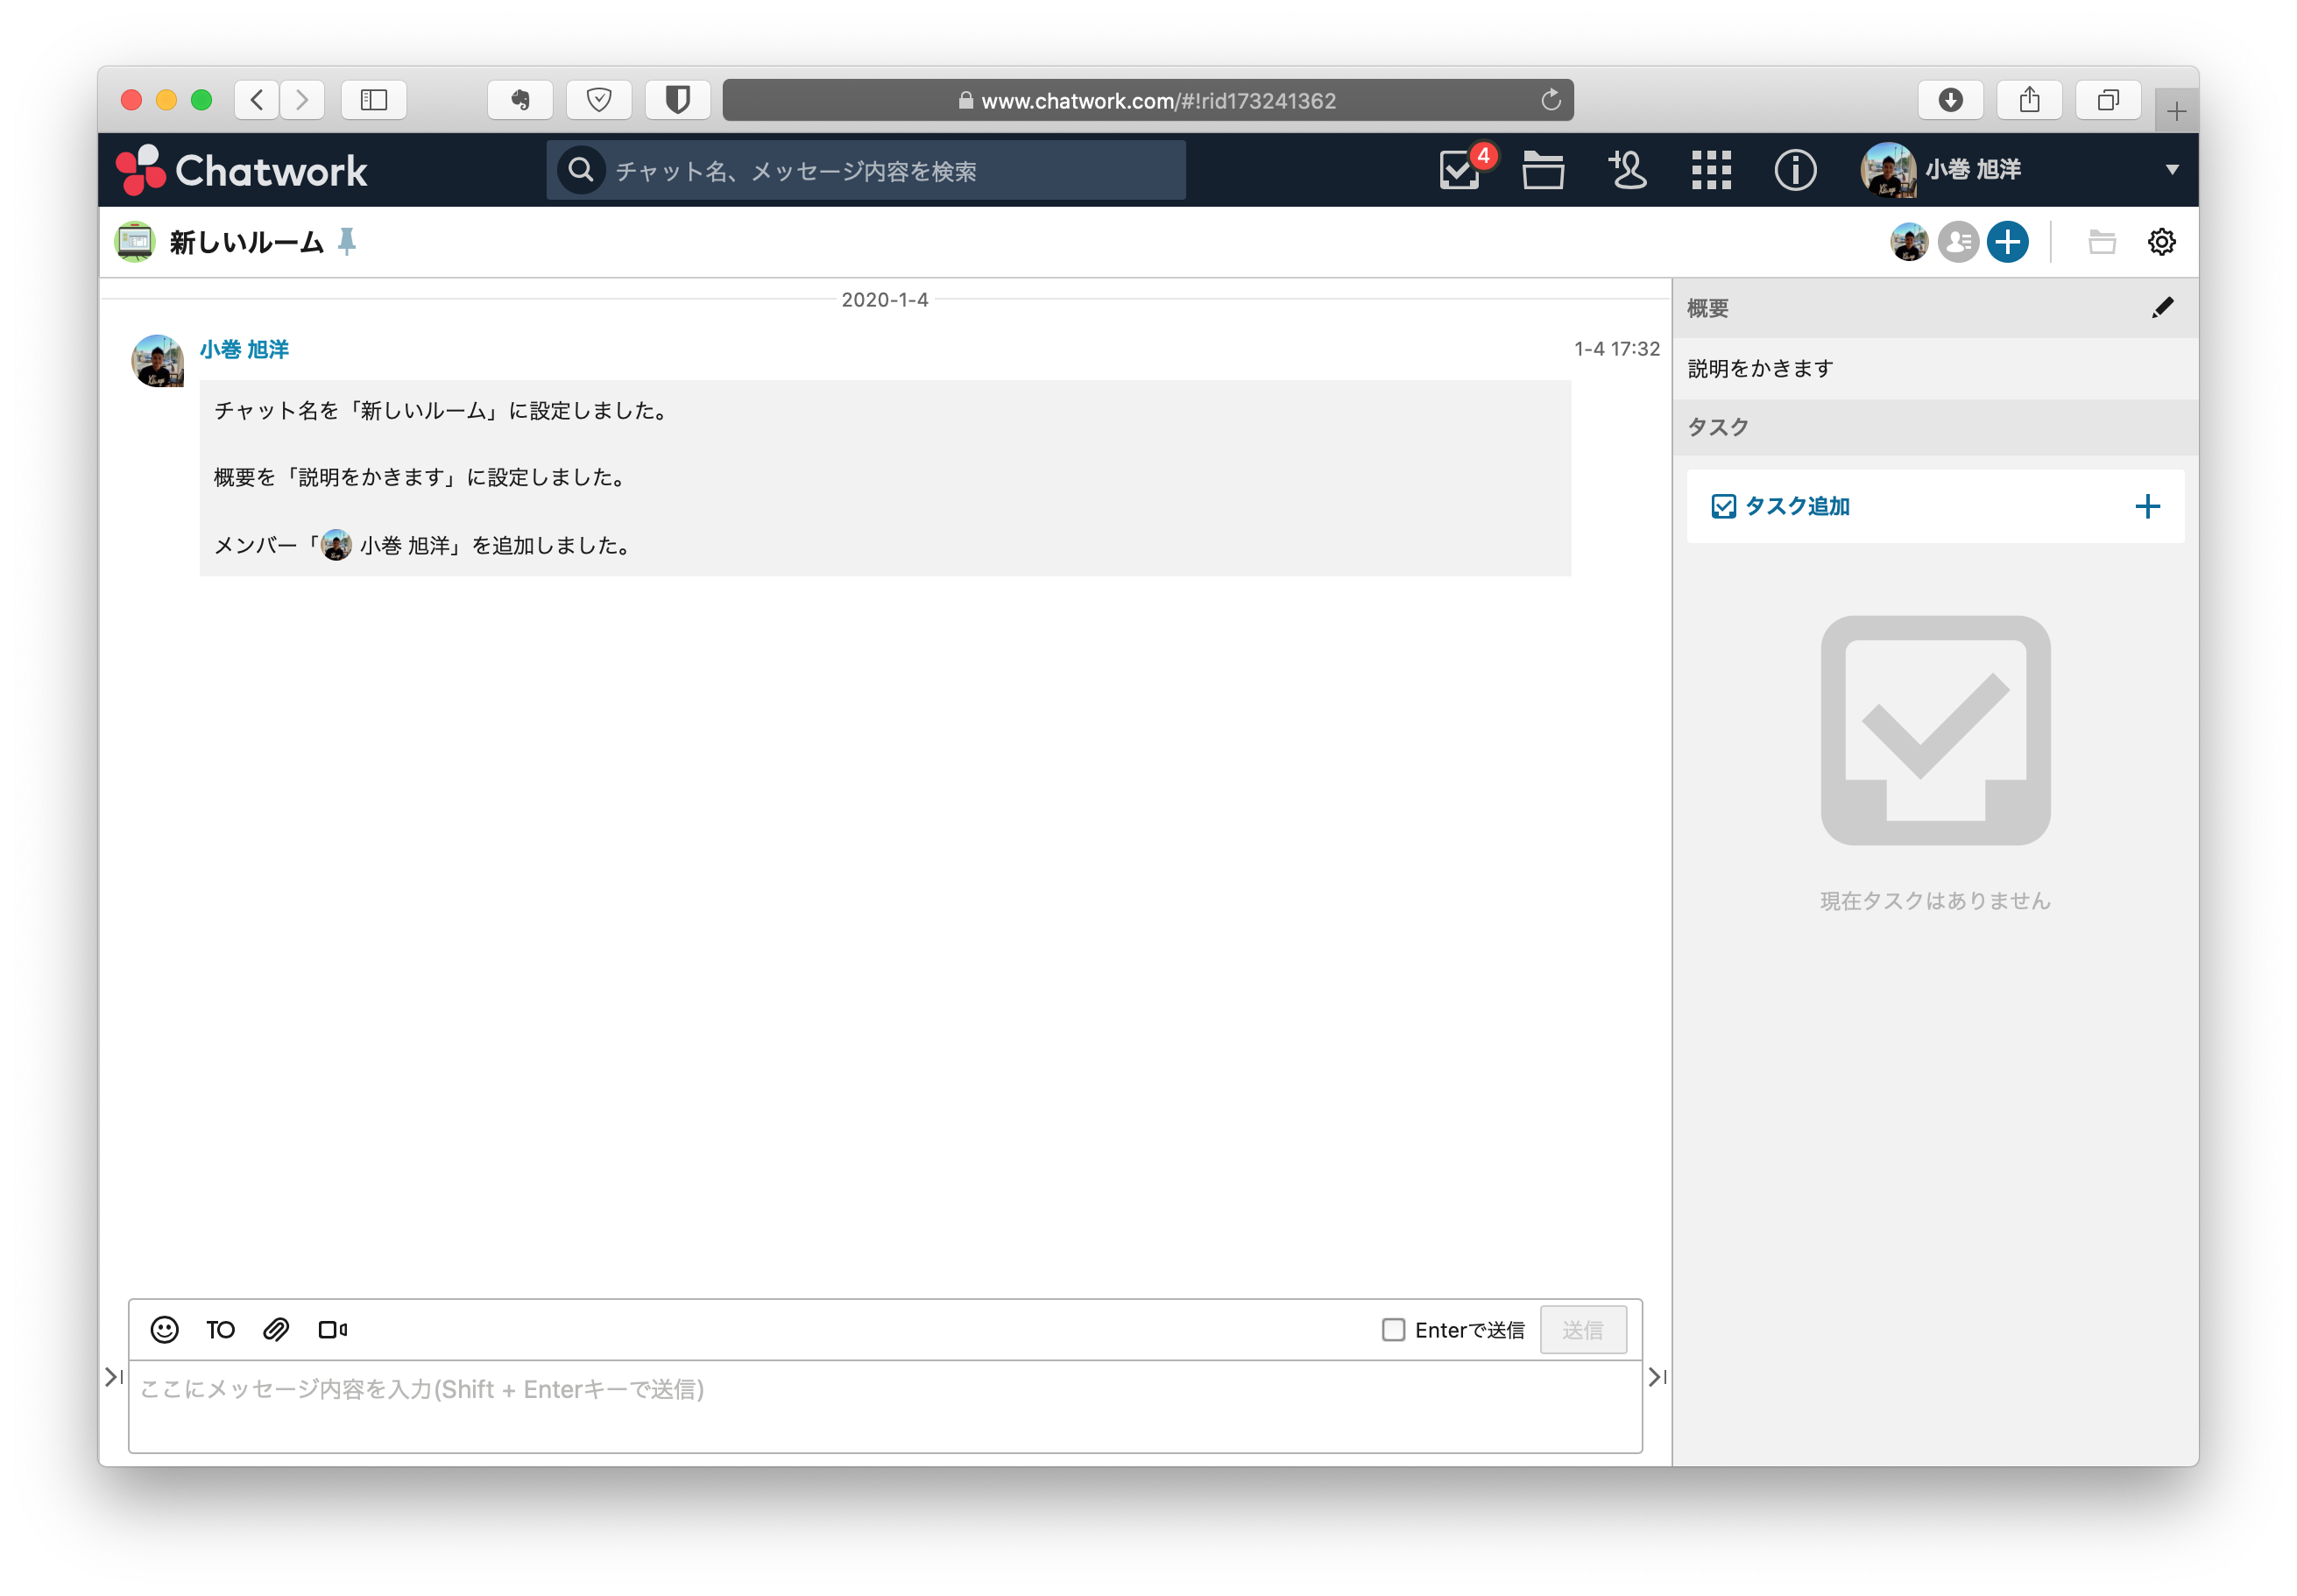
Chatworkを確認する
Chatworkをみてみると、新しいルームが作成されています。
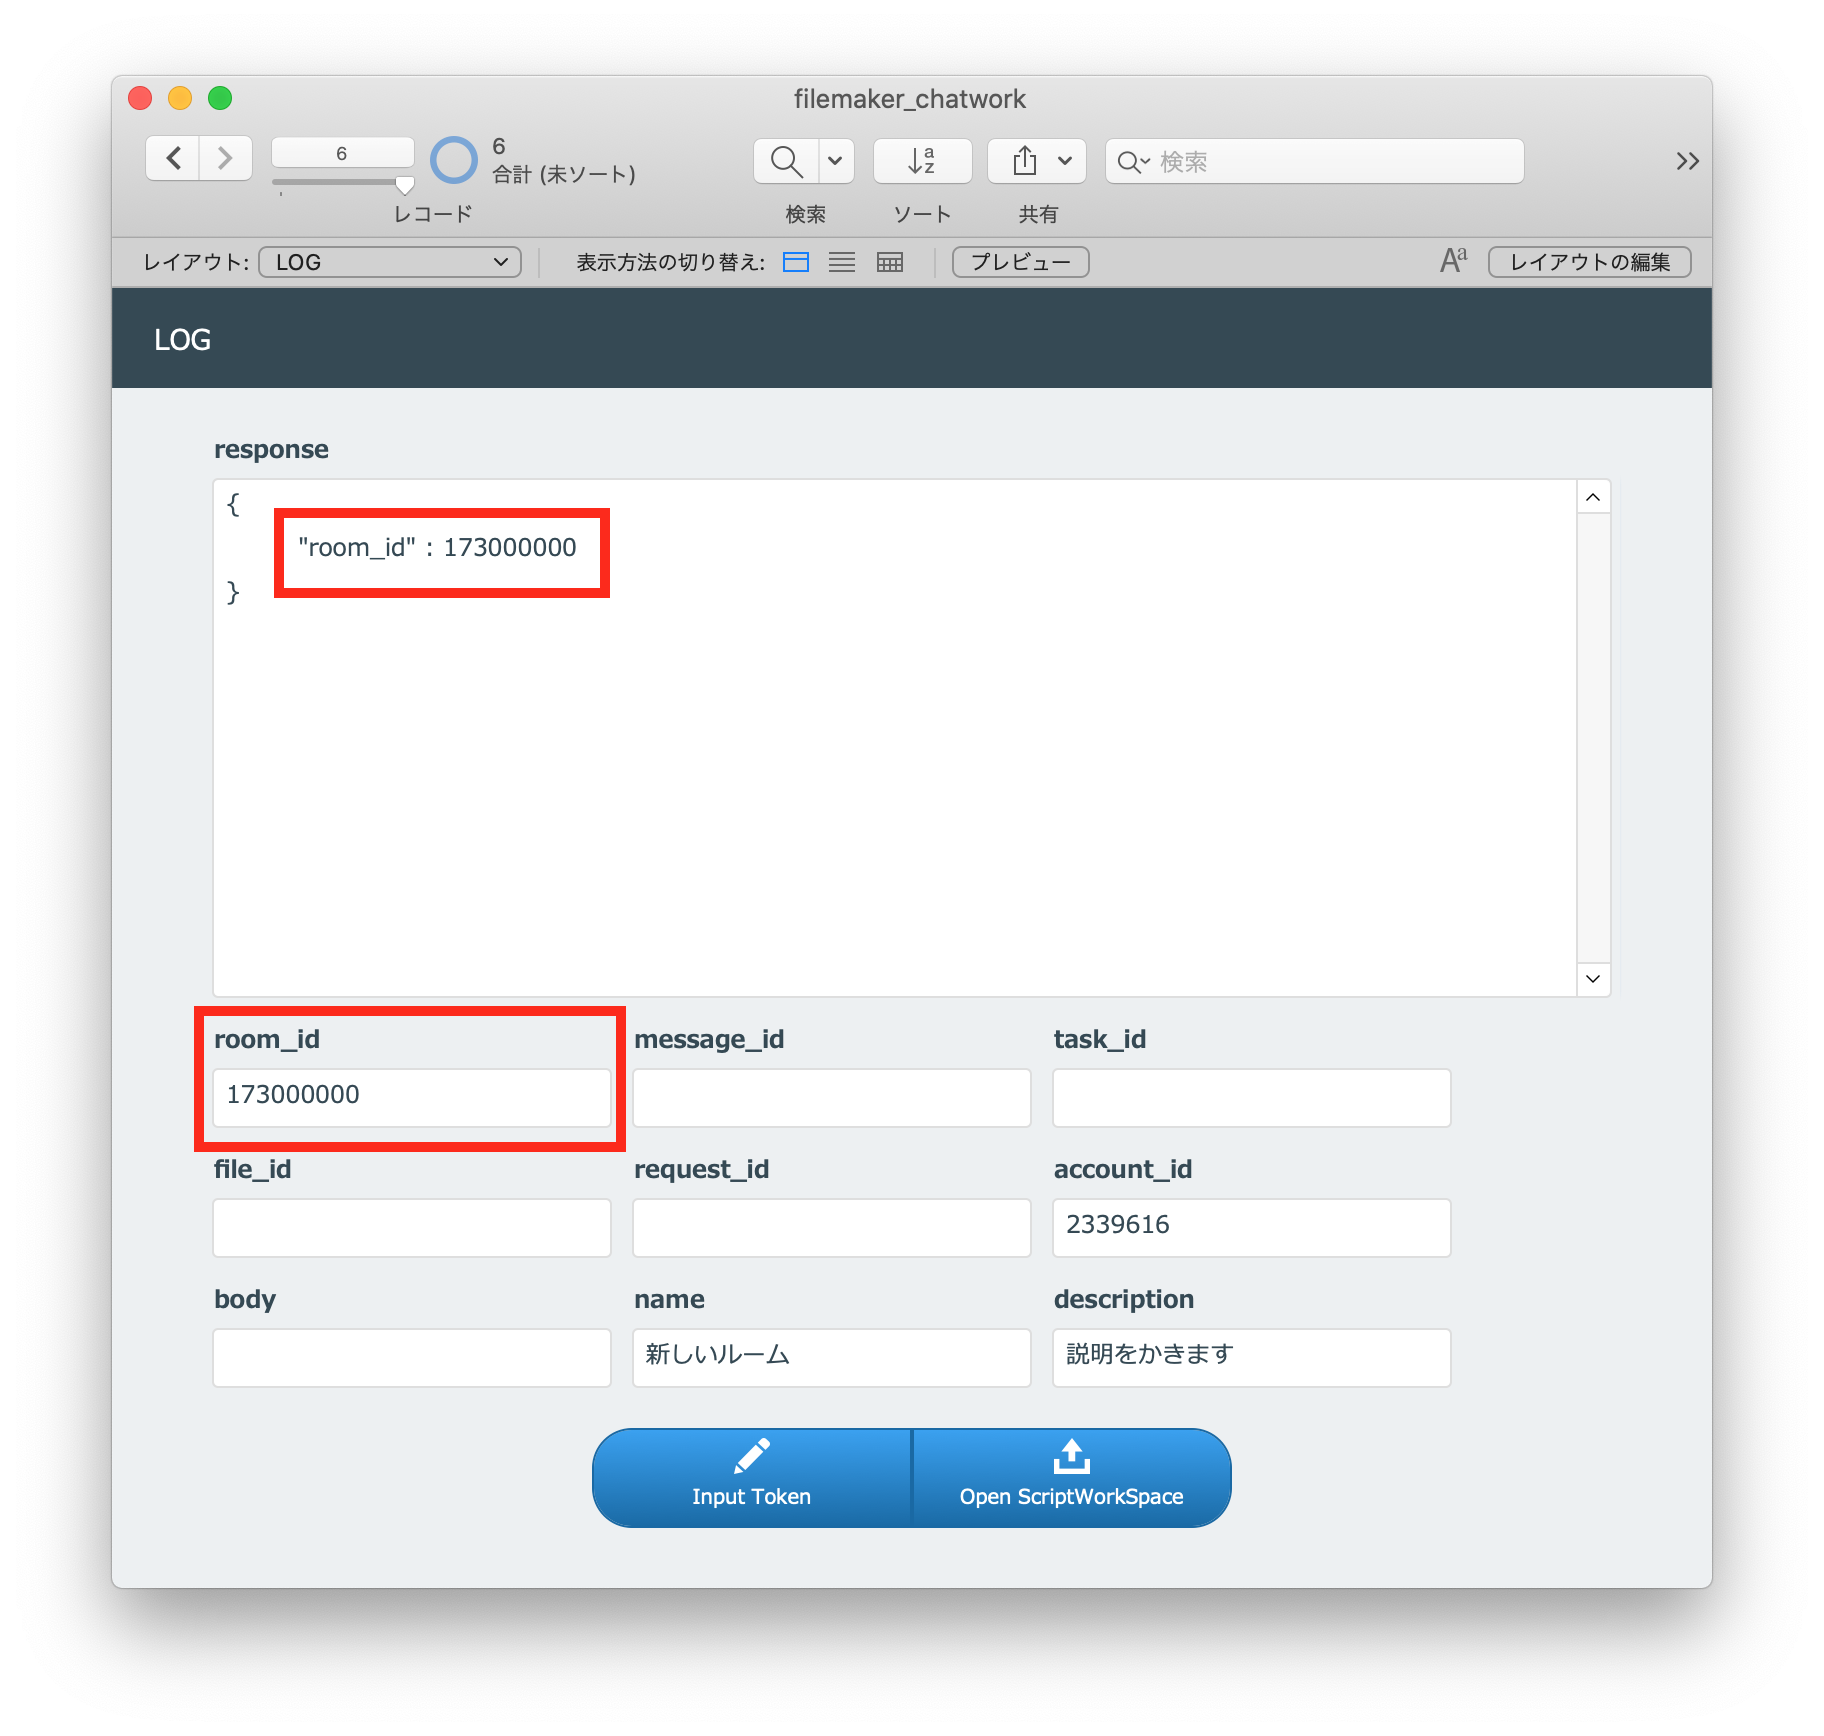
レスポンスの room_id をフィールドにコピペする
以下の図のように、レスポンスの room_id をフィールドにコピペします。
FileMakerから「チャットに新しいファイルをアップロード」APIをリクエストする
つづいて「チャットに新しいファイルをアップロード」APIをリクエストします。
http://developer.chatwork.com/ja/endpoint_rooms.html#POST-rooms-room_id-files
サンプルコードは以下のようになっています。
サンプルコード
curl -X POST -H "X-ChatWorkToken: 自分のAPIトークン" -F"file=@/path/to/file" -F"message=I+attached+comment+to+chat." "https://api.chatwork.com/v2/rooms/{room_id}/files"
「POST /rooms/{room_id}/files」スクリプトを選択し、実行します。
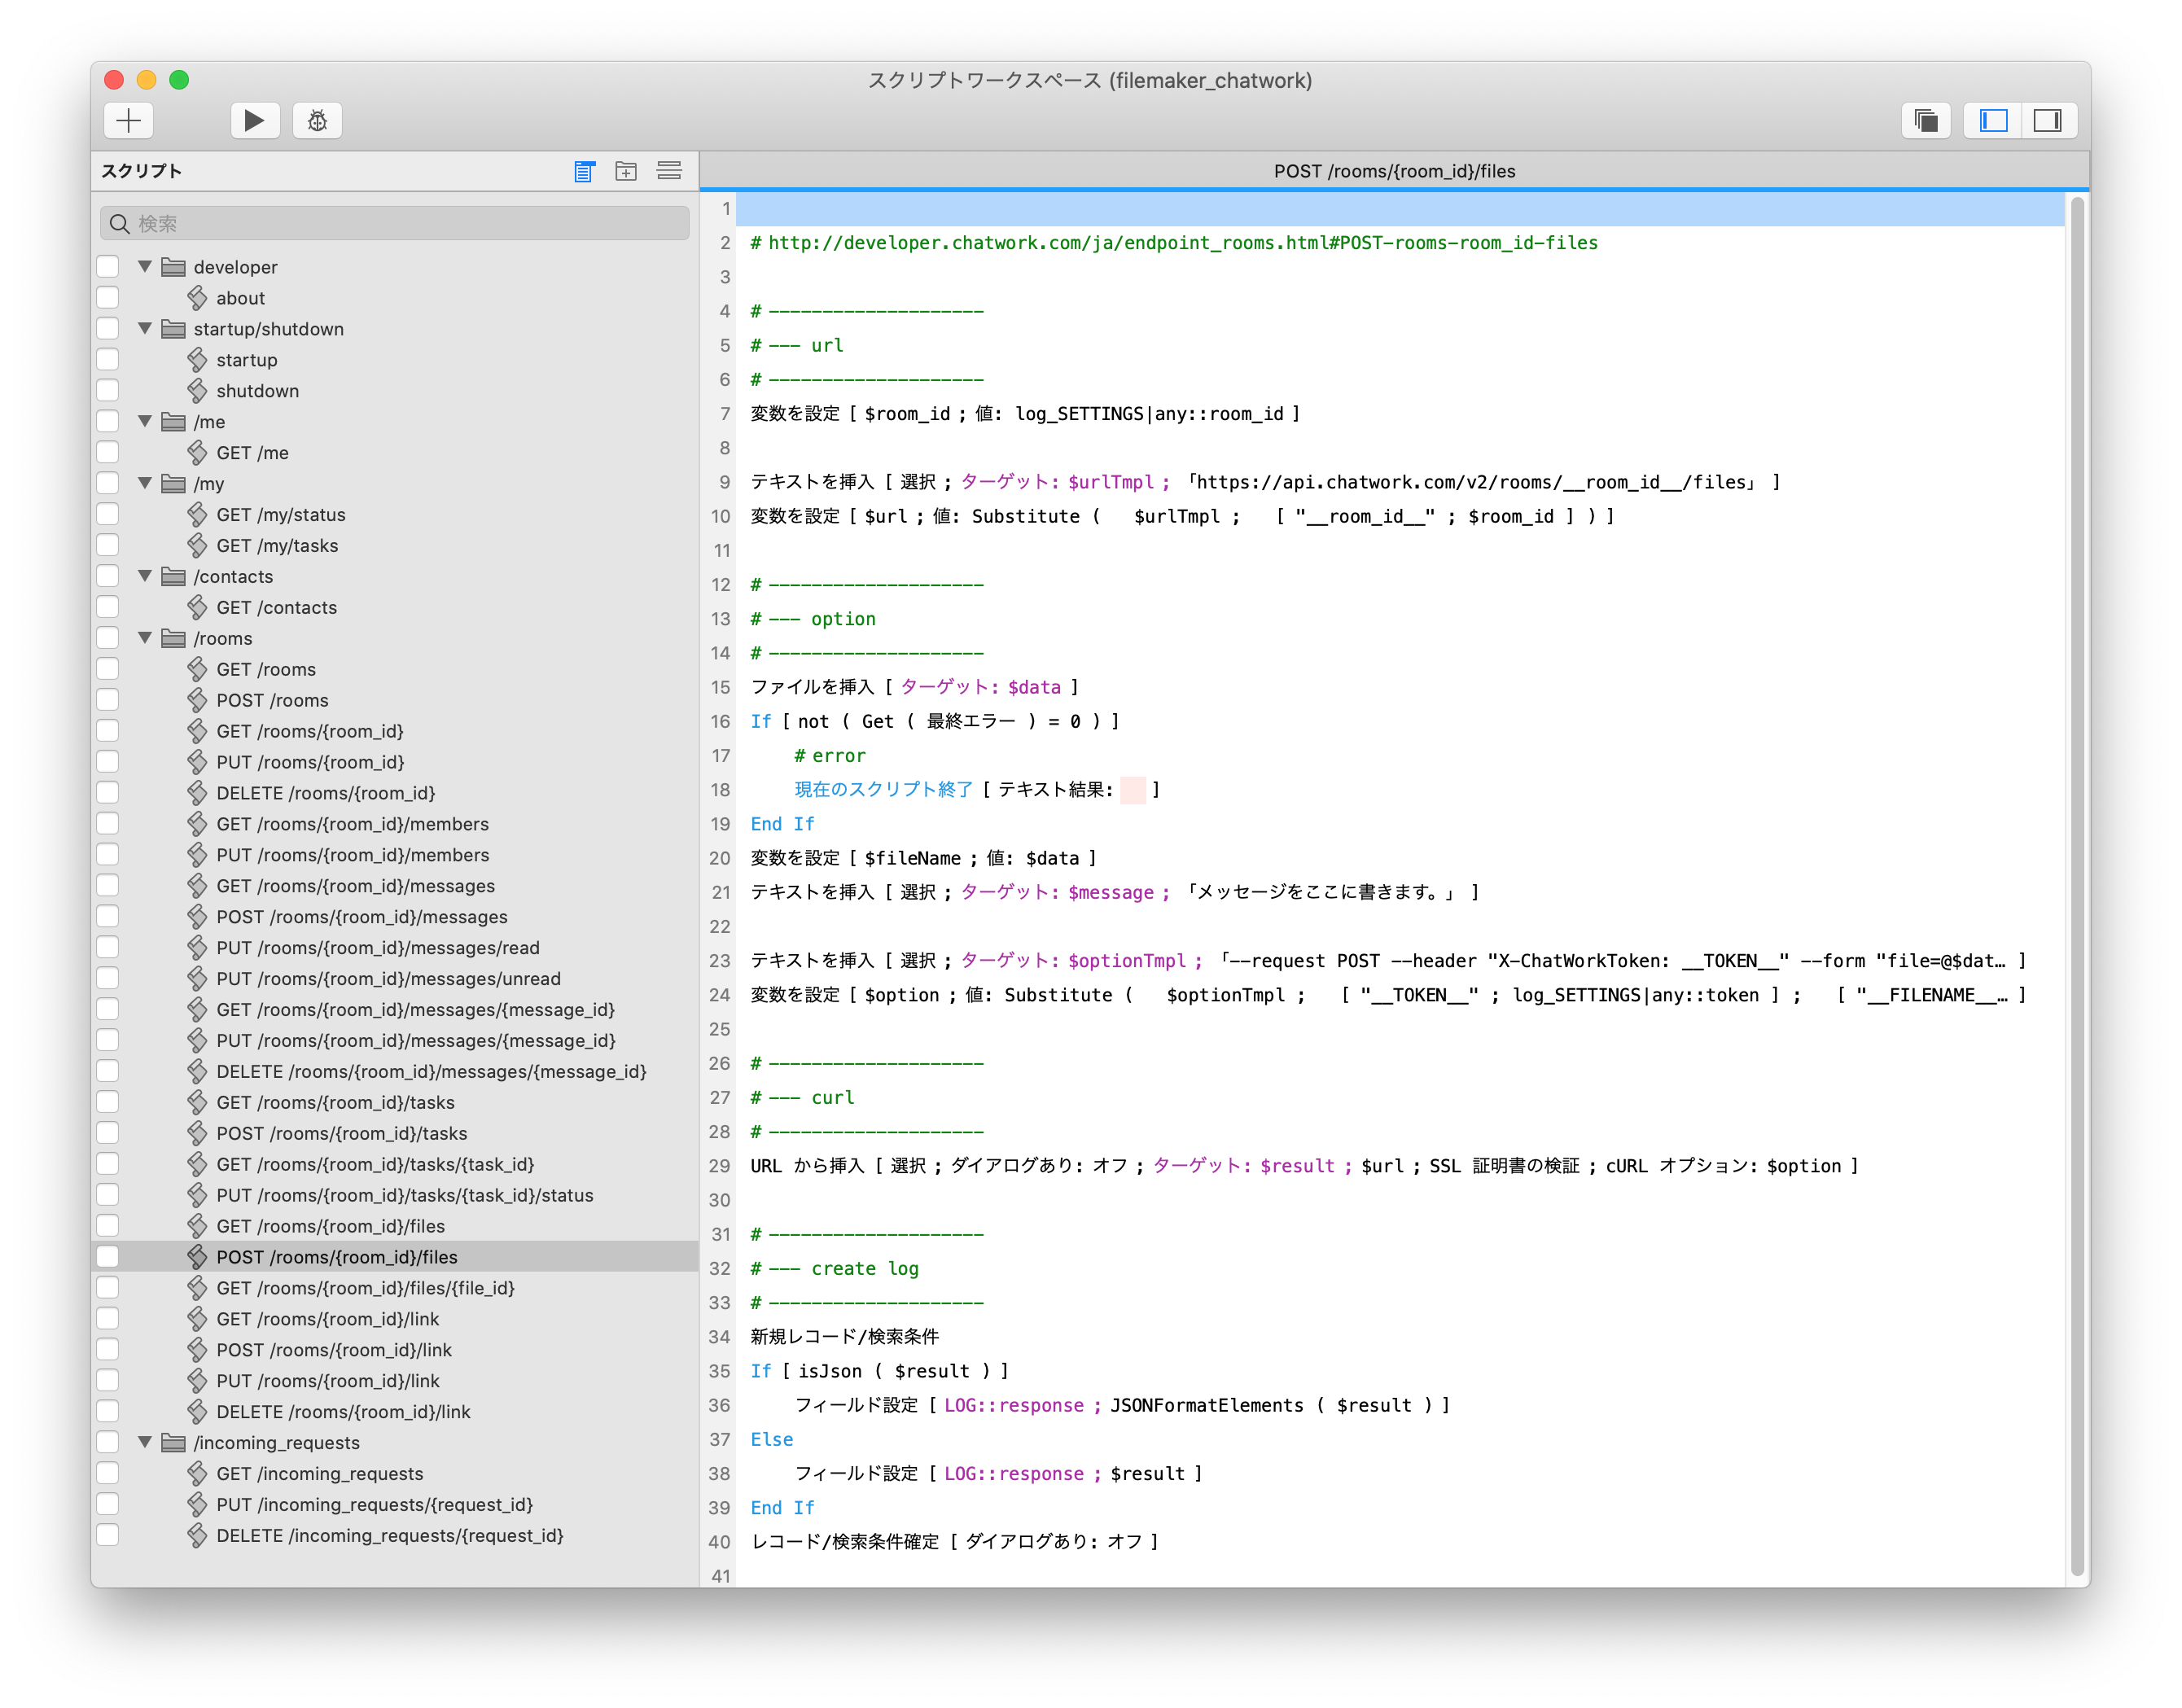
スクリプト
# http://developer.chatwork.com/ja/endpoint_rooms.html#POST-rooms-room_id-files

# --------------------
# --- url
# --------------------
変数を設定 [ $room_id ; 値: log_SETTINGS|any::room_id ]
#
テキストを挿入 [ 選択 ; ターゲット: $urlTmpl ; 「https://api.chatwork.com/v2/rooms/__room_id__/files」 ]
変数を設定 [ $url ; 値: Substitute (   $urlTmpl ;   [ "__room_id__" ; $room_id ] ) ]

# --------------------
# --- option
# --------------------
ファイルを挿入 [ ターゲット: $data ]
If [ not ( Get ( 最終エラー ) = 0 ) ]
	# error
	現在のスクリプト終了 [ テキスト結果:    ]
End If
変数を設定 [ $fileName ; 値: $data ]
テキストを挿入 [ 選択 ; ターゲット: $message ; 「メッセージをここに書きます。」 ]
#
テキストを挿入 [ 選択 ; ターゲット: $optionTmpl ; 「--request POST --header "X-ChatWorkToken: __TOKEN__" --form "file=@$data;filename=__FILENAME__" --form "message=__MESSAGE__"」 ]
変数を設定 [ $option ; 値: Substitute (   $optionTmpl ;   [ "__TOKEN__" ; log_SETTINGS|any::token ] ;   [ "__FILENAME__" ; $fileName ] ;   [ "__MESSAGE__" ; $message ] ) ]

# --------------------
# --- curl
# --------------------
URL から挿入 [ 選択 ; ダイアログあり: オフ ; ターゲット: $result ; $url ; SSL 証明書の検証 ; cURL オプション: $option ]

# --------------------
# --- create log
# --------------------
新規レコード/検索条件
If [ isJson ( $result ) ]
	フィールド設定 [ LOG::response ; JSONFormatElements ( $result ) ]
Else
	フィールド設定 [ LOG::response ; $result ]
End If
レコード/検索条件確定 [ ダイアログあり: オフ ]
変数について
前回と同様に、変数を確認します。
$urlTmpl
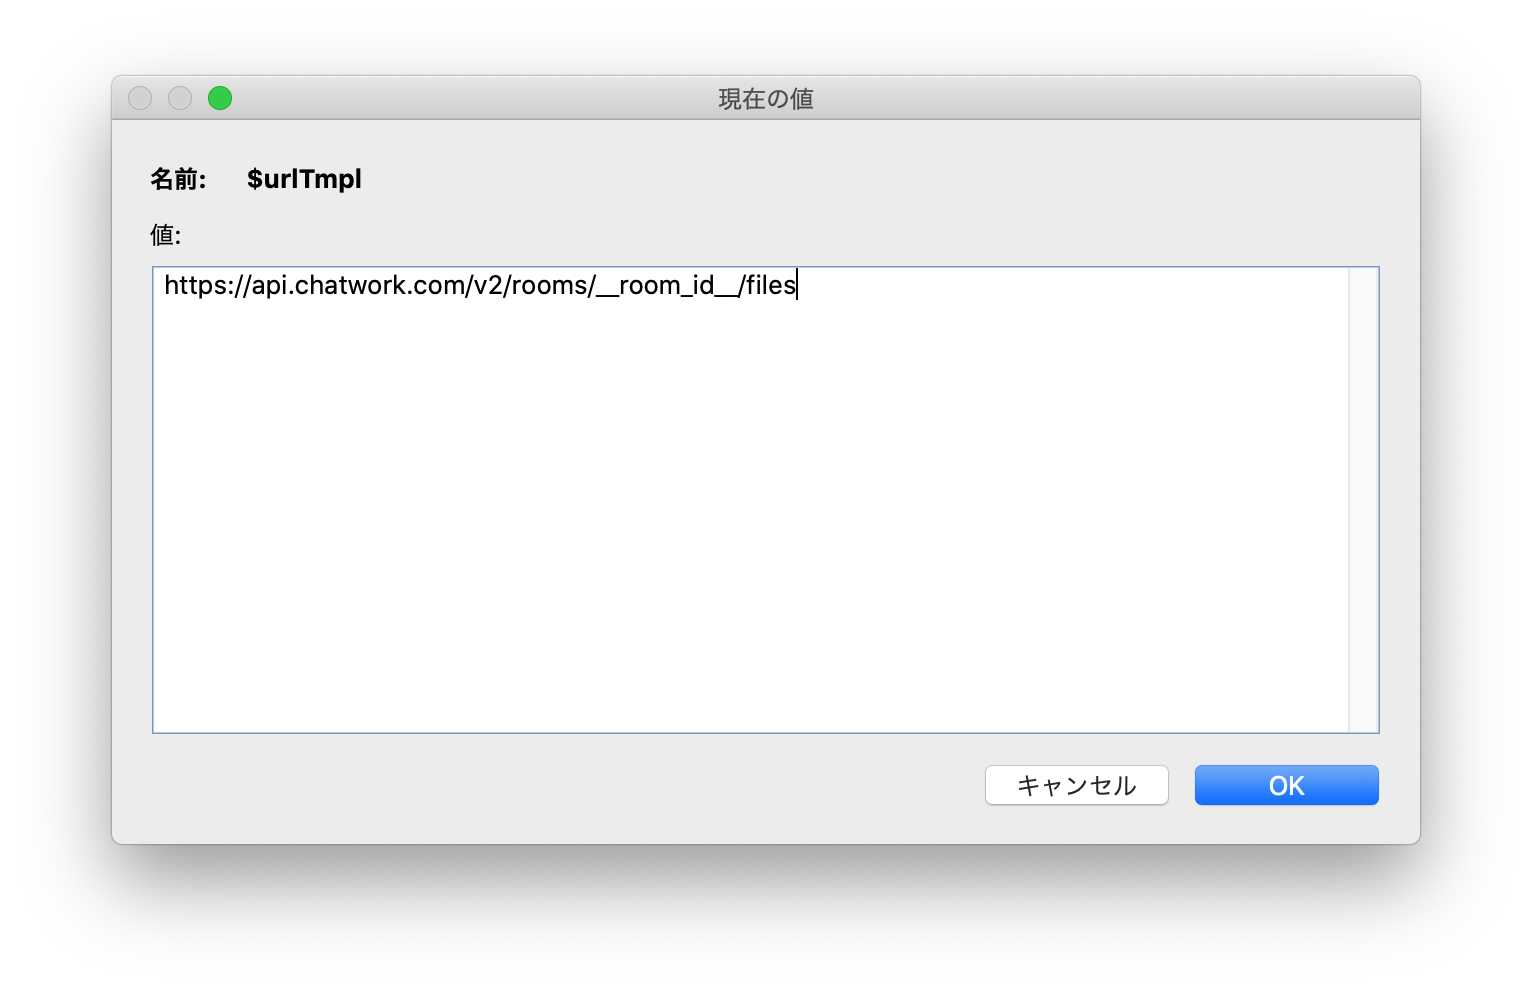
$urlTmpl

https://api.chatwork.com/v2/rooms/__room_id__/files
$url

$url

https://api.chatwork.com/v2/rooms/173241362/files
$data

$data

eto_nezumi_fukubukuro.png
$fileName
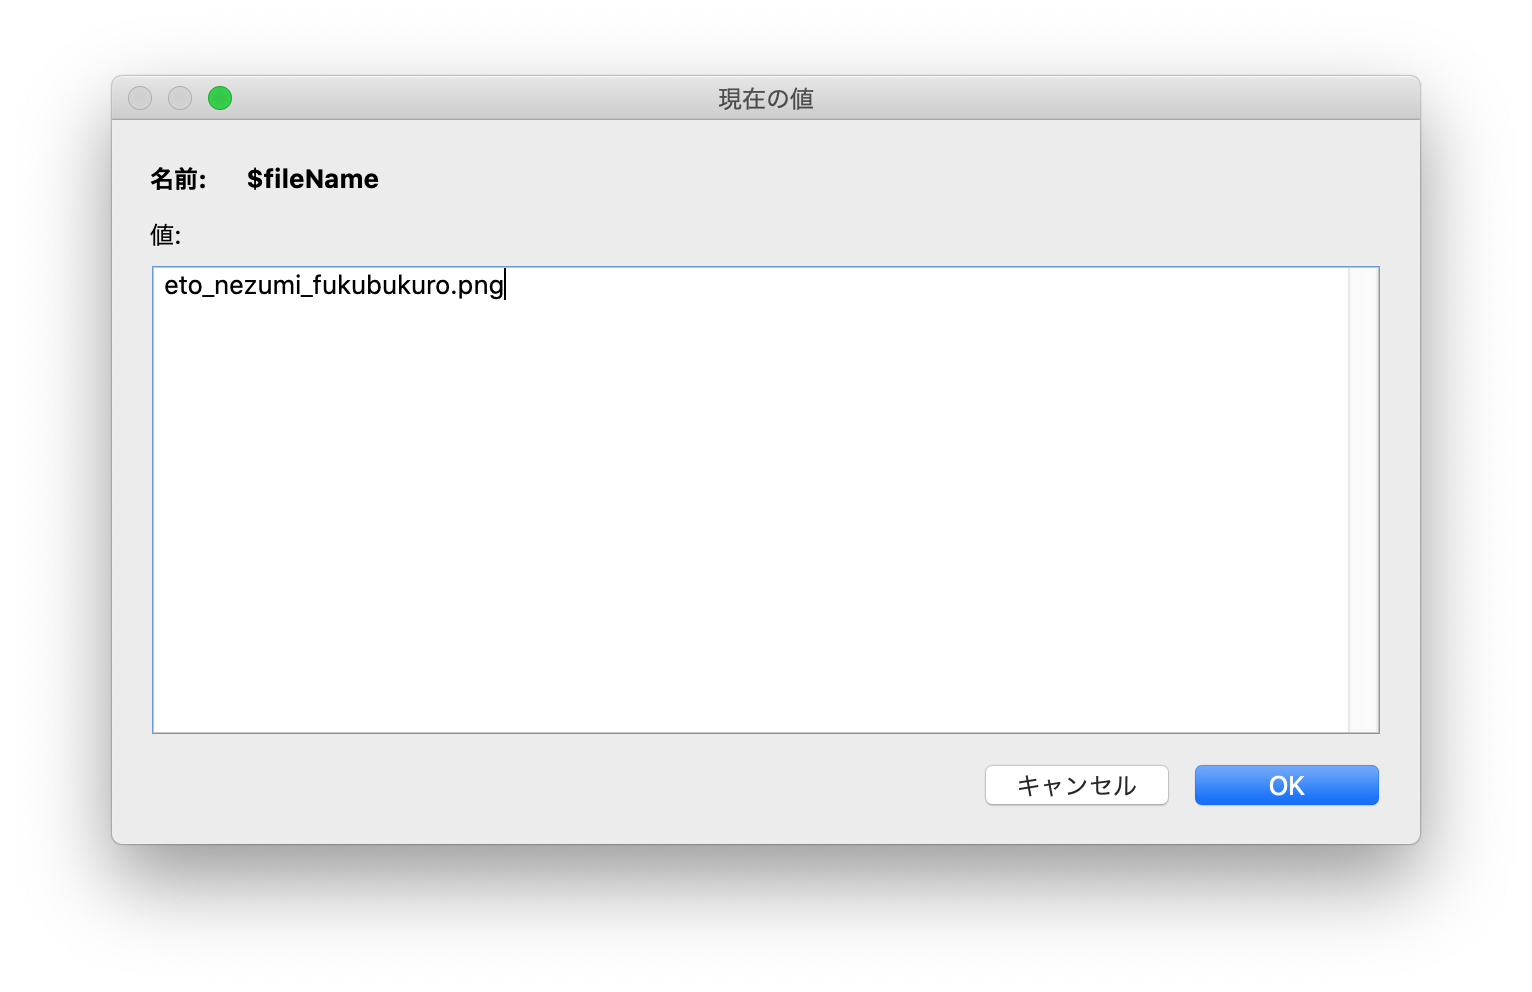
$fileName

eto_nezumi_fukubukuro.png
$message

$message

メッセージをここに書きます。
$optionTmpl
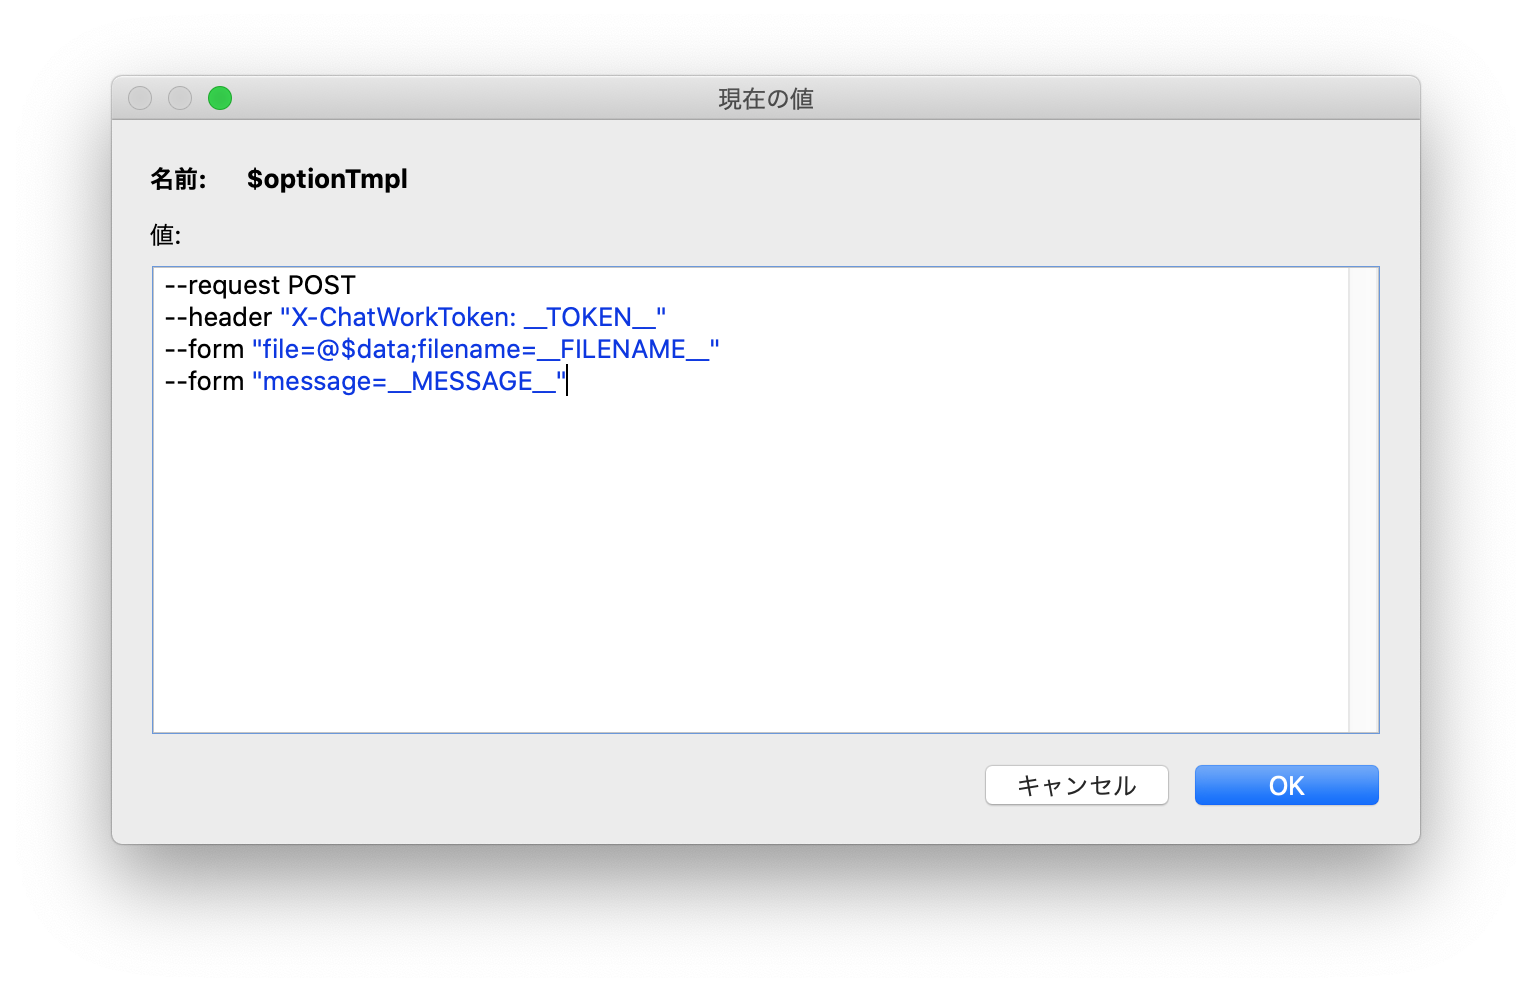
$optionTmpl

--request POST
--header "X-ChatWorkToken: __TOKEN__"
--form "file=@$data;filename=__FILENAME__"
--form "message=__MESSAGE__"
$option
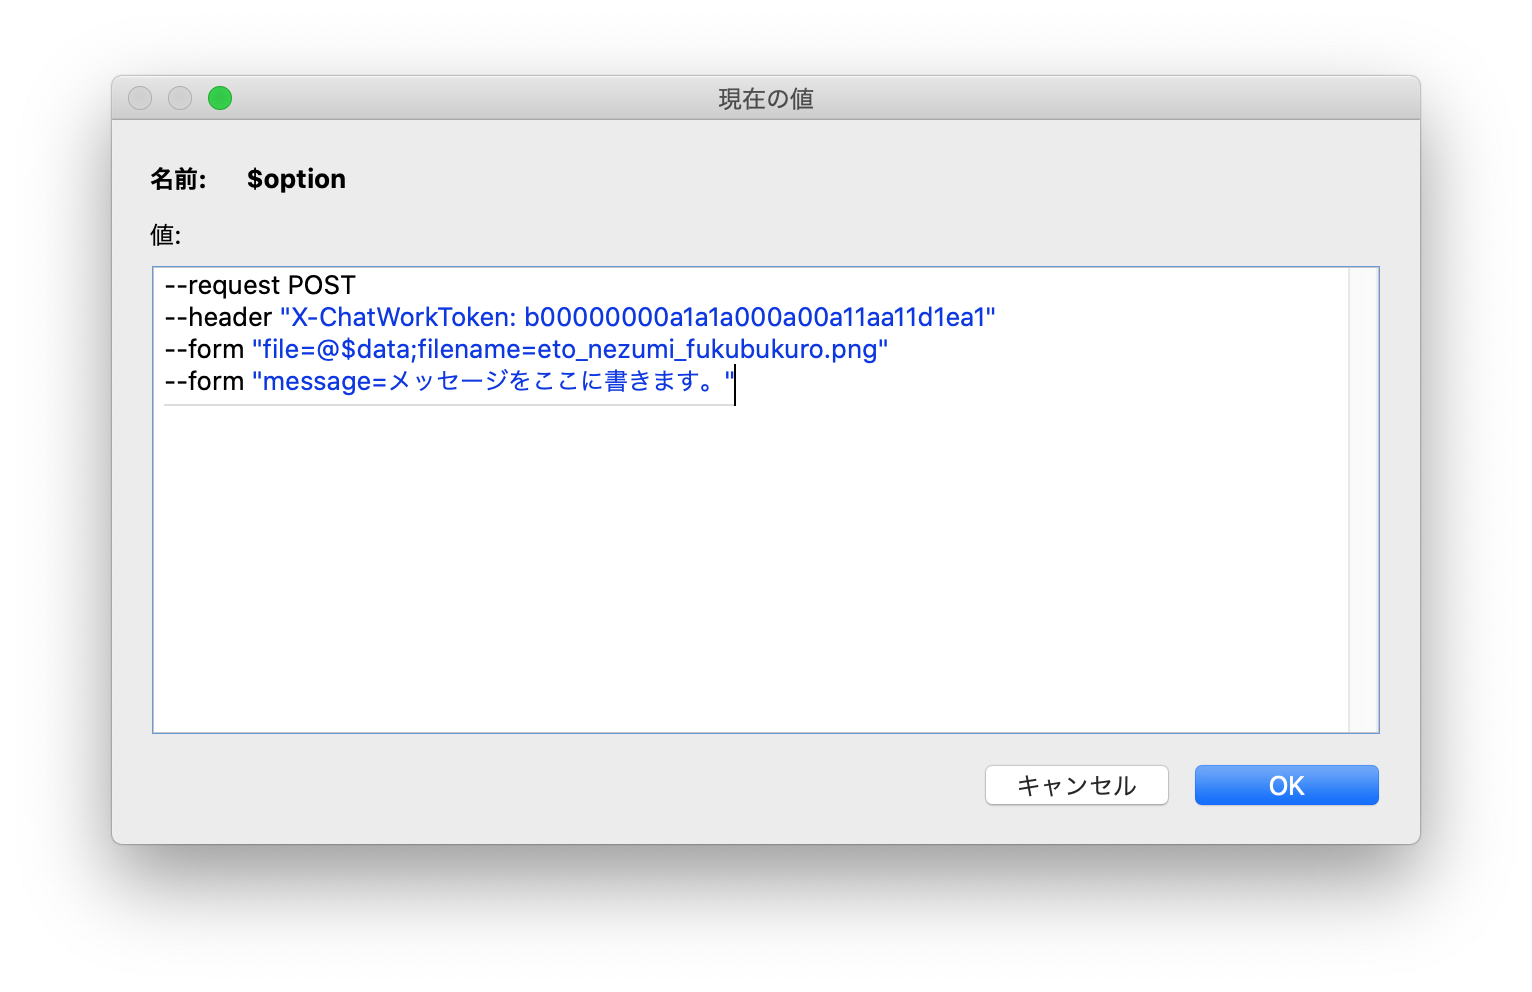
$option

--request POST
--header "X-ChatWorkToken: b00000000a1a1a000a00a11aa11d1ea1"
--form "file=@$data;filename=eto_nezumi_fukubukuro.png"
--form "message=メッセージをここに書きます。"
$result
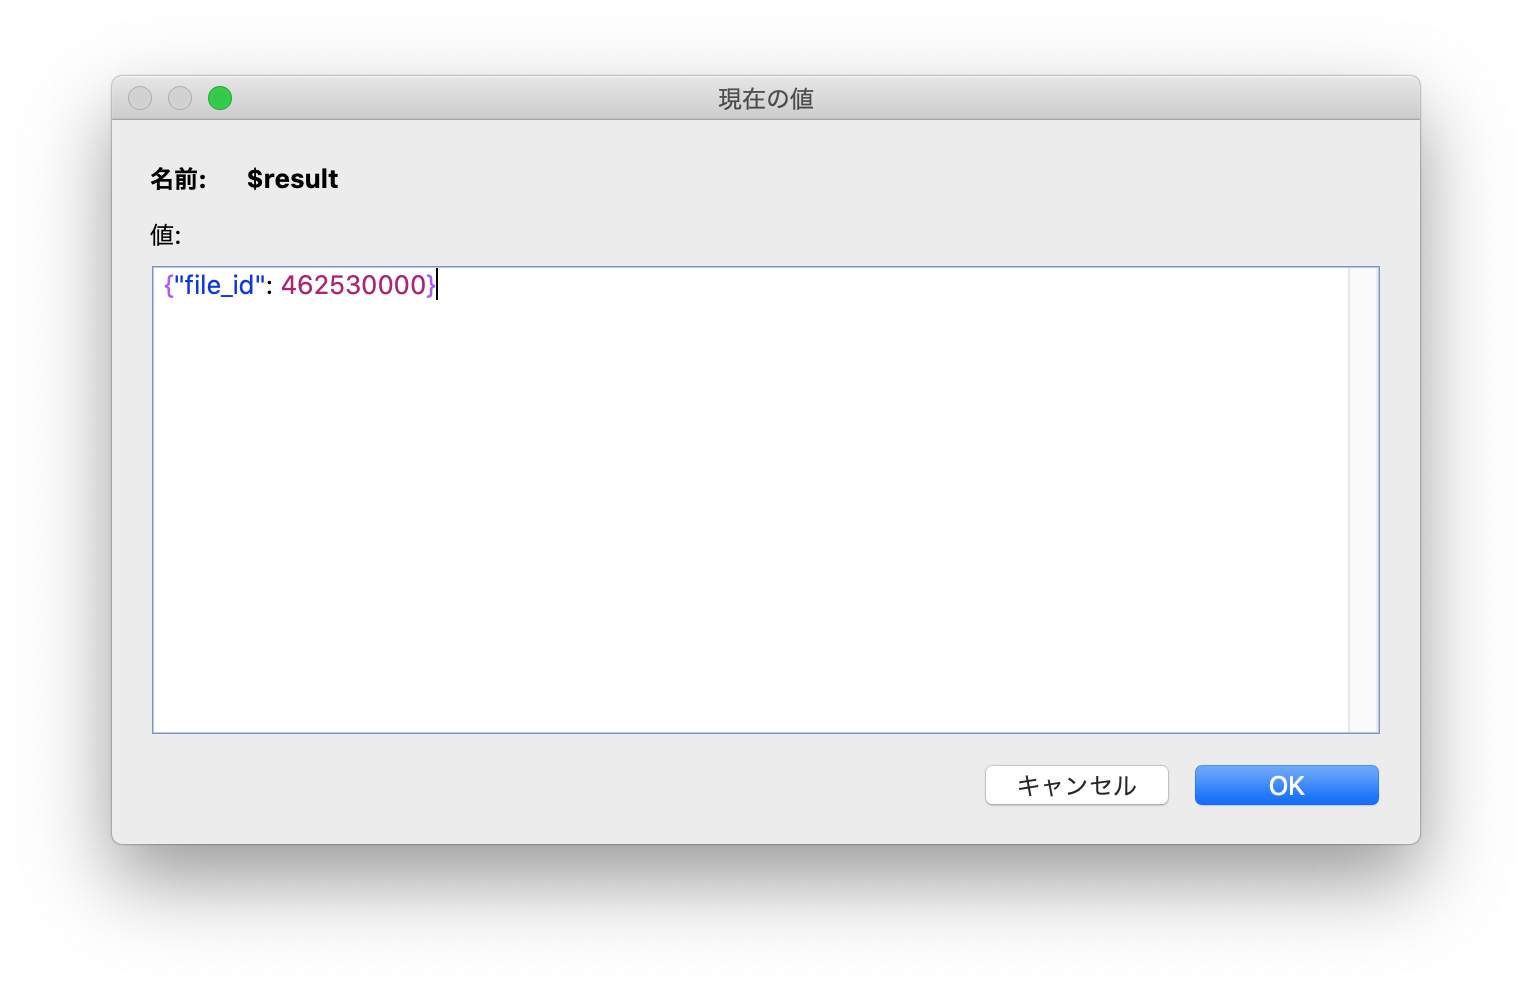
$result

{"file_id": 462530000}
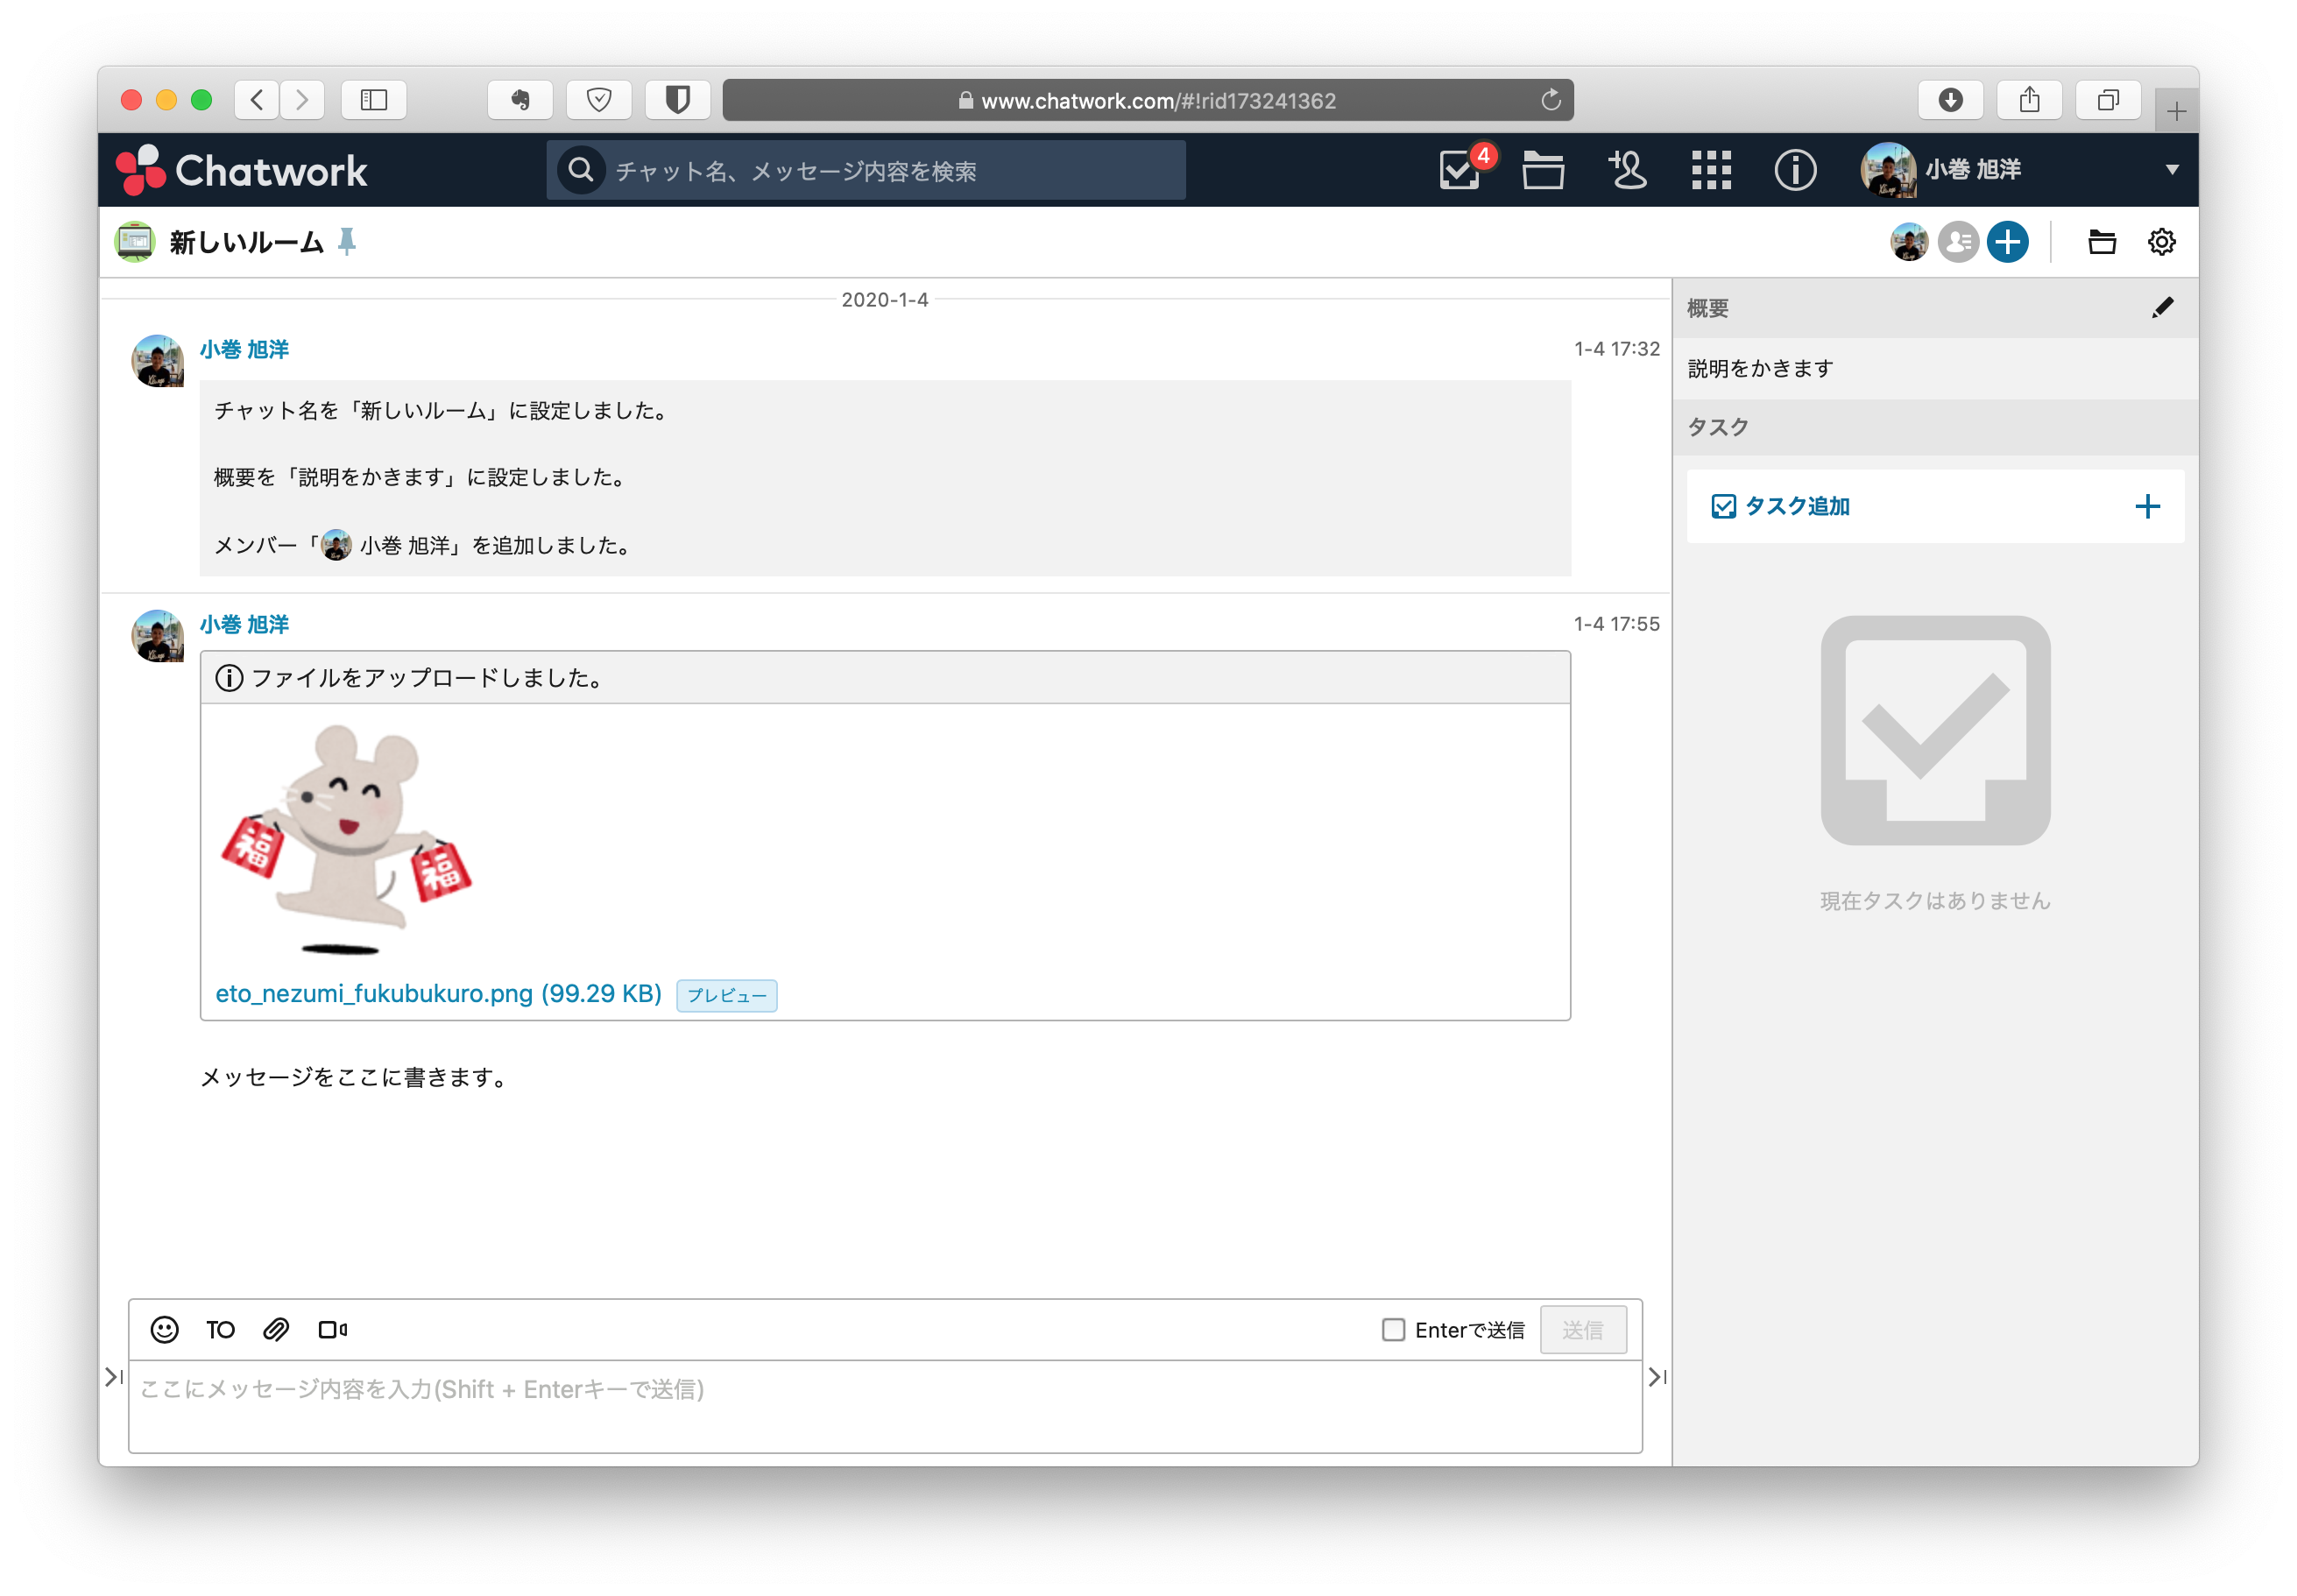
Chatworkを確認する
Chatworkをみてみると、ファイルが投稿されています。
その他のAPI
その他のAPIについては、お手元のサンプルファイルにて、スクリプトを実行してみてください。
誤りやバグなどありましたら、ご指摘頂ければと思います。
エラーについて
今回のサンプルファイルでは、APIのエラーを考慮していません。
たとえば、5MB以上のファイルをPOSTした場合のエラー処理など…
みなさんのソリューションに組み込む場合、エラーを考慮して実装してください。
あとがき
LINE WORKSのAPIを実装した際に、JWTの仕組みが分かりましたので、GoogleのAPIを利用する際に、サービスアカウントを使った認証ができるようになりました。
Using OAuth 2.0 for Server to Server Applications
https://developers.google.com/identity/protocols/OAuth2ServiceAccount
https://twitter.com/trhrkmk/status/1198212630990557186?s=20
https://twitter.com/trhrkmk/status/1198247367826268160?s=20
https://twitter.com/trhrkmk/status/1198742706568122368?s=20
この点についても、別途記事にしたいと思います。
API連携でお困りのことがありましたら、お気軽にご相談頂ければと思います。
コンサルティング レポート(Google スプレッドシートとFileMakerの連携)
https://frudens.jp/consulting-report-filemaker-google-spreadsheet-integration/
コンサルティング レポート(LINE WORKSとFileMakerの連携)
https://frudens.jp/consulting-report-filemaker-line-works-integration/